Troubleshoot the system before you change the inputs.
Symptoms
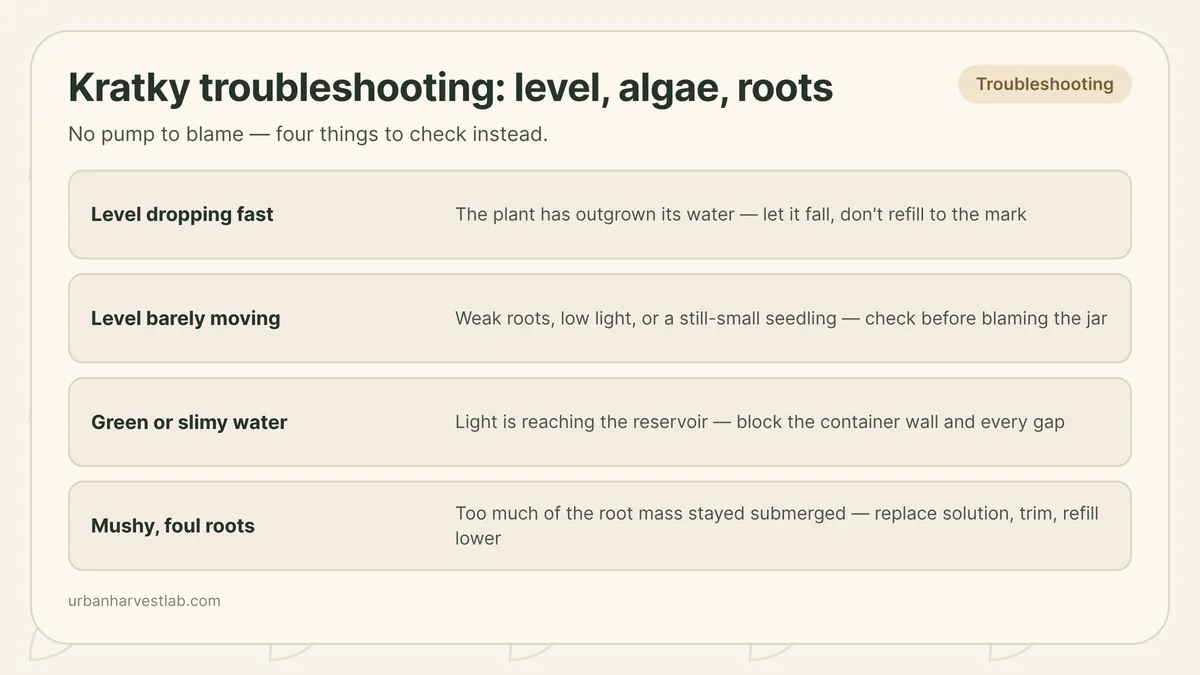
- The water level in the jar has dropped several inches in just a day or two, faster than in previous weeks
- The water level has barely moved over a week or more, even though the plant looks otherwise fine
- The reservoir water has turned green, brown, or cloudy, or a slimy film coats the inside of a clear container
- Roots below the net pot are dark, mushy, and smell sour or rotten rather than firm and earthy
- The plant has stalled, wilted, or yellowed even though the water level and root color both look acceptable
Possible causes
- Leaf area has grown enough that the plant is drinking faster than the container was sized for
- Light is reaching the nutrient solution through a clear or translucent container wall, lid gap, or net pot collar
- The starting water level, or a top-off, left too much of the root mass permanently submerged instead of exposed to the air gap
- The container was sized for a small seedling and the plant has since outgrown it in leaf mass, root mass, or both
- Weak root development, low light, or a still-small plant is drawing very little water regardless of container size
Quick fixes
- A classic Kratky jar is not meant to be topped off at all; if the exposed roots are at risk of drying out before harvest, add only a small amount of water mixed at the label nutrient concentration, not plain water
- Check that the submerged portion of the root mass sits at roughly one-third to one-half of the total, and let the level keep falling rather than refilling to the original mark
- Block every light path into the reservoir: paint or wrap a clear container, seal gaps around the net pot, and fit an opaque lid
- If roots are mushy and foul-smelling, replace the solution entirely, trim off the affected roots, and refill so a smaller fraction stays submerged while the plant recovers
- If the jar is undersized for the plant, move the next crop into a taller or wider container rather than repeatedly topping off a jar that has already run out of room
A Kratky jar has no pump, no timer, and no moving parts to blame, so when something goes wrong it can feel like there is nothing to check. There is: the water level’s rate of change, whether light is reaching the reservoir, how much of the root mass stays submerged, and whether the container ever fit the plant in the first place. Almost every Kratky failure traces back to one of those four.
If you have not set up a jar yet, the Kratky method for beginners covers the container, net pot, and starting water depth from scratch. What follows assumes that setup already exists and something about it is not behaving the way you expected.
Start by reading the water level, not just the plant
The single most useful piece of information in a Kratky system is how fast the level is falling, because the method is built around that fall. As the plant drinks, the level drops and exposes more of the root mass to air, and that growing air gap is what supplies oxygen without a pump. University of Minnesota Extension frames the target as a proportion rather than a fixed depth: keep the roots roughly one-third to one-half submerged once they grow past the net pot, with the rest hanging in the humid gap above the waterline. That is worth restating because a lot of home advice describes it as a fixed number of inches to leave empty at setup, which misses the point — the ratio is what matters, and it is a ratio that changes as the plant and its root system grow.
A level dropping unusually fast is, in most cases, good news read as bad news. A plant with more leaf area transpires more water, so a jar that held steady for two weeks and then starts dropping quickly is usually just growing into its container. A classic Kratky jar is charged once at setup and is built to run down over the crop’s life, so a fast drop is first a sizing question — is the container big enough for a plant this size — not a signal to refill it. If the level is dropping fast enough that the exposed roots look likely to dry out before harvest, add only a small amount of water rather than refilling to the original line, and mix it the way University of Minnesota Extension specifies for any Kratky top-up: at the label nutrient concentration, not plain water, since diluting a finite one-shot charge for the rest of the crop works against the plant rather than for it. Check the exposed root mass while you are in there: if it still looks like roughly a third to a half is submerged, the plant is simply outrunning the reservoir at a normal pace, not failing.
A level that barely moves points the other way. A young seedling with little leaf area does not drink much, so a nearly flat level in the first week or two is expected rather than alarming. Past the seedling stage, a stalled level alongside slow growth is worth checking against light and root development before you assume the reservoir is at fault — a plant that is not growing much is also not drinking much, and the water level is only reporting that back to you.
Green water and slime mean light, not chemistry
A reservoir that turns green, brown, or cloudy, or grows a slimy film on the inside of a clear jar, is an algae problem, and algae needs exactly three things to grow: light, water, and dissolved nutrients. A Kratky jar already supplies two of those by design, so light is the lever that stops an outbreak. University of Minnesota Extension also notes that a nutrient concentration stronger than the crop needs feeds algae along with the plant, so a jar mixed above label strength keeps greening up even after the light is blocked.
The mason jars and clear totes that make Kratky setups easy to monitor are also the most common way light gets in. Check the container wall itself first, then the gaps a clear net pot or a loose-fitting lid can leave around the stem, since light spilling straight down onto the water surface causes the same growth as a fully clear jar. Cornell University’s hydroponic lettuce program describes the same fix at commercial scale: keep solution tanks and any wet equipment shaded, because algae flourish specifically where it is wet and well-lit at once. Painting or wrapping the container opaque, sealing gaps around the net pot, and fitting a lid that actually seals against the rim will stop new growth; a light film you catch early usually wipes off with the next top-off. Cornell’s assessment is that algae rarely damages the plant directly, but a heavier outbreak can weaken it and open the door to root problems, so it is worth treating the first green tint as the point to act rather than something to watch for a while longer. The full diagnosis and cleanup sequence, including what to do once algae has coated more than the jar wall, is in algae in a hydroponic reservoir.
Root rot in a Kratky jar is usually a submersion problem
Root rot needs low oxygen at the root zone to take hold, and in an active system like deep water culture that usually means a warm reservoir outrunning the air pump. A Kratky jar has no pump to fail, so when rot shows up here the more common cause is structural: too much of the root mass has stayed submerged for too long, leaving too little of it in the air gap that is supposed to keep it oxygenated. University of Minnesota Extension makes the same point directly: add too much water to the system and the roots cannot get oxygen, and root rot can follow.
That can happen a few ways. Filling the jar too full at the start, so the roots rarely get the chance to grow into a mostly-exposed position, is the most direct version. Topping off back to the original fill line, instead of letting the level keep falling, is the same mistake made gradually. University of Kentucky Extension describes the resulting damage as roots turning soft, mushy, and greyish-brown, with the outer cortex sloughing off the central strand — the “rat tails” of Pythium root rot. Roots at that stage, with a sour or sewage-like smell, are past the point of a cosmetic stain and need action: replace the solution, trim the affected roots, scrub the container with soap and water and rinse it well — University of Minnesota Extension’s routine after a full change-out, and one that matters even more after a rot event — then refill to a level that restores the one-third-to-one-half ratio rather than the original full mark. Some root discoloration is harmless — organic nutrients and additives can stain healthy roots a light tan or amber without affecting texture or smell — so judge by firmness and odor, not color alone. The fuller diagnostic for telling a stain from an infection, and what to do once it is confirmed, lives on brown roots in hydroponics: staining vs. root rot; the mechanism behind why warm, low-oxygen water favors these pathogens is covered in hydroponic root rot prevention.
When the tray is the problem, not the technique
Kratky containers are usually sized by habit rather than by the plant going into them — a mason jar for one lettuce, a larger tote for a bigger crop — and a mismatch between tray size and plant vigor causes a cluster of symptoms that can look like several different problems at once. A vigorous plant in an undersized jar drinks the reservoir down faster than expected, crowds its own roots into a smaller volume of water sooner, and reaches the point where topping off starts working against the submersion ratio instead of restoring it. For the plant already in that jar, the realistic choice is between harvesting early, while quality still holds, or accepting a late-cycle top-off at label nutrient concentration and letting the air gap shrink faster from there; which one makes sense depends on how close the crop already is to harvest.
The fix is sizing the next crop correctly rather than fighting the current one. A single mason jar suits a compact lettuce or herb for a single cycle; a plant that is visibly outgrowing its jar by the second or third week is a signal to move up to a larger tote or bin next time, not to keep topping off a container that has run out of headroom. If you are deciding on a container size before starting, reservoir size for hydroponic systems works through how to size a passive container against the crop you are growing, including where a Kratky build differs from the volume-per-plant figures used for active systems.
Sources
Related Kratky and reservoir guides
These cover the setup assumed here and the deeper reservoir problems that share the same root causes.
Common questions
Why is my Kratky water level dropping so fast?
A fast-dropping level usually means the plant has grown enough leaf area to drink faster than the reservoir was sized for, which is a sign of a healthy, vigorous plant outrunning its container rather than a fault. Classic Kratky is not designed to be refilled; a jar running low late in the cycle usually just means it was sized for a smaller plant. If you do add water before harvest, University of Minnesota Extension calls for mixing it at the label nutrient concentration rather than plain water, and for checking that the remaining roots still have room to stay only partly submerged.
Why is my Kratky water level barely dropping at all?
A level that stays nearly flat points to weak root development, low light slowing the plant down, or a seedling still too small to draw much water. Check root color and length before assuming the reservoir itself is the problem; a small, healthy plant simply drinks less.
Does a Kratky jar need an air pump if algae shows up?
No. Algae is a light problem, not an oxygen problem, so an air pump does not address it. Block every point light reaches the standing water, starting with the container wall itself, and the growth stops feeding on its own.
How submerged should Kratky roots be?
University of Minnesota Extension gives a proportional target: roughly one-third to one-half of the root mass submerged once roots grow past the net pot, with the rest hanging in the humid air gap above the waterline. That is a ratio to maintain as the plant grows, not a fixed number of inches to measure once.
My Kratky roots look brown and mushy. Is that normal?
No. Some root staining from organic nutrients is harmless and does not affect firm, odorless roots, but mushy, foul-smelling roots mean the submerged portion has been deprived of oxygen for too long, usually because the container started too full or was topped off past the working ratio.
Related guides
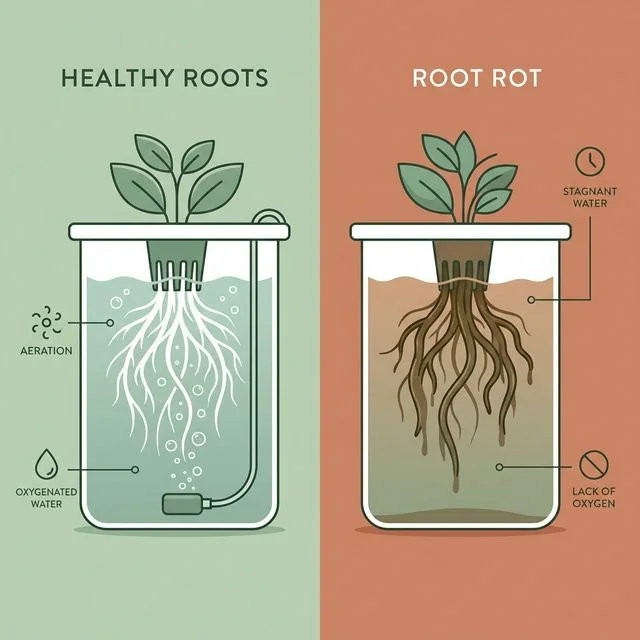
Hydroponic root rot: how to spot it early and stop it
Brown, slimy or swampy-smelling roots mean root rot. Catch it early and fix the conditions behind it — warm water, low oxygen and stagnant flow.
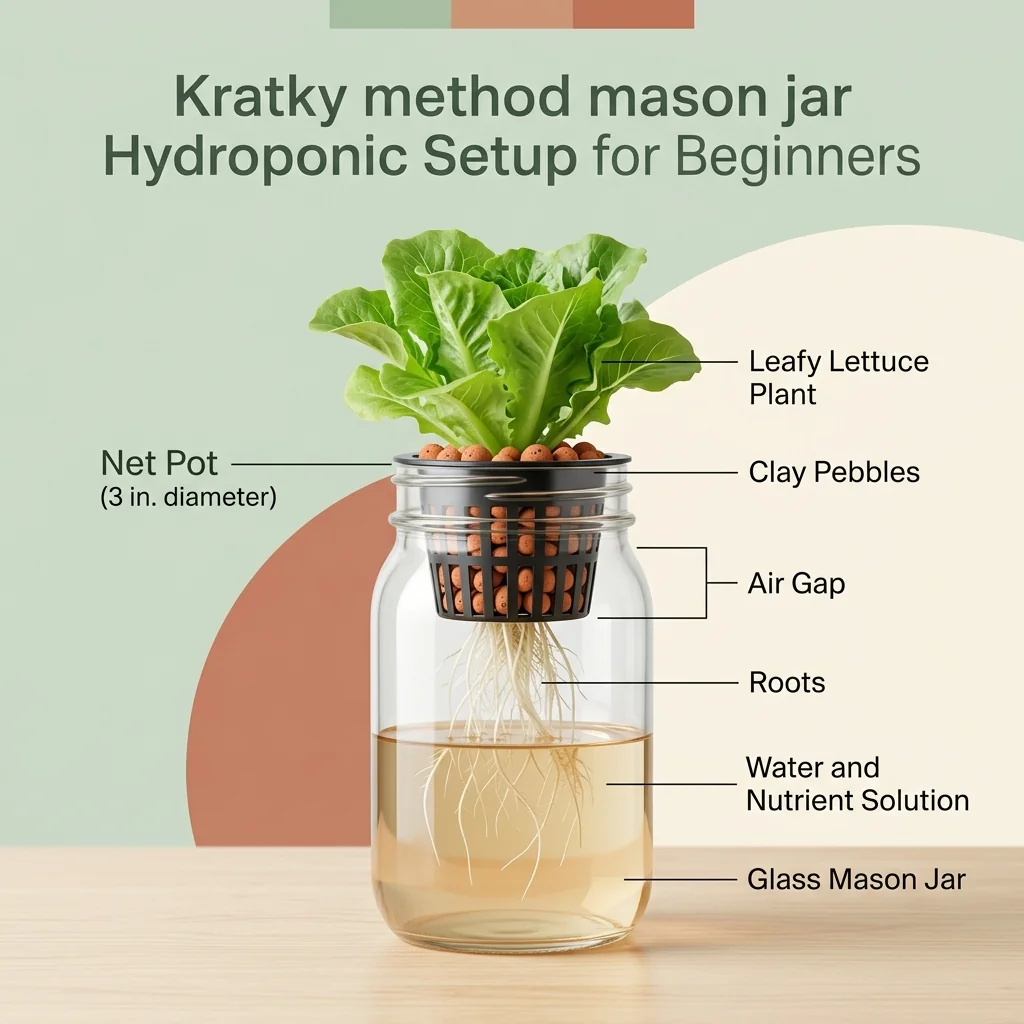
The Kratky method: passive hydroponics for beginners
The Kratky method is the simplest way into hydroponics: a container of nutrient solution, a net pot, and no pump or power. Here is how it works and its limits.
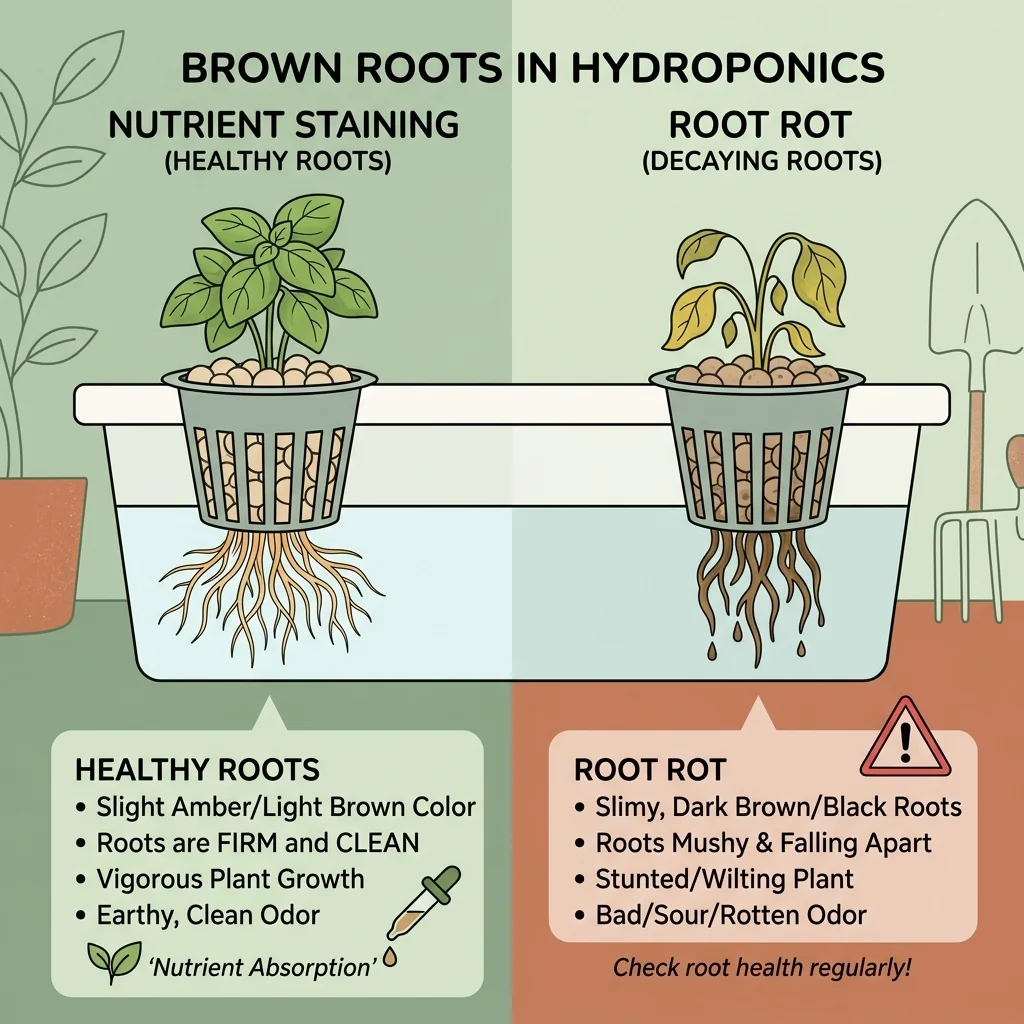
Brown roots in hydroponics: staining vs. root rot
Finding brown roots in your hydroponic reservoir can cause instant panic. But before you dump your nutrients, you need to know: is it a harmless stain or a fatal infection? Here is how to diagnose the difference in seconds.