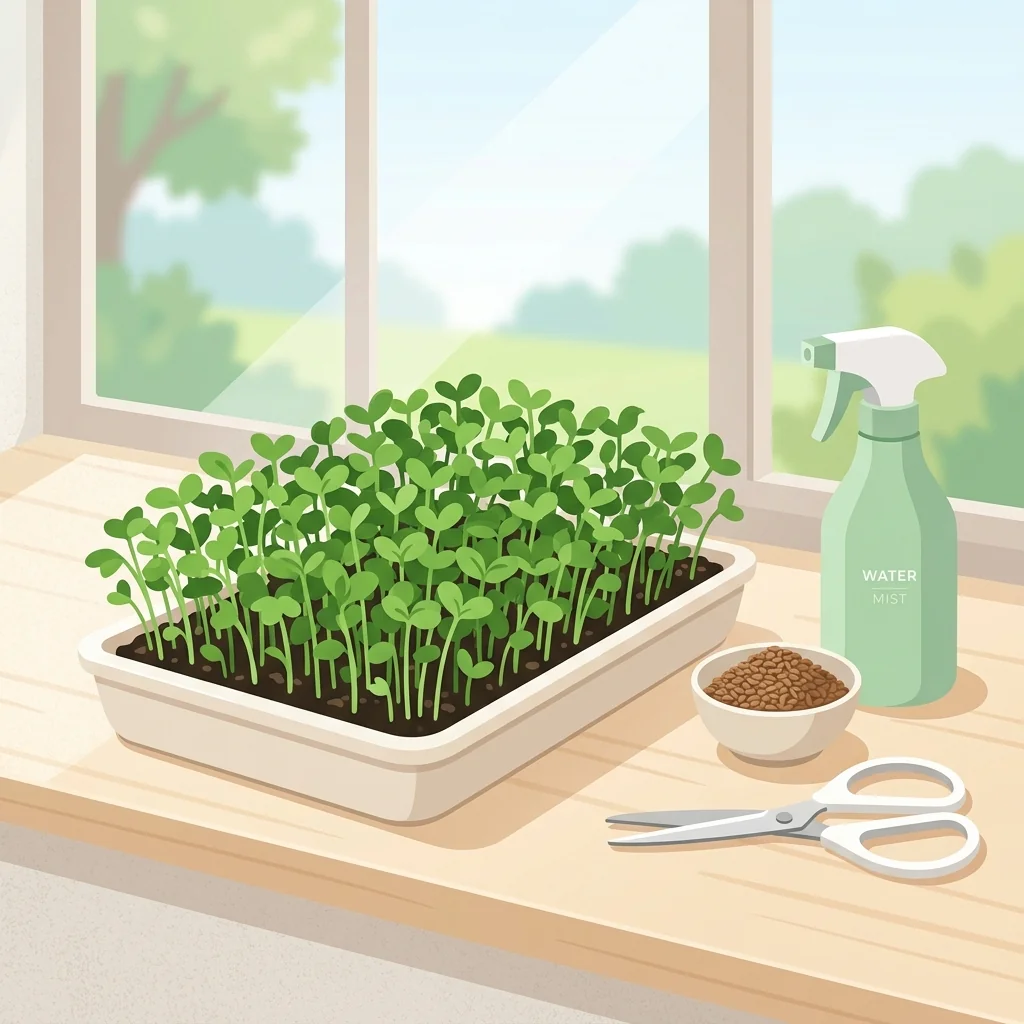
How to grow microgreens at home: a beginner's guide
Microgreens are the fastest crop you can grow indoors. This beginner guide walks through sowing, watering, light, and harvesting your first tray in about ten days.
A beginner topic hub for growing microgreens at home: easy varieties, simple soil and no-soil methods, lighting, and harvesting your first tray fast.
Microgreens are the fastest crop you can grow indoors. This beginner guide walks through sowing, watering, light, and harvesting your first tray in about ten days.
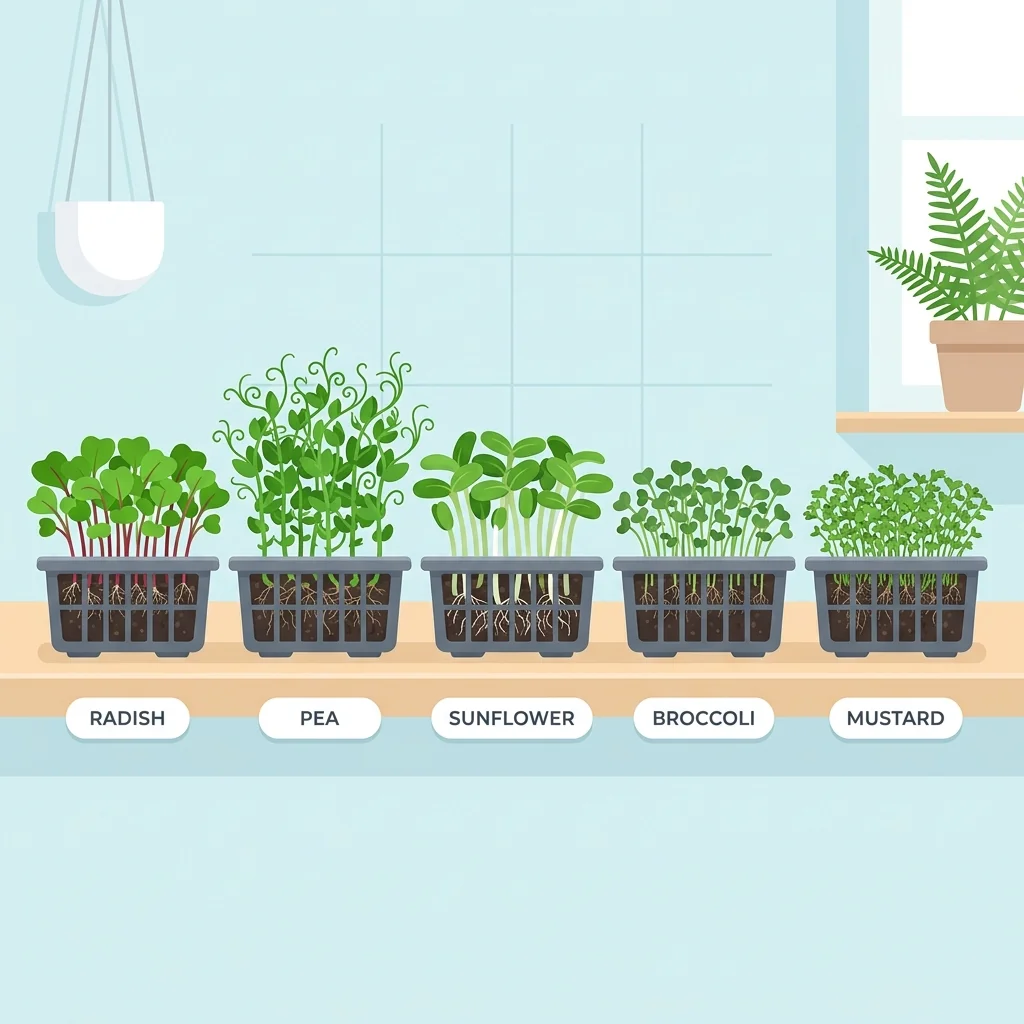
Start with microgreens that germinate fast and forgive mistakes. Radish, peas, sunflower, broccoli, and mustard are the easiest first trays, ready in about a week.
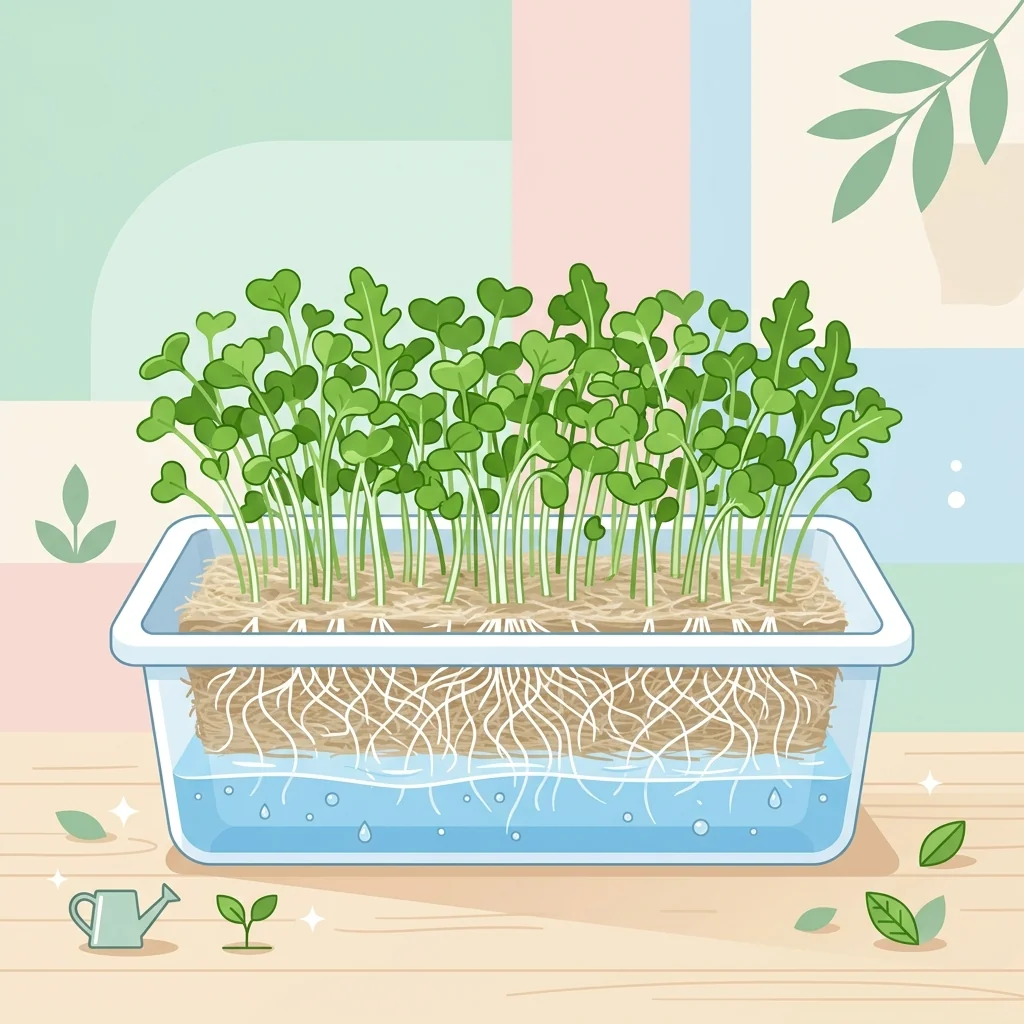
No soil, no mess. Grow microgreens hydroponically on a grow mat or pad for clean, tidy trays indoors. Here is how the soil-free method works and where it shines.
Microgreens are the quickest win in indoor growing. Sow a tray of seeds densely, give them light and water, and in one to two weeks you harvest a nutrient-dense crop of tiny greens — no big containers, no long season, and very little that can go wrong. That speed and simplicity is why they are an ideal entry point for anyone with a windowsill or a small shelf.
Microgreens are young seedlings of edible plants — radish, pea, broccoli, sunflower, mustard, and many herbs — harvested just after the first true leaves appear, usually 7 to 21 days from sowing. They are not sprouts (which are germinated in water and eaten root and all); microgreens are grown in a medium or on a pad, cut above the roots, and eaten as tender greens.
A single shallow tray on a windowsill produces a generous harvest, and a modest grow light lets you crop them year-round regardless of season or sun. Because the whole cycle is so short, mistakes are cheap: a failed tray costs a couple of weeks, not a summer.
Start with the beginner how-to to grow your first tray, use the variety guide to pick forgiving seeds, and see the no-soil method if you want a tidier indoor setup. Then use the bottom-watering guide to control moisture and the mold-versus-root-hairs guide when a tray needs a safety-first diagnosis.
These grouped sections keep the hub useful for beginners, active growers, and readers solving a specific problem.
The core beginner path: how to grow a first tray, which varieties are easiest, and how to grow without soil.
Microgreens are the fastest crop you can grow indoors. This beginner guide walks through sowing, watering, light, and harvesting your first tray in about ten days.
Start with microgreens that germinate fast and forgive mistakes. Radish, peas, sunflower, broccoli, and mustard are the easiest first trays, ready in about a week.
No soil, no mess. Grow microgreens hydroponically on a grow mat or pad for clean, tidy trays indoors. Here is how the soil-free method works and where it shines.
The short supplies list and the light setup that keeps trays dense and green.
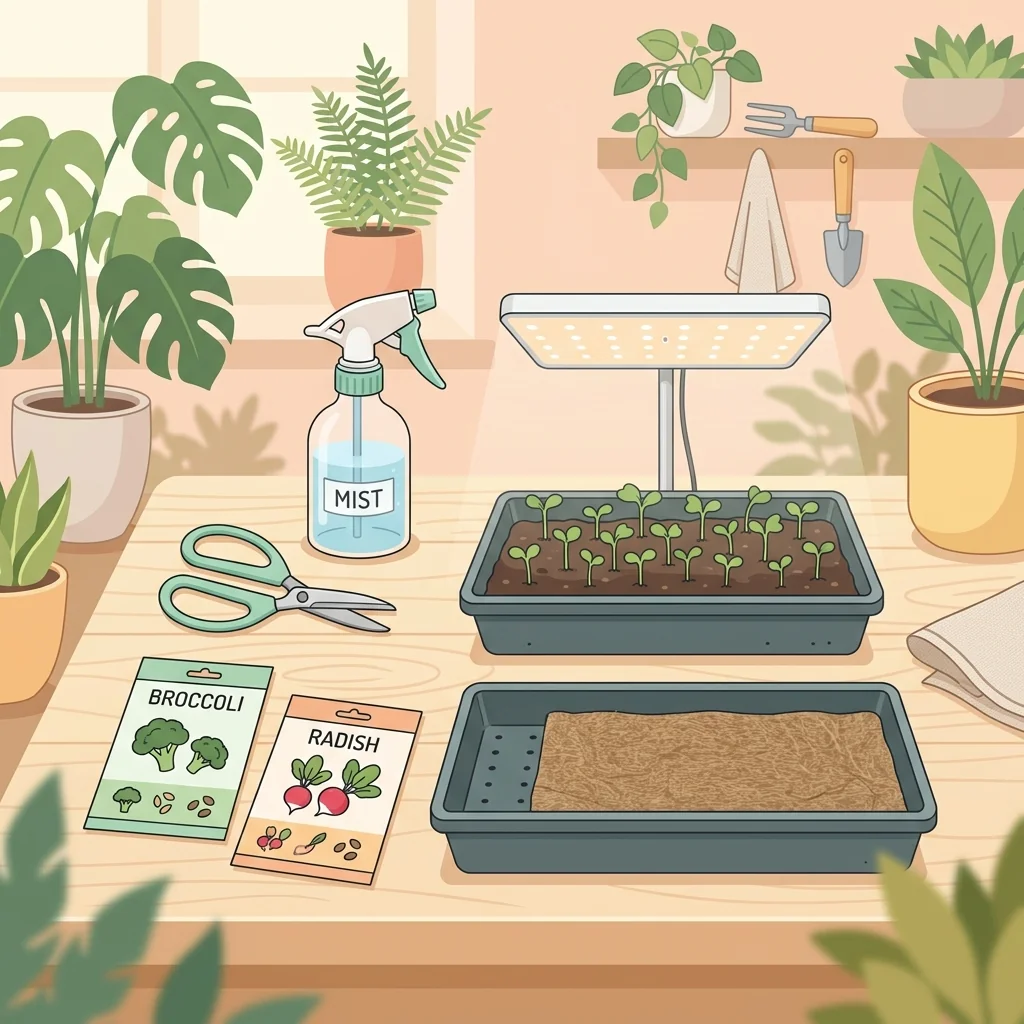
The microgreens supply list is short: tray, medium, seeds, spray bottle, light, scissors. Here is exactly what to get for your first setup and what not to waste money on.
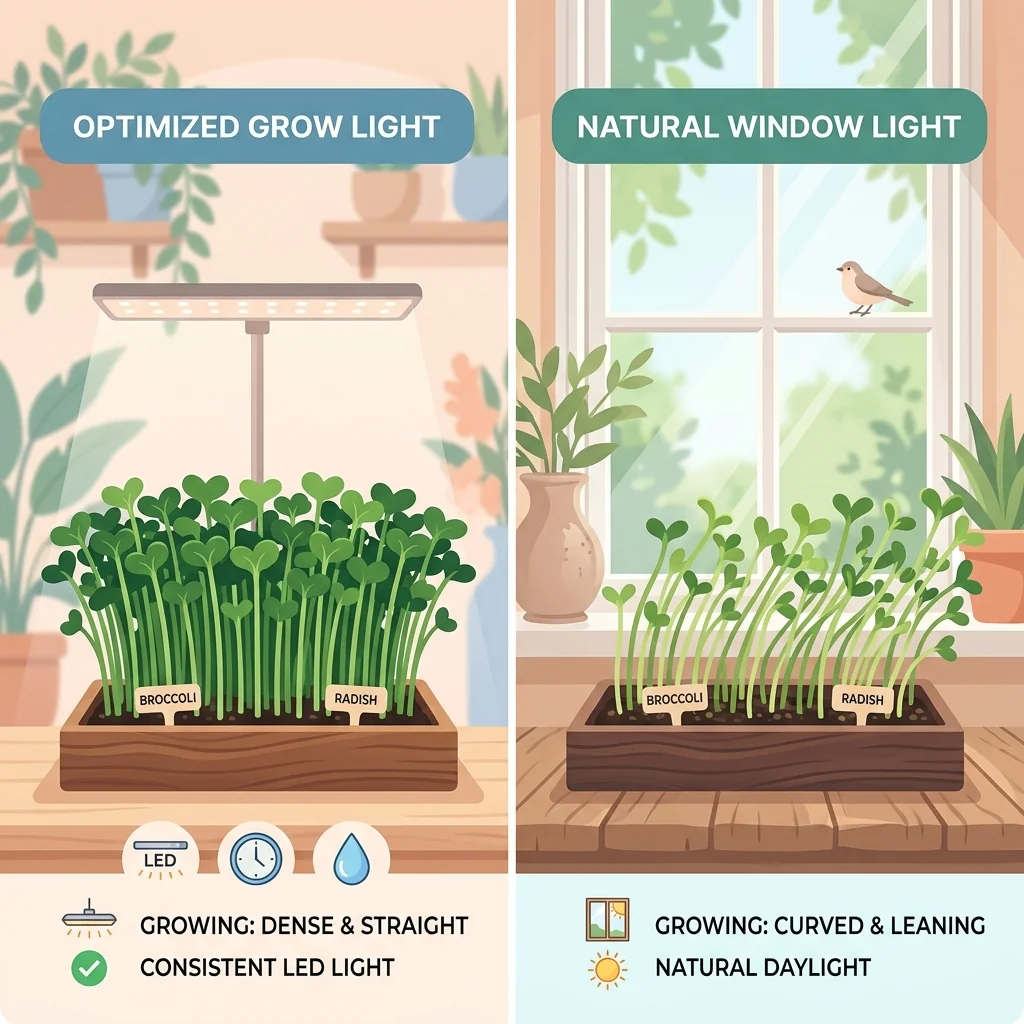
Microgreens are kept dark to germinate, then need good light to stay short and green. Here is how much light they need and the simplest windowsill or LED setup.
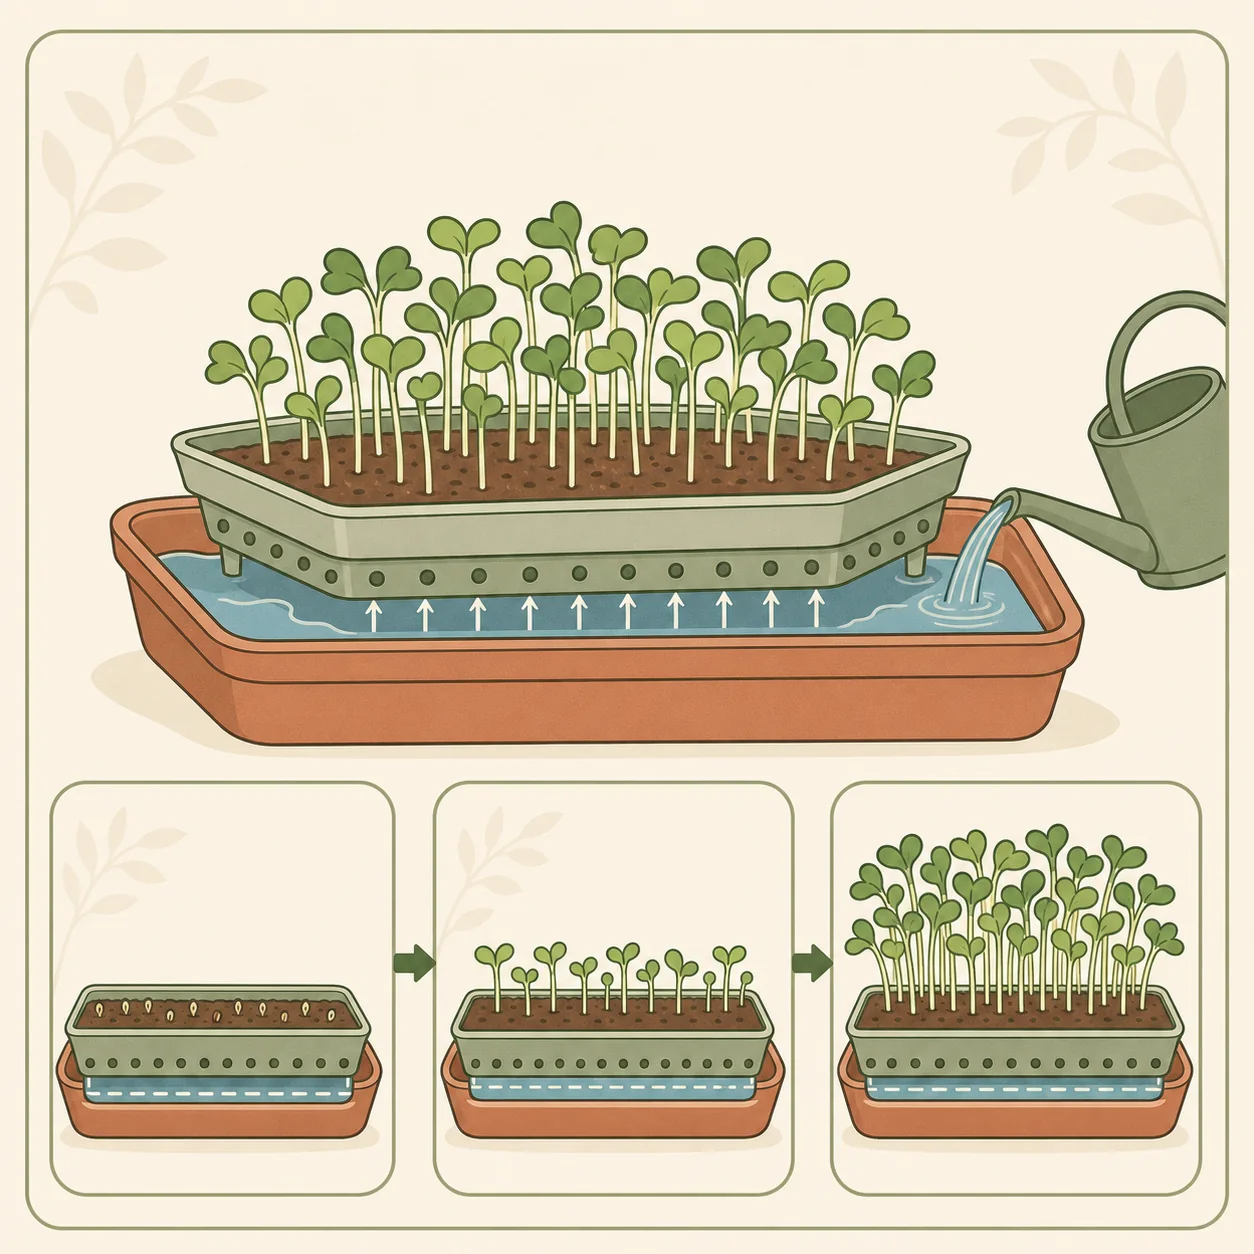
Bottom watering is a controlled transfer, not permanent standing water. Add a measured amount, let the medium absorb it, and drain what remains.
Distinguish normal development from contamination, then correct moisture and sanitation before the next tray.
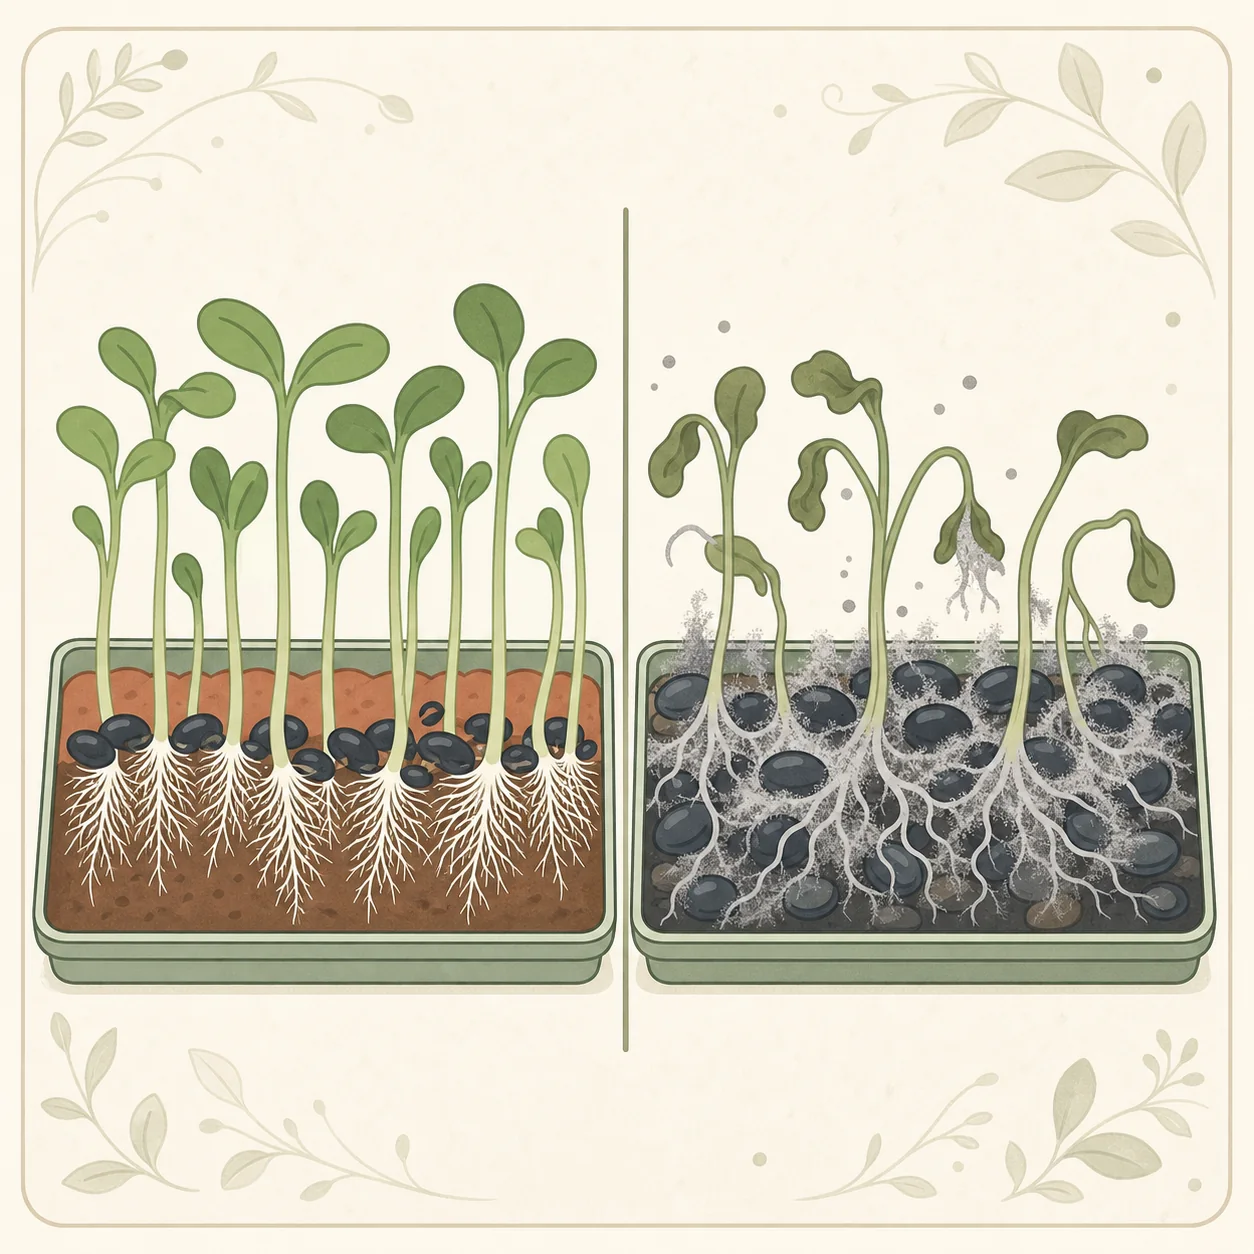
White fuzz around newly emerged roots is often normal root hair growth. Irregular spread, bad odor, slime, or collapsing stems changes the decision.
Bottom watering is a controlled transfer, not permanent standing water. Add a measured amount, let the medium absorb it, and drain what remains.
Microgreens sit next to hydroponics and grow-light growing; these guides connect the topics.
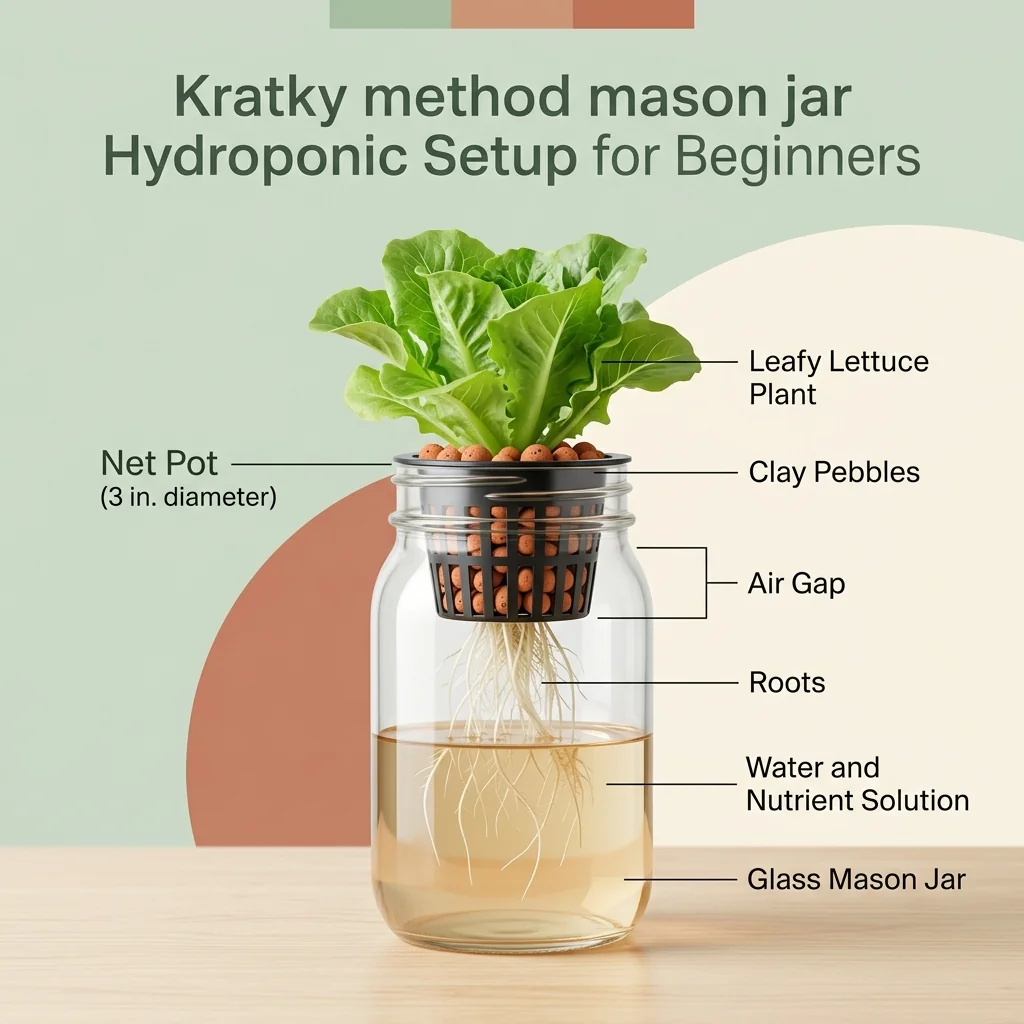
The Kratky method is the simplest way into hydroponics: a container of nutrient solution, a net pot, and no pump or power. Here is how it works and its limits.
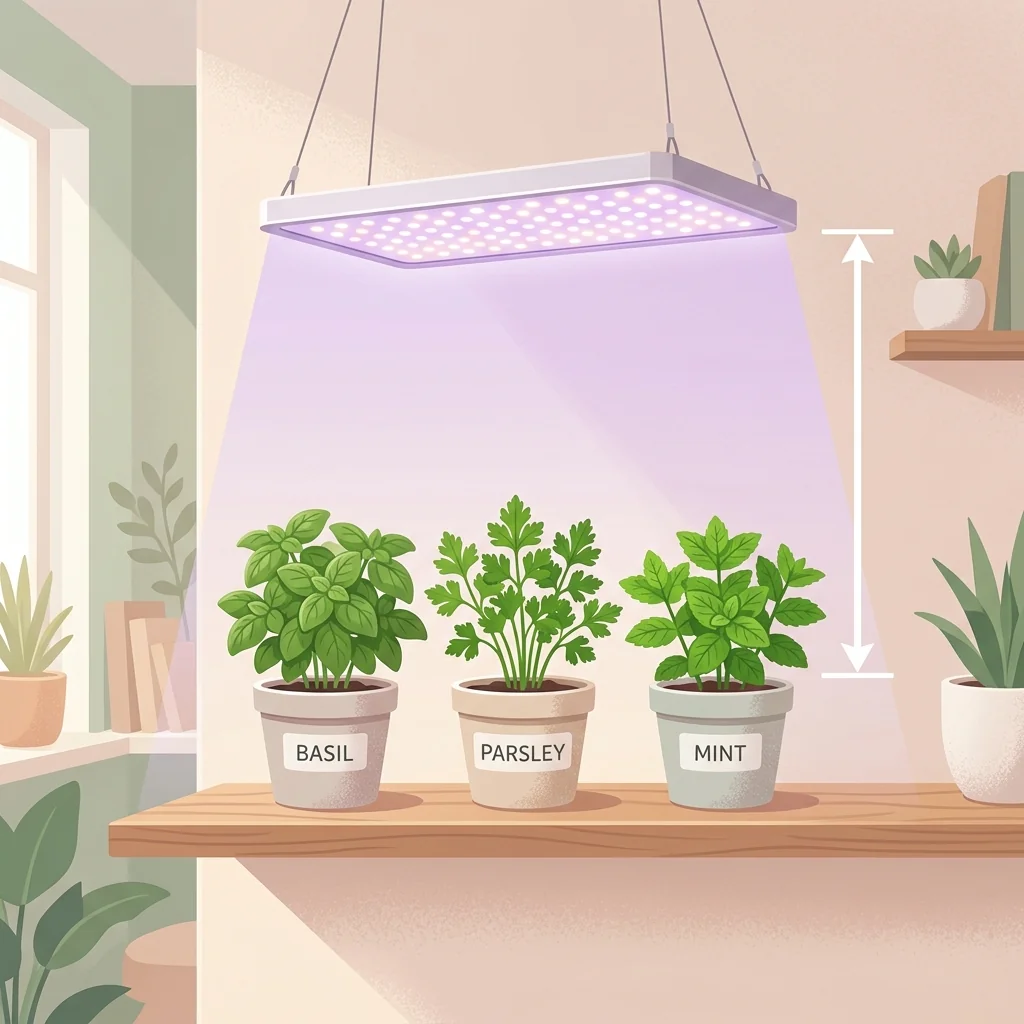
A grow light lets you grow herbs indoors anywhere, even with no sun. Here is the simple end-to-end setup: which light, how high, how long, and how to avoid leggy growth.
This hub keeps the topic curated. If you need a plain utility list instead, use the simplified article archive.
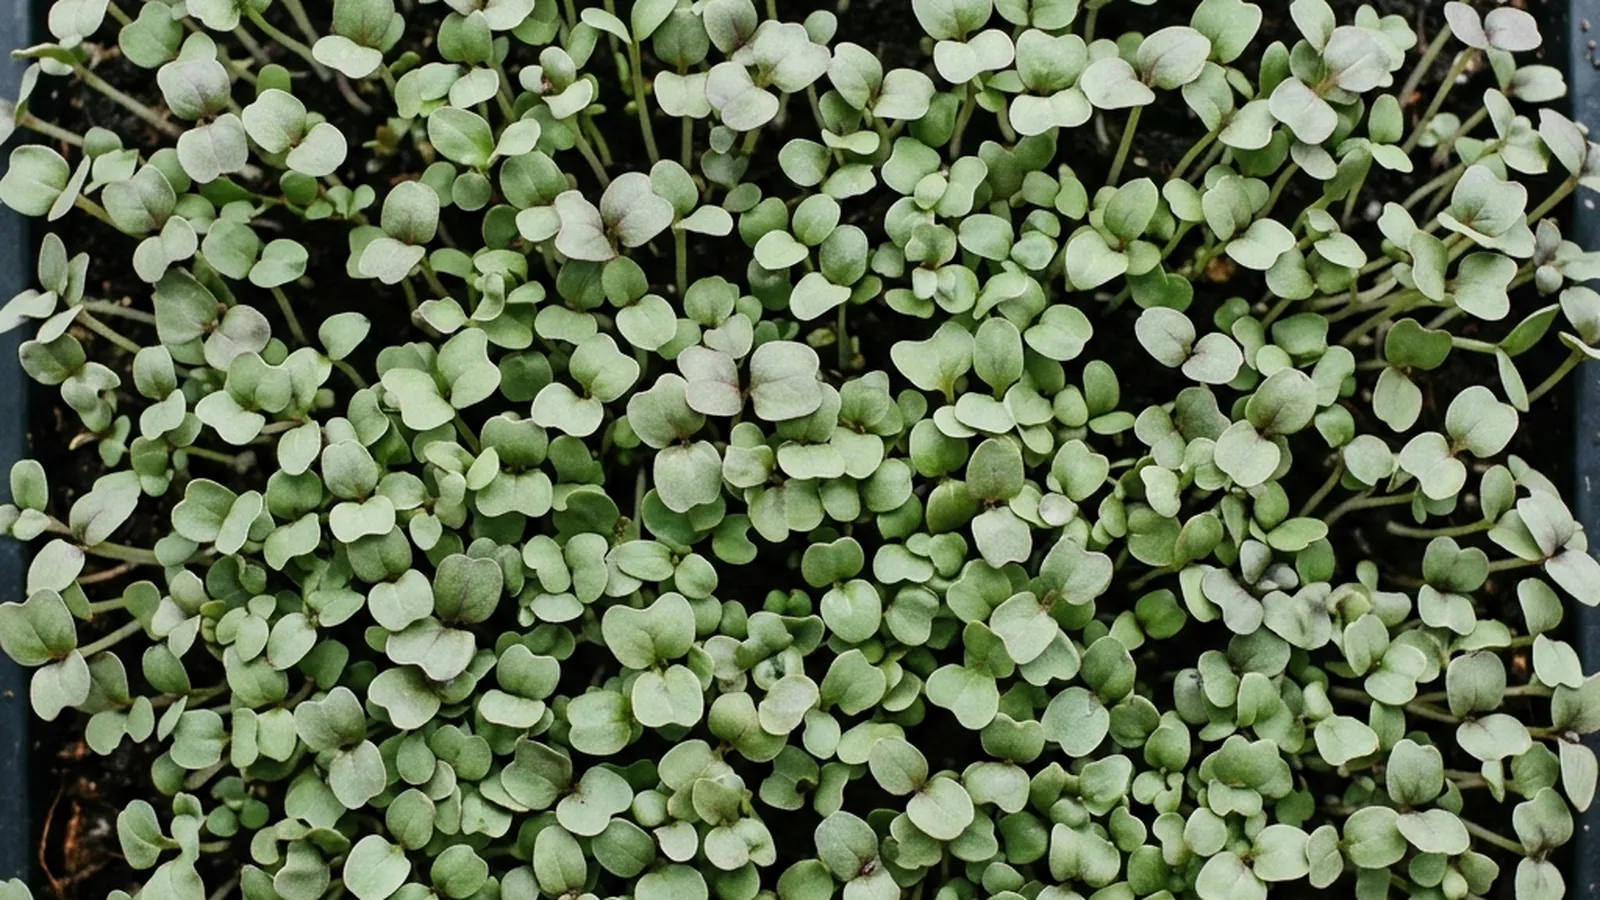
Basil's seed turns to gel instead of soaking, and Utah State puts it at 12 to 16 days to harvest — a mid-pack crop that needs deliberate watering and airflow to avoid mold.

Beet is one of the slower crops in the tray, and its seed is not really one seed at all. That single fact explains most of what looks unusual about it.
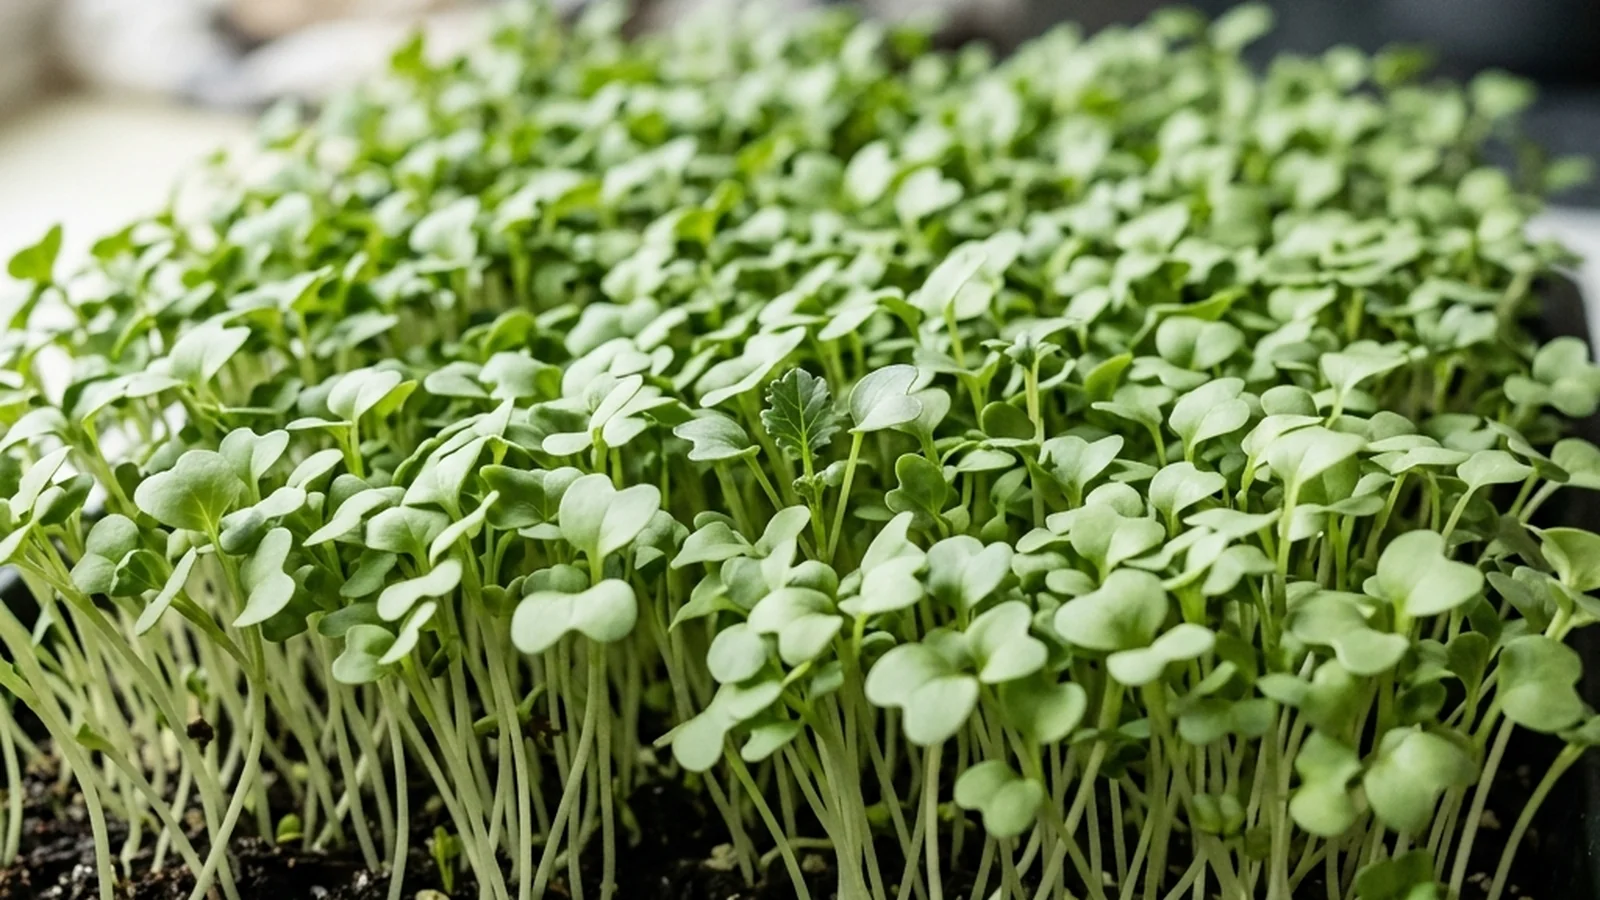
Broccoli microgreens follow the same fast brassica schedule as radish, but the reason people search for them is different. Here is the typical timeline, and what the nutrition claims actually support.
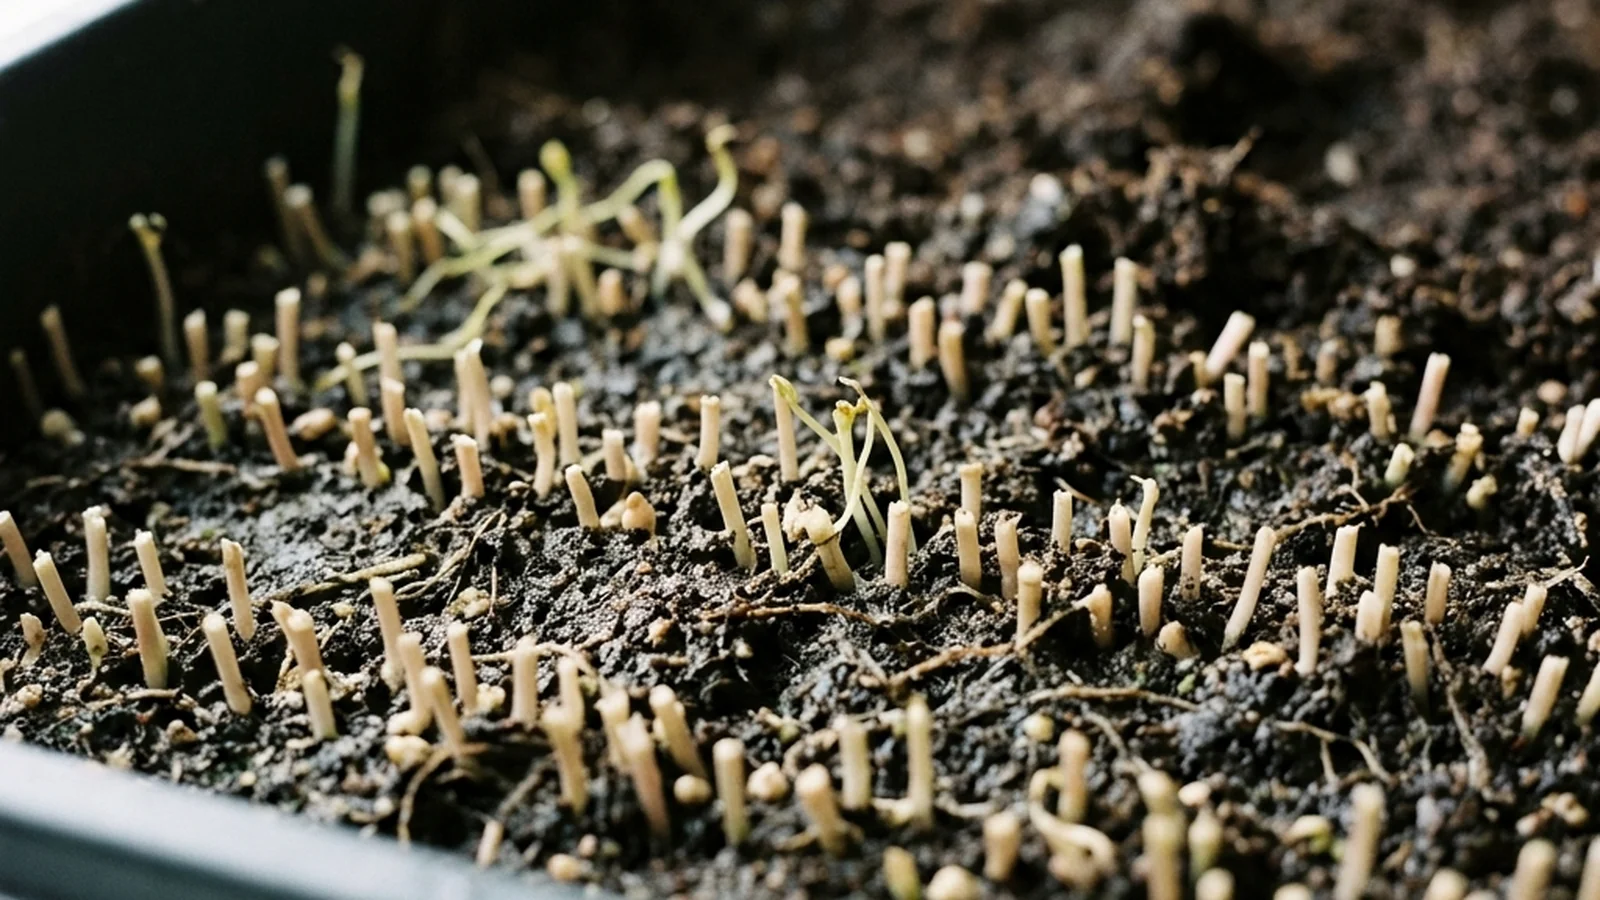
The cut you make decides everything. For almost every crop it removes the one part of the plant that could grow back.

Cilantro microgreens taste like the herb, but the seed is a split fruit and the tray is one of the slowest in the cluster. Here is what that actually changes.
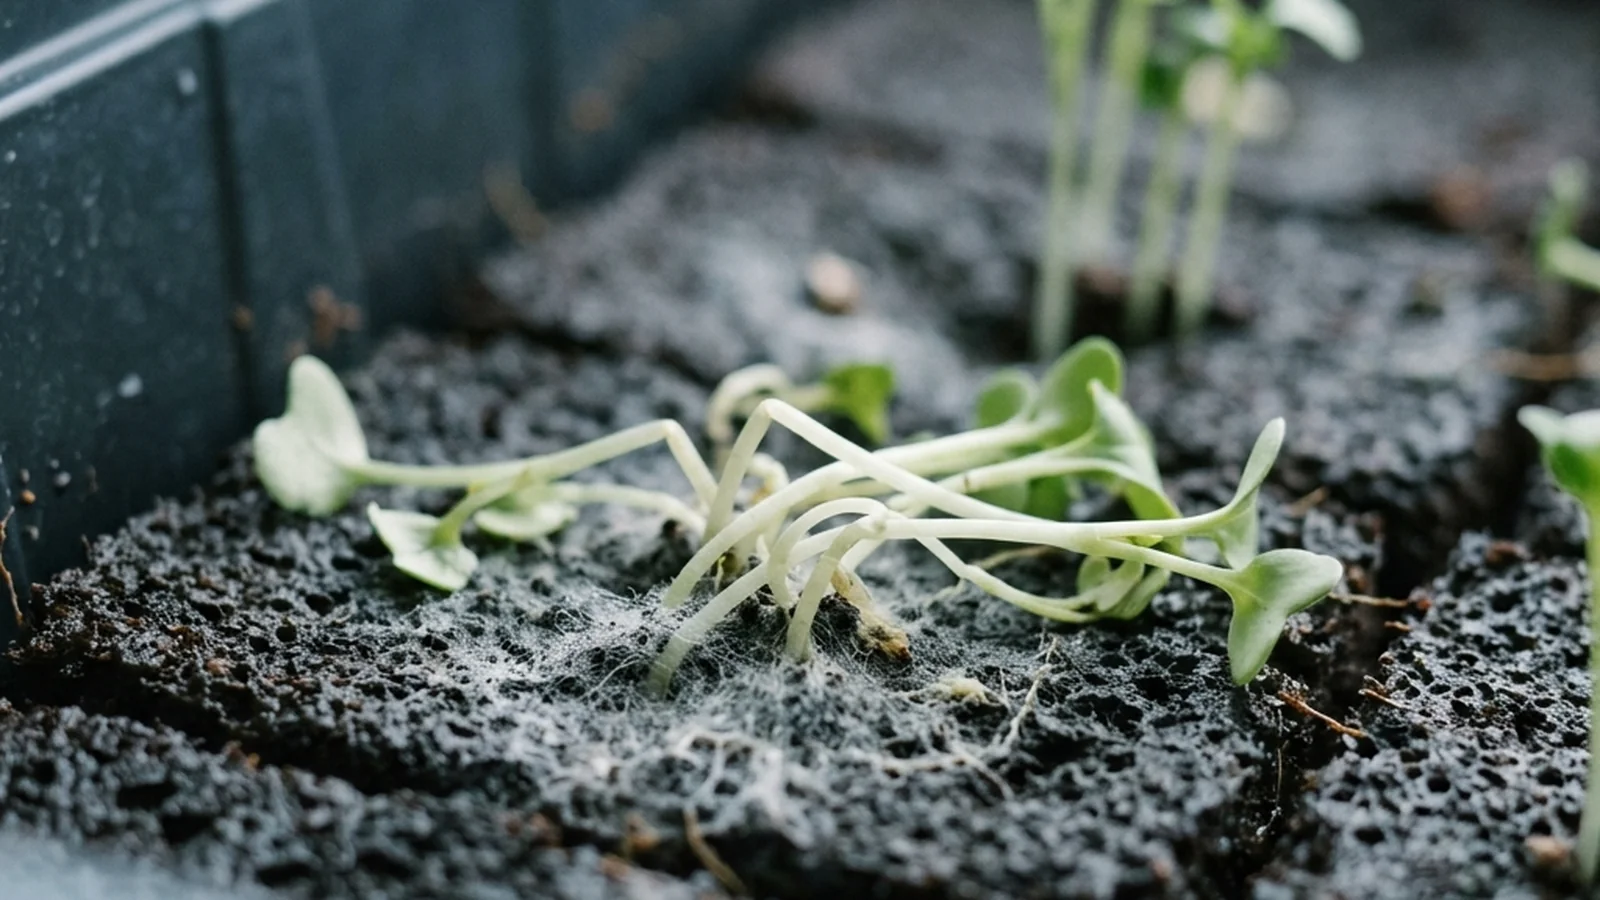
Damping-off attacks the seedling itself, not the tray surface. Here is how to recognize pre- and post-emergence stages and control outbreaks with sanitation, not fungicide.
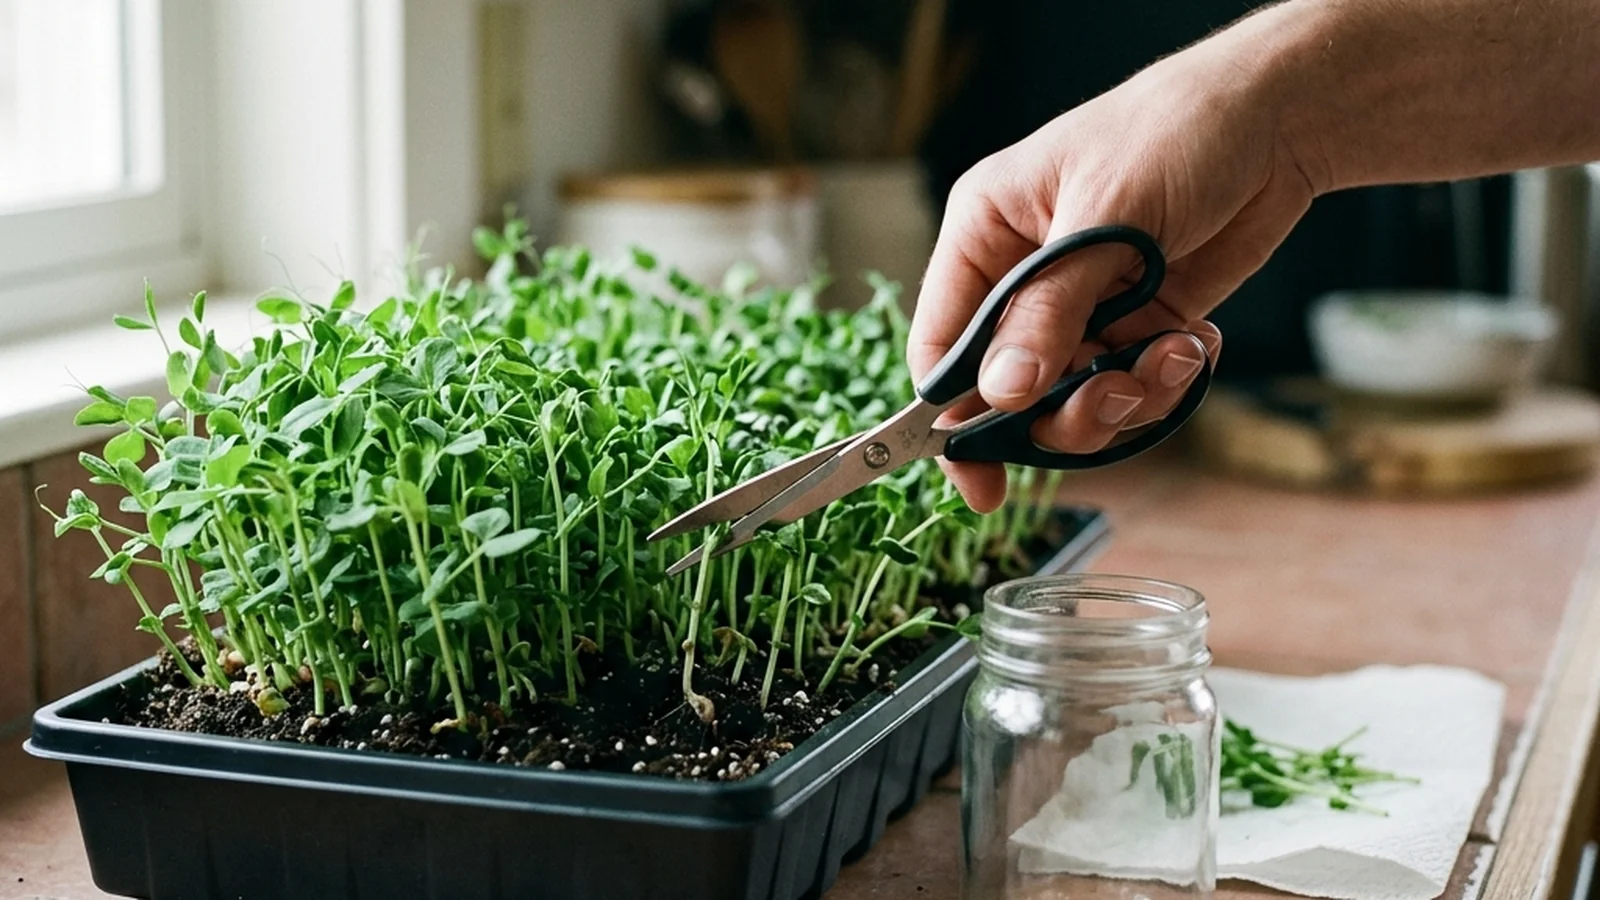
The cut and the fridge decide how long a tray lasts. Here is when to harvest, why you should not wash before storing, and what the shelf-life data actually shows.

Kale and broccoli microgreens grow the same way, on the same clock. The reason to pick one over the other is what you do with the tray after you cut it.
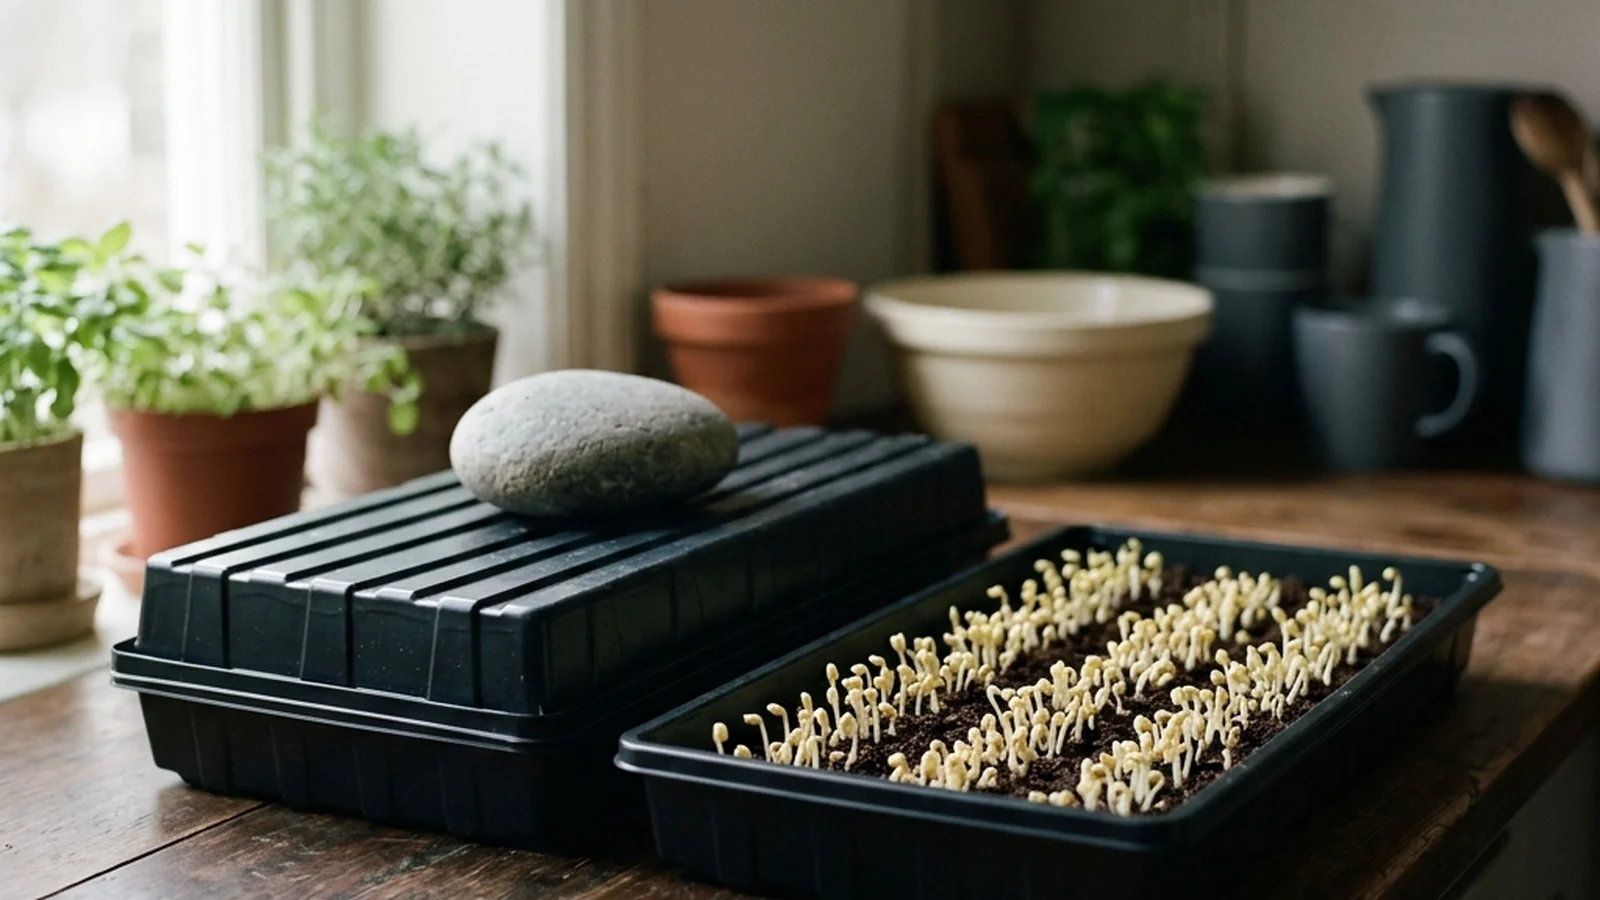
Blackout time varies by crop — Utah State's table runs from 1-2 days for arugula to 7-14 for cilantro. Here is how that compares to the documented blackout methods, and how to judge readiness by the tray instead of the calendar.

Seed, substrate, and light are the only three costs a tray of microgreens has. Enter your own prices below and see what your tray costs per 100 g, not a stranger's estimate.

A collapsed tray is not always damping-off. The stem at the medium line tells you whether the fix is more light, gentler watering, or the compost bin.
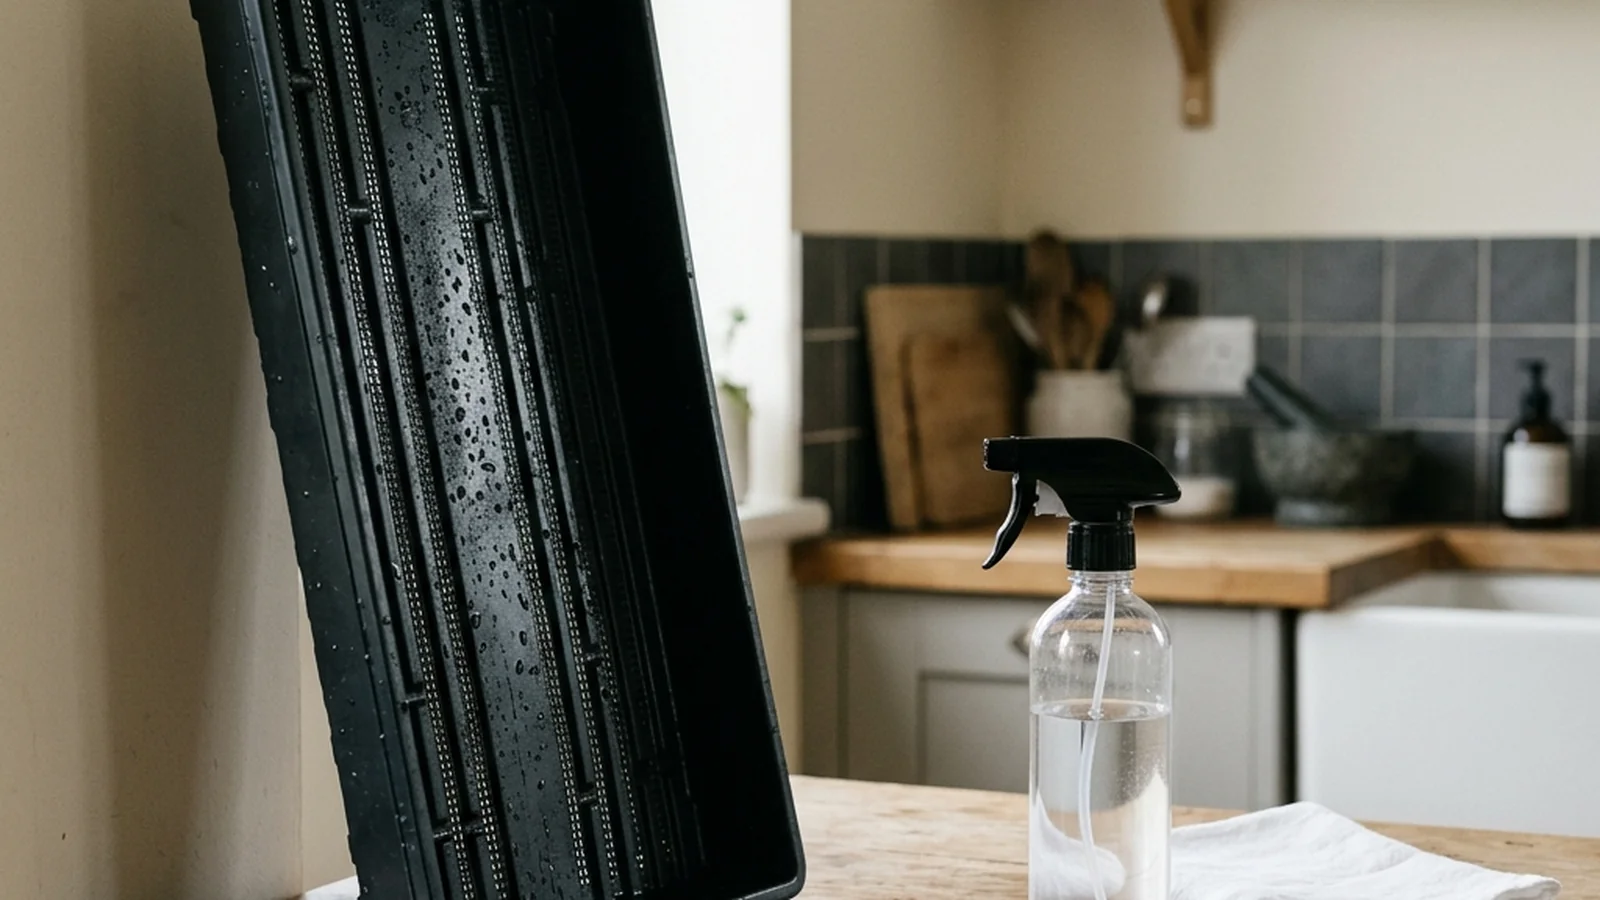
Sprout recalls do not automatically make microgreens risky. The harvest method is what separates them, and one hydroponic setup can erase that gap.

A bare tray after a few days is usually not a dead batch. Most cases trace to timing, a cold room, or moisture - work through the list before assuming the seed failed.

The number gets repeated everywhere, usually stripped of the two words that make it accurate: one nutrient, one crop. Here is what the underlying study actually found, and what that does and does not tell you about eating microgreens.
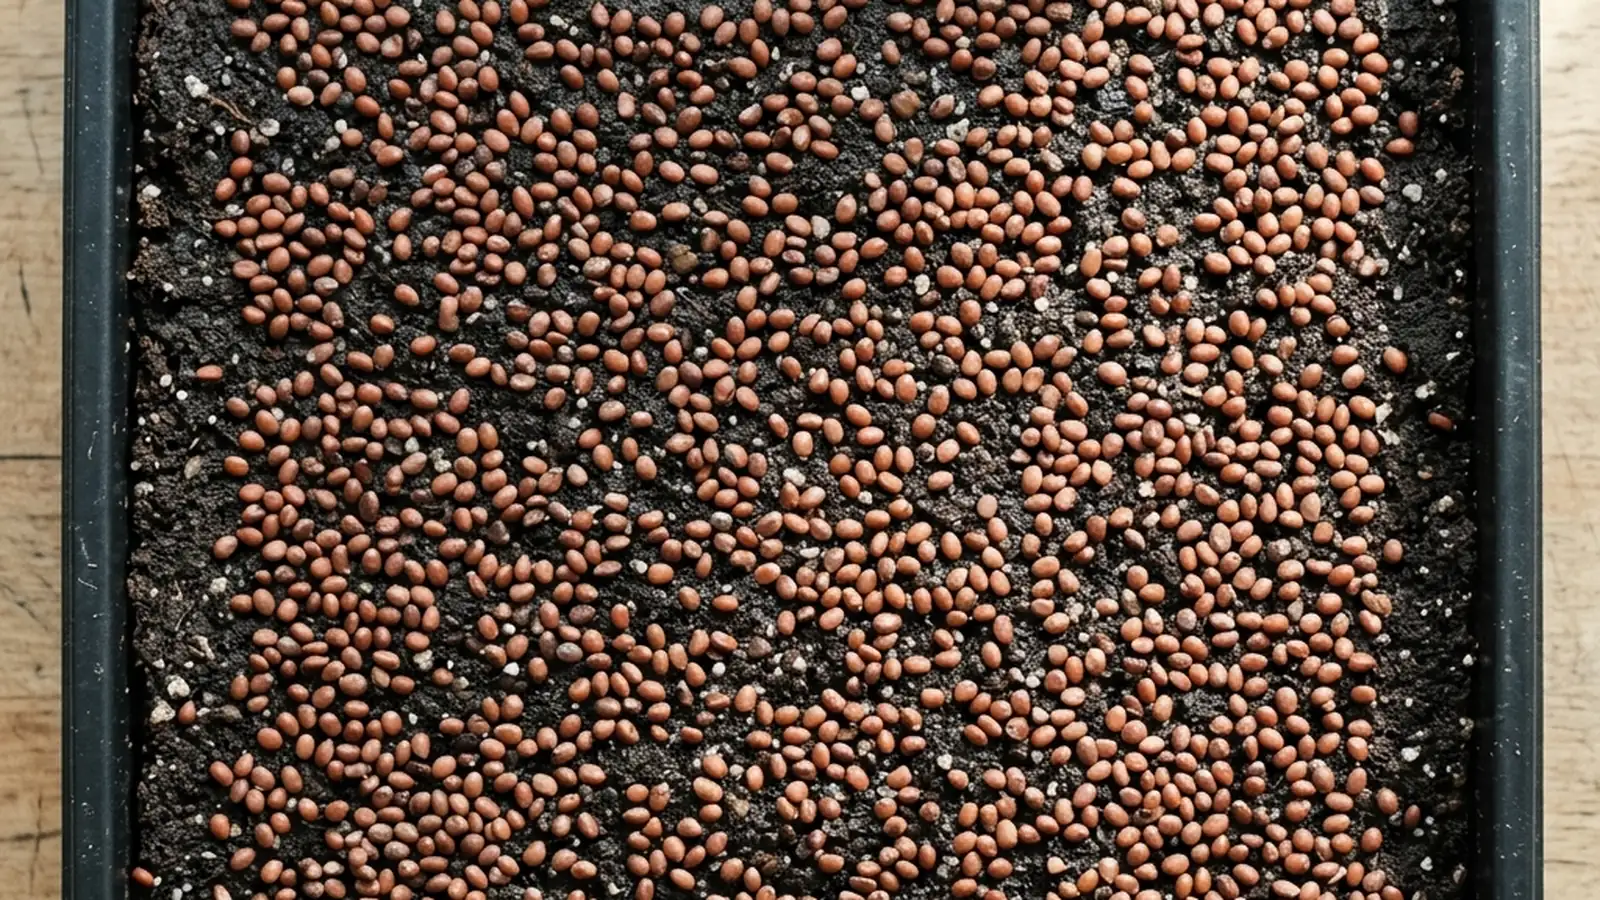
Seed density is the one variable that decides whether a tray comes up as an even carpet or a patchy, mould-prone mat. Here is how to calculate it from your own seed.

Soaking is not a step every crop needs. Two extension sources cover it — one general rule and one per-crop protocol — and they agree with each other.

A tray's calendar depends on the crop in it. Enter a sow date and a variety below and get the blackout, light and harvest dates worked out for you, plus the numbers behind them.
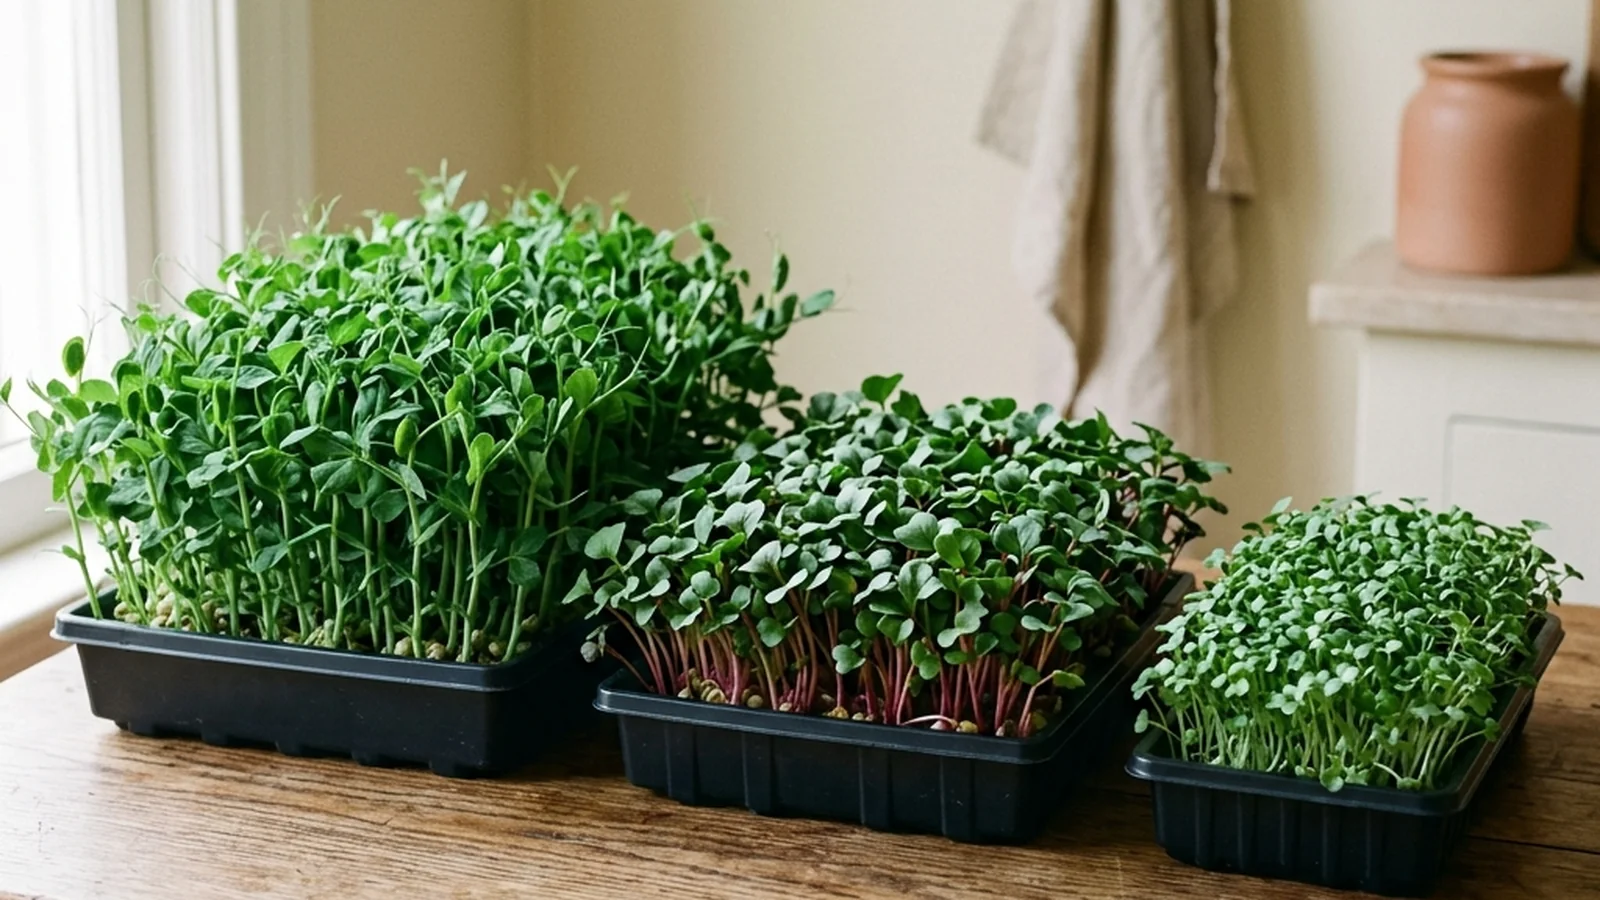
One tray of microgreens can weigh anywhere from 47 to 201 grams at harvest depending on the crop, and the tray size behind that figure matters as much as the crop itself.

Pale, yellow, leggy microgreens right after you lift the cover are usually fine. Here is how to tell that from a light problem, a crowded wet tray, or disease.
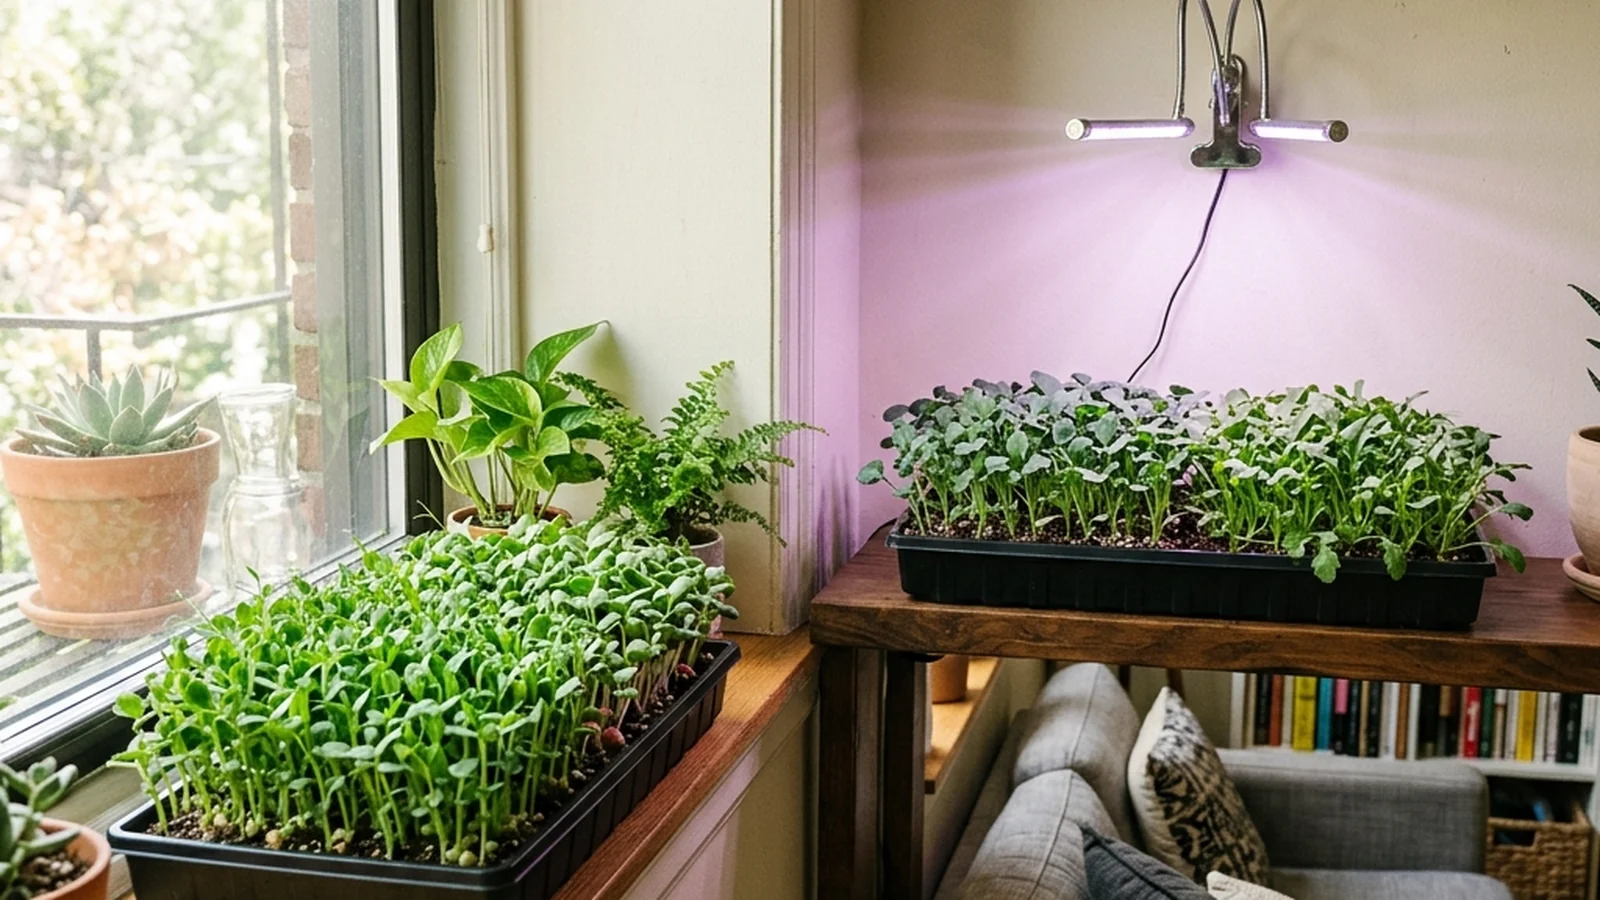
A grow light is not the default requirement it looks like online. This is the decision page: what a window can do for microgreens, and the point where it can't.

Mustard is the brassica people either love or badly over-sow. Sown like broccoli, a full tray delivers far more heat than most first-timers want.
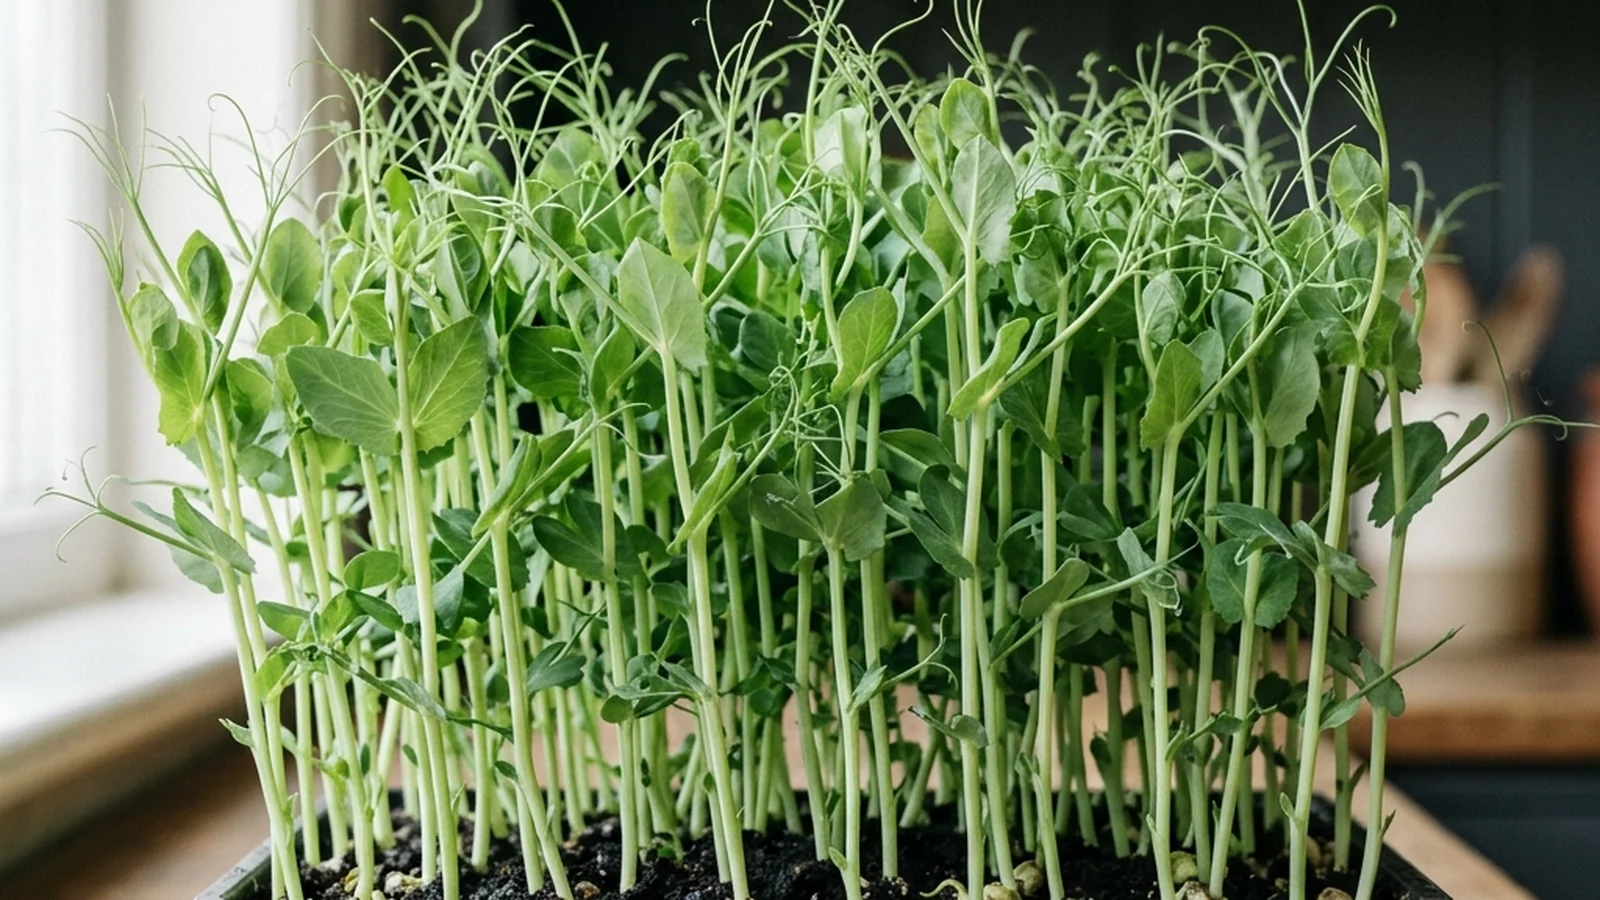
Pea shoots are the one microgreen documented to regrow. Here is the realistic day-by-day timeline, the long soak they need, and exactly where to make the cut.
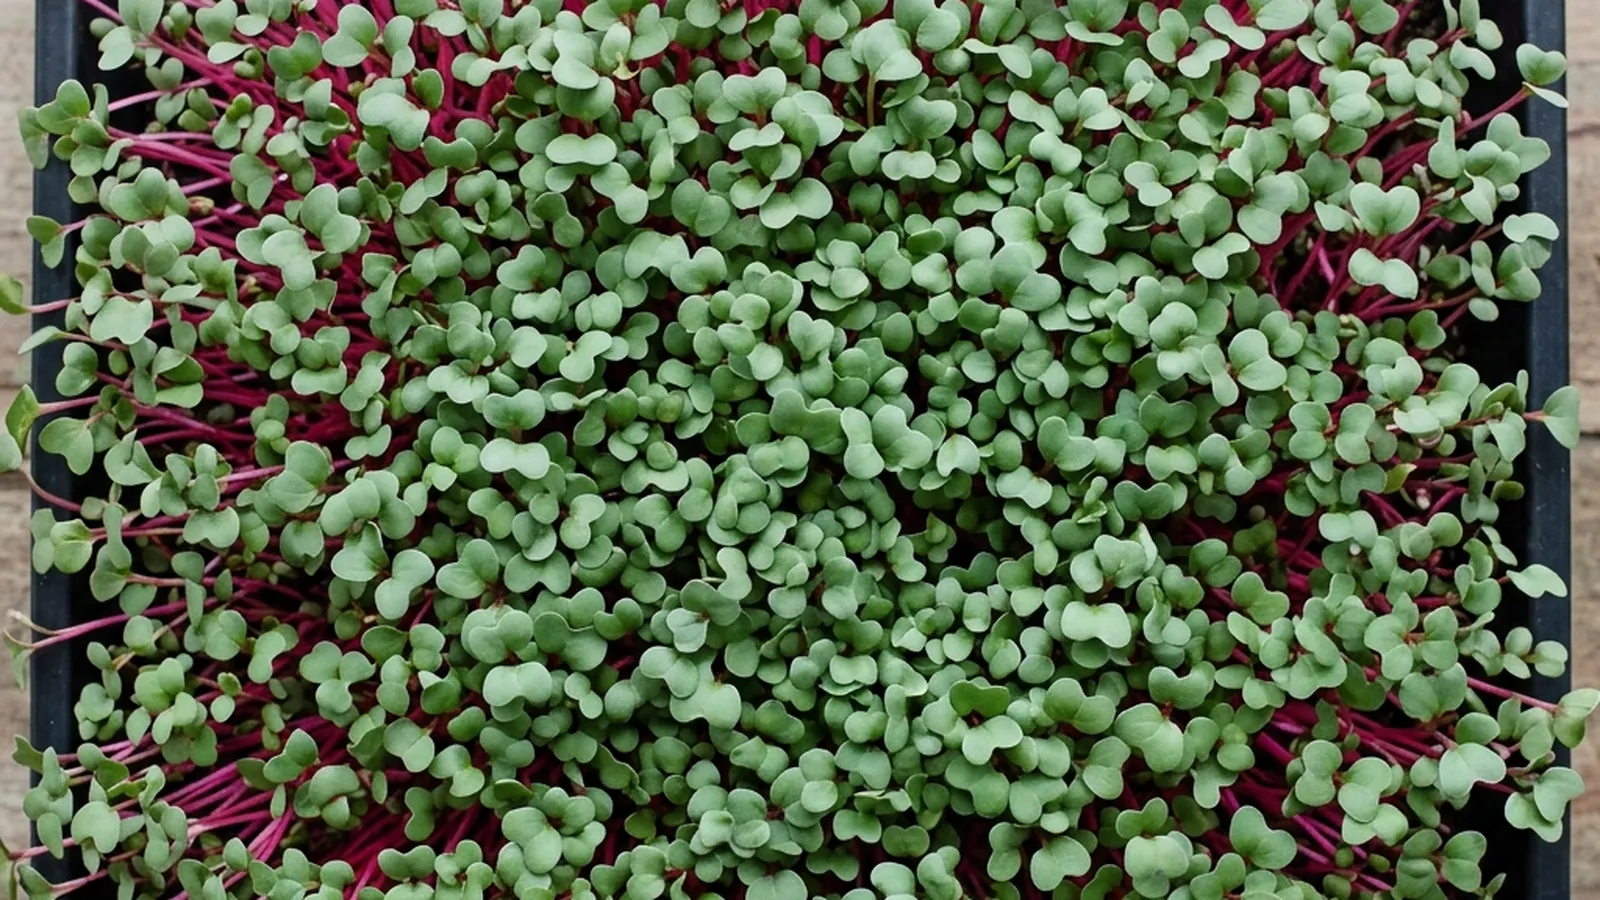
Radish is one of the fastest common microgreens, which is why it works as the benchmark crop for beginners. Here is the realistic week it takes, stage by stage.
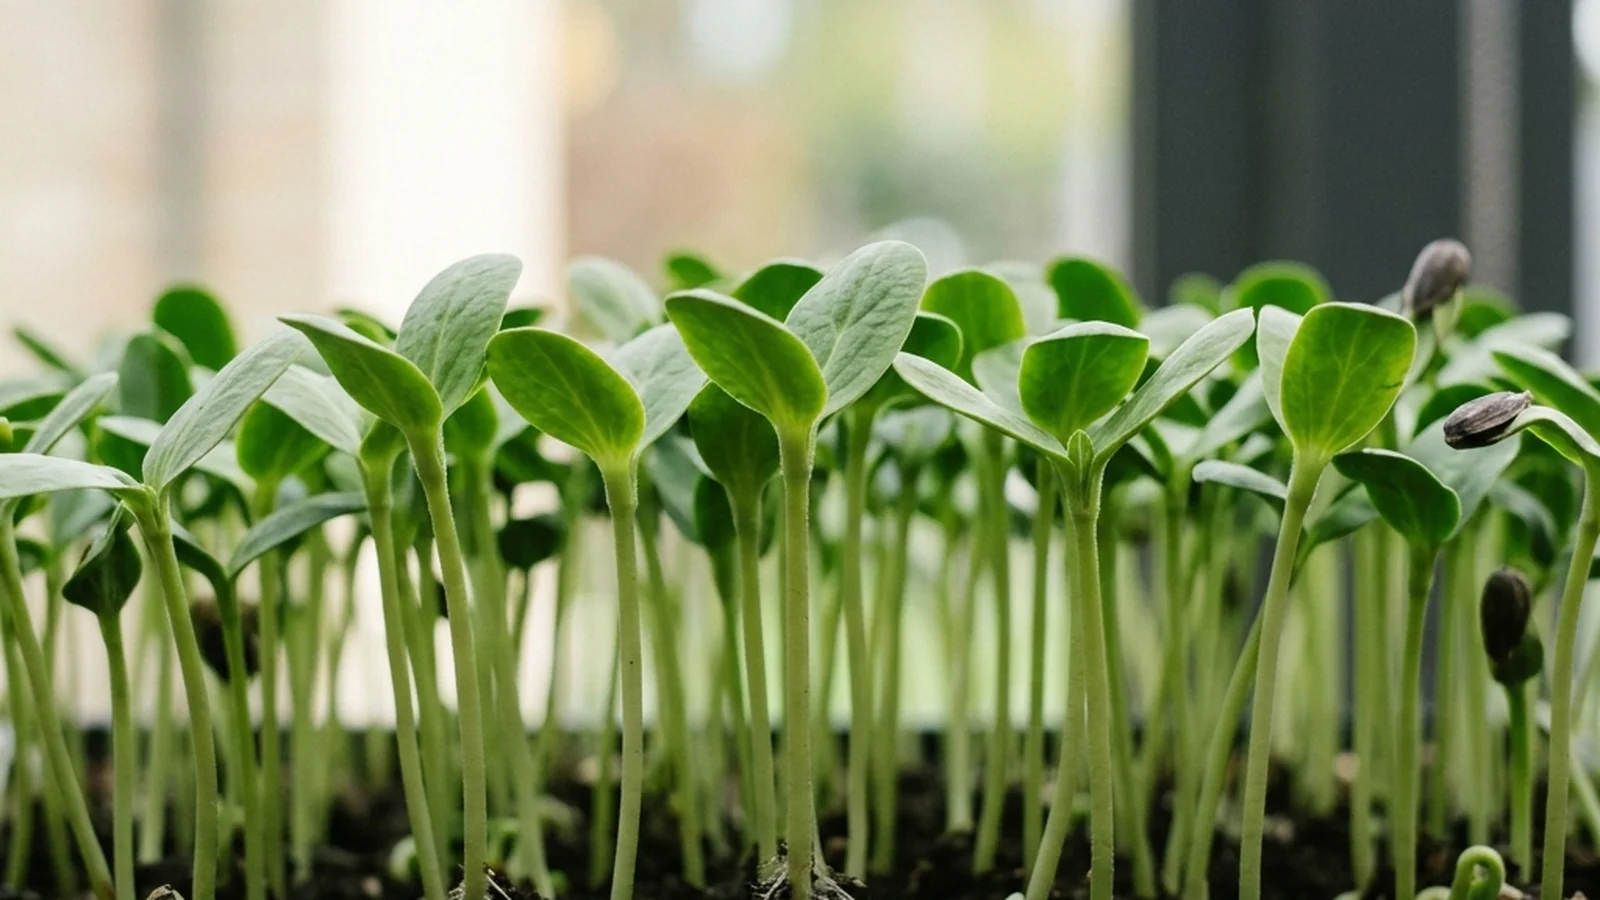
Sunflower microgreens follow the same basic method as other crops, but the seed changes the process — a real presoak, a heavier blackout weight, and hulls that often do not let go of the cotyledons on their own.

Same seed tray, same water, two very different harvests. The line between wheatgrass and microgreens comes down to one decision: are you eating the leaf, or juicing it?
Bottom watering is a controlled transfer, not permanent standing water. Add a measured amount, let the medium absorb it, and drain what remains.
White fuzz around newly emerged roots is often normal root hair growth. Irregular spread, bad odor, slime, or collapsing stems changes the decision.
Microgreens are kept dark to germinate, then need good light to stay short and green. Here is how much light they need and the simplest windowsill or LED setup.
The microgreens supply list is short: tray, medium, seeds, spray bottle, light, scissors. Here is exactly what to get for your first setup and what not to waste money on.
Start with microgreens that germinate fast and forgive mistakes. Radish, peas, sunflower, broccoli, and mustard are the easiest first trays, ready in about a week.
Microgreens are the fastest crop you can grow indoors. This beginner guide walks through sowing, watering, light, and harvesting your first tray in about ten days.
No soil, no mess. Grow microgreens hydroponically on a grow mat or pad for clean, tidy trays indoors. Here is how the soil-free method works and where it shines.