
Three routes to home-grown oyster mushrooms
| Route | What you do | Effort | Best for |
|---|---|---|---|
| Ready-made kit | Soak or moisten the colonised block, then mist and wait for pins | Lowest | First-timers and small apartments |
| Spawn and your own substrate | Pasteurise straw, mix in spawn, run the bags in the dark, then move them to fruiting conditions | Moderate; needs clean working and a place to incubate | Growers who want more than a few blocks |
| Your own spawn | Prepare cultures and spawn before inoculating a substrate | Highest | Experienced growers only |
Buy an oyster mushroom kit, cut it open as the instructions say, keep it moist in indirect light, and cut the clusters when they reach a good size. UF/IFAS Extension calls a kit the easiest way to start growing mushrooms at home, and UVM Extension calls oyster mushrooms the most reliable variety for first-time growers. You do not need soil, a sunny window or a garden. If you already grow herbs on a sill, a kit fits the same small-space growing routine.
What a kit actually is
Mushrooms are the fruiting bodies of a fungus. UF/IFAS Extension points out that they cannot photosynthesise, so they depend on a substrate they slowly digest. In a kit, that substrate is already colonised. UF/IFAS describes oyster kits as a mass of white mycelium that has taken over a tower of straw inside a perforated plastic bag. UVM Extension describes the other common form, a block of sawdust and grain wrapped in plastic.
You are not planting anything. You are persuading a fungus that has already done the hard work to produce its mushrooms.
UVM Extension adds one caution worth reading before you buy: failures happen even with kits, so check whether the seller guarantees the block will fruit.
Set up the kit
Follow your brand’s instructions over any general advice, including this. They differ on whether the block is soaked or stood in water. UVM Extension’s version of the common steps:
- Leave the plastic on, make an X-shaped cut in one side, and moisten the block as directed.
- Add the moisture-retaining cover if the kit includes one.
- Put it in indirect light, for example beside a north-facing window.
- Mist once to several times a day, or adjust the cover, to keep humidity up.
Oysters tolerate ordinary rooms well. UVM Extension says they cope with the drier air common in homes heated by wood stoves, and it adds that shiitake and lion’s mane kits are also good beginner choices but can take longer to mature.
Light matters more than it seems. UF/IFAS explains that fruiting is triggered by light and lower temperatures. For a fruiting chamber, UF/IFAS Extension gives about 20 °C (68 °F), around 90 percent humidity and a cool light source, with enough air exchange to avoid carbon dioxide build-up.
What to expect, week by week
- First week: UVM Extension says it takes about a week or so for anything to happen.
- Weeks 1 to 2: small bumps called pins appear. UVM Extension says pins form within one to two weeks of starting.
- Next few days: pins grow fast, sometimes doubling in size every day, according to UVM Extension.
- Overall: UVM Extension puts oyster, shiitake and lion’s mane at two to three weeks to harvest at the fastest.
UF/IFAS Extension gives a shorter estimate for straw oyster kits, about a week to 10 days after soaking; the box instructions for your kit decide which applies.
Humidity and fresh air
Both are needed, and they pull against each other. Humidity keeps pins from drying out. Fresh air stops carbon dioxide from building up around the bag, which UF/IFAS flags as a fruiting problem. The balance the extension sources describe: mist or use the cover to keep the surface damp, but leave the air exchange your kit’s instructions allow rather than sealing the block in.
Use clean water for misting. UNH Extension specifies clean water, with zero detectable E. coli, for humidifying a grow room and cleaning the hands, tools and containers that touch mushrooms. Wash your hands with soap and clean water for 20 seconds before handling the crop, as UNH Extension advises.
Contamination: what a bad block looks like
White fuzz is the fungus you want. Colour is the warning. UF/IFAS Extension says to look for blue, green, black or yellow spots, which indicate unwanted fungi or bacteria. Trichoderma is a common contaminant and grows rapidly and greenish. Highly contaminated bags are best removed and discarded. UF/IFAS adds that partly contaminated bags may still give at least one flush. That speaks to yield, not to whether the mushrooms are fit to eat, so when in doubt, bin the block.
White growth on the surface of potting soil is a different problem; white mold on plant soil covers that.
Harvest
Cut or twist the clusters off when they reach a size you like. UVM Extension says to cut the stem with sharp scissors or a knife; UF/IFAS says to twist and gently pull, or cut flush with the substrate. UF/IFAS notes that oysters taste best harvested young, when they are more tender and mild, and UVM Extension warns to pick before they pass their prime. Several stages of growth can be present at once.
A second flush
After the first crop, UVM Extension says to rest the block for about a week in a cool, dry place, then soak and water it again. Later flushes take longer and yield less. UF/IFAS says to expect two to four more flushes depending on strain and conditions. When the block stops producing, UVM Extension suggests adding it to your compost pile or garden beds.
Store and preserve the harvest
UVM Extension says fresh mushrooms keep in a paper bag in the refrigerator for about a week. UNH Extension, citing USDA Agriculture Handbook No. 66, gives 32 to 34 °F at 95 percent humidity as ideal, with a 7 to 9 day shelf life, and says storage at 36 °F cuts that to 3 to 5 days.
Do not seal them in an airtight container. UNH Extension says mushrooms respire quickly, and packaging that blocks airflow leads to fermentation, a slimy texture and faster spoilage. UNH Extension also notes that very low oxygen levels can promote the growth of Clostridium botulinum. A paper bag works. Discard anything slimy.
To dry a surplus, UVM Extension slices them about 1/4 inch thick, spaces the pieces on a dehydrator tray and runs it at 110 to 120 °F for 4 to 8 hours, until the pieces are dry and leathery. Stored in an airtight container somewhere cool and dry, they keep for up to a year. Rehydrate in about 30 minutes in the liquid you are cooking with.
Making your own substrate instead
UF/IFAS Extension lists two further routes beyond the kit: buy spawn and inoculate your own substrate, or produce your own spawn. Its oyster guide for the first route cuts straw into 4 to 5 inch pieces, soaks it overnight, holds it at 165 °F in a water bath for 1 to 2 hours, then mixes in spawn at 5 to 10 percent by volume or weight. The bags are incubated in the dark at 24 to 25 °C (75 to 77 °F) and 80 to 90 percent humidity for two to three weeks, until the straw is fully white. Inoculate as soon as the straw has drained and cooled, UF/IFAS says, to reduce colonisation by undesirable fungi.
That is a project with several places to go wrong, and the full protocol is in UF/IFAS publication SL448. If you are using a container for any of it, food-safe containers covers what is safe to use around food, and the cleaning habits in microgreens food safety apply to a mushroom shelf too.
One more point from UF/IFAS: some oyster species are invasive, including the golden oyster mushroom, so check the species before choosing spawn or a kit.
A safety limit
Everything above is about mushrooms you have grown from a kit or bought. The Minnesota Regional Poison Center advises against eating any wild mushroom unless a trained mushroom expert has identified it, and notes that cooking does not make a poisonous mushroom safe and that symptoms can take several hours to days to appear. A mushroom that turns up in a plant pot or compost is not part of any kit. If someone has eaten one, call Poison Help on 1-800-222-1222.
Sources
- UF/IFAS Gardening Solutions: Growing Mushrooms at Home
- UF/IFAS EDIS SL448: D.I.Y. FunGuide: Grow Your Own Oyster Mushrooms at Home
- UVM Extension: Grow Gourmet Mushrooms At Home
- UVM Extension: Growing Mushrooms Indoors
- UNH Extension: Boosting the Quality and Safety of Specialty Mushrooms
- Minnesota Regional Poison Center: News alerts
Grow food indoors
More ways to produce food in a small apartment without a yard.
Common questions
How long do oyster mushroom kits take to grow?
UF/IFAS Extension says an oyster kit should be ready to harvest about a week to 10 days after soaking. UVM Extension says pins appear within one to two weeks and that oyster, shiitake and lion's mane kits can be ready in as little as two to three weeks. Kit brands differ, so the instructions in your box set the timeline.
Do oyster mushrooms need sunlight?
No. UVM Extension says mushrooms do not need soil or sunlight to produce a harvest, and recommends indirect light, such as the side of a north-facing window. UF/IFAS notes that fruiting is triggered by light and cooler temperatures, so a kit in a permanently dark cupboard is the wrong place.
What do you do if a mushroom kit grows green mold?
Green growth is often Trichoderma, which UF/IFAS Extension describes as rapid greenish growth. It lists blue, green, black and yellow spots as signs of contamination and says heavily contaminated bags are best removed and discarded.
Can you get a second harvest from a mushroom kit?
Often, yes. UVM Extension says to rest the block for about a week in a cool, dry place, then soak and water it again, and warns that later harvests take longer and yield less. UF/IFAS says to expect two to four more flushes after the first, depending on the strain and conditions.
Related guides
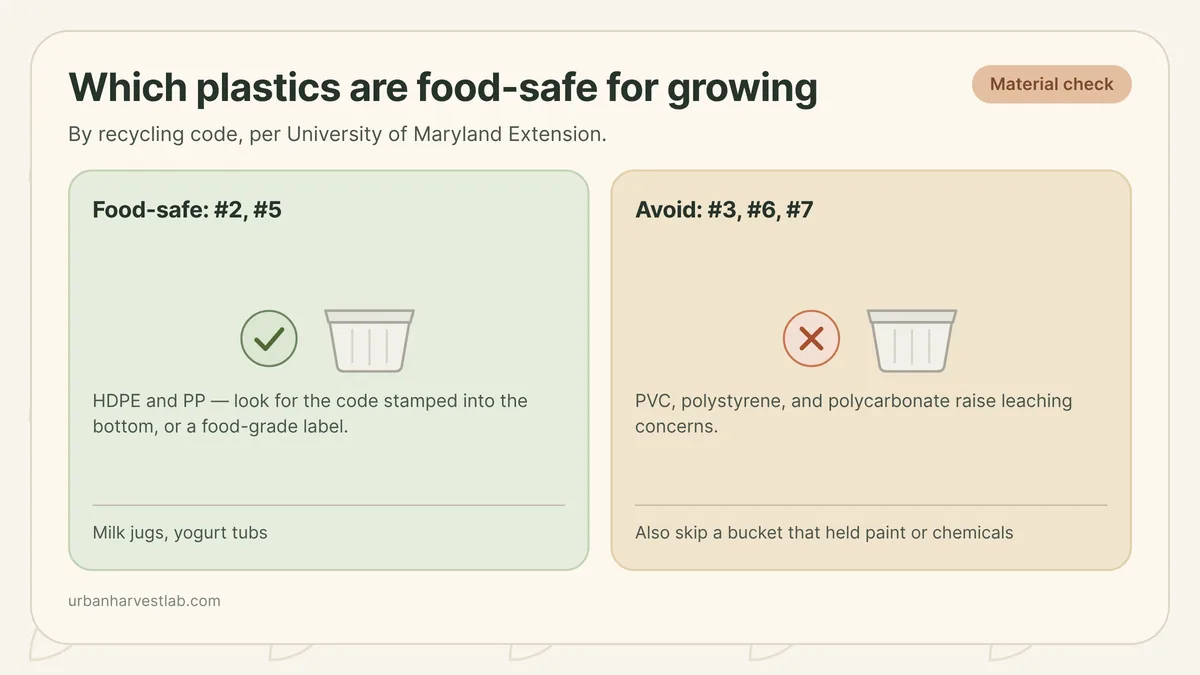
Food-safe containers for growing vegetables and herbs
A container's recycling code and its history both decide whether it's safe to grow food in -- and the two questions have different answers.
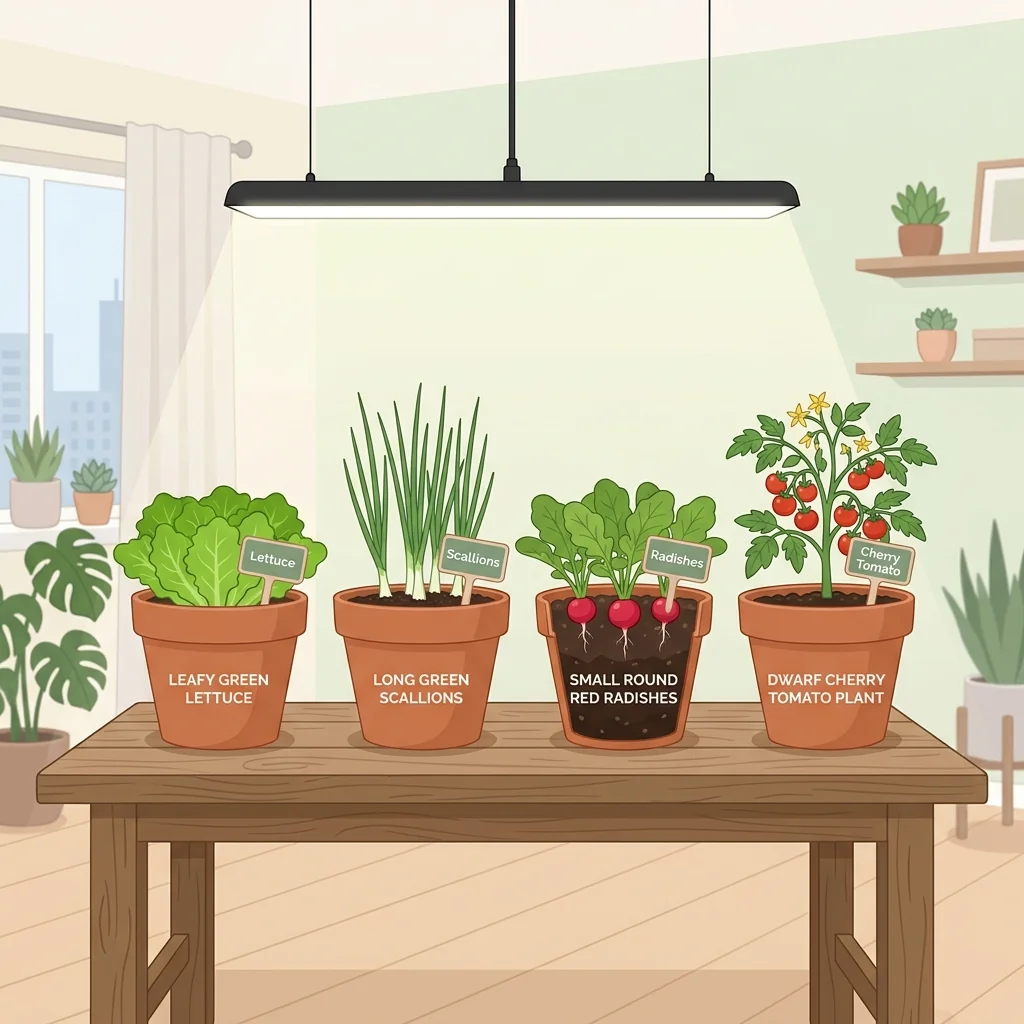
Best vegetables to grow indoors in an apartment
Beyond herbs, plenty of vegetables grow indoors in an apartment. Leafy greens and fast crops are the easy wins; fruiting veg are possible with strong light.
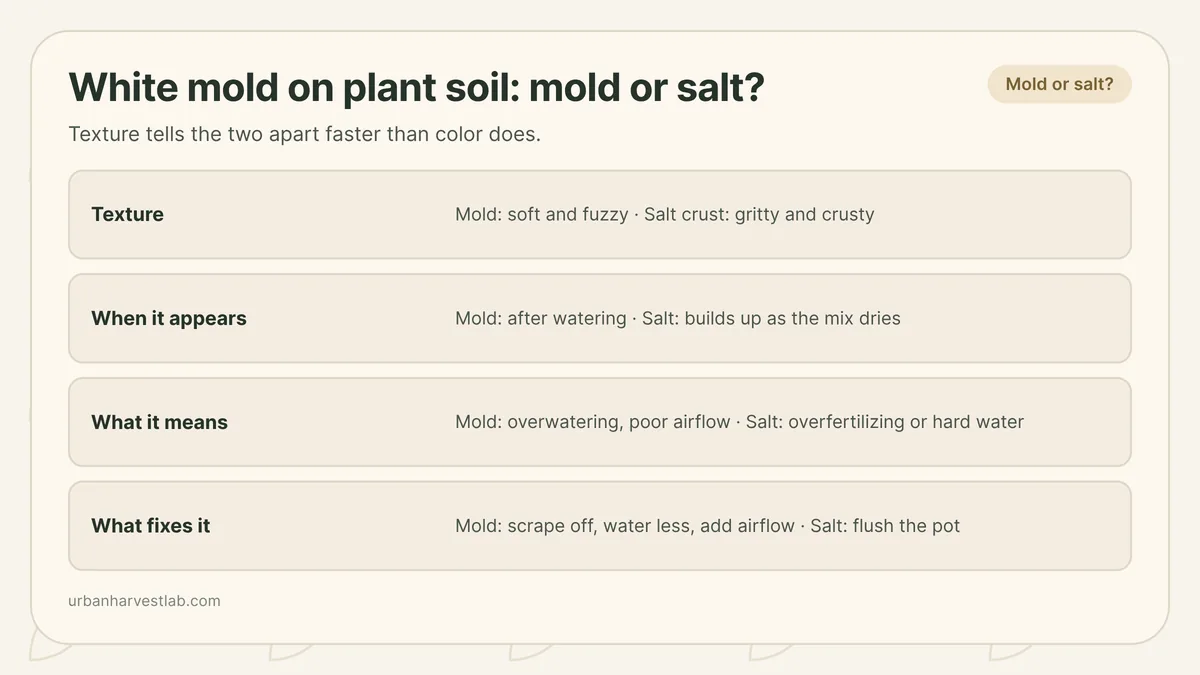
White mold on plant soil: what it means and what to do
A white, fuzzy patch spreading across the soil surface looks alarming, but it is usually a cosmetic fungus feeding on the mix, not the plant.