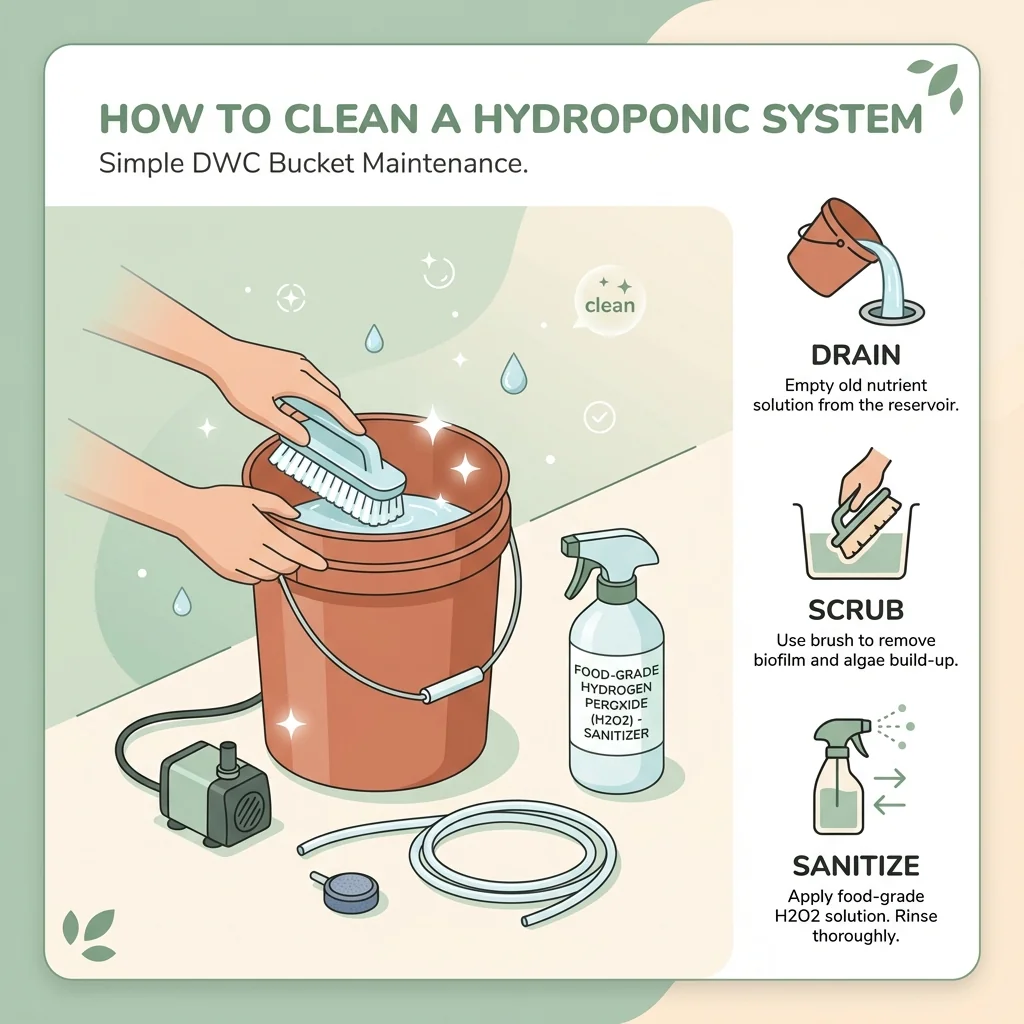
The Hydroponic Sanitizing Agents
| Cleaning Agent | Best Used For | Pros | Cons |
|---|---|---|---|
| Peroxide-based sanitizer (labelled for food-contact surfaces) | Sanitizing pumps, tubing, and plastic surfaces between crops. | A documented alternative to bleach (University of Minnesota Extension). | Dose, contact time and rinsing come from the product label, not a generic figure. Concentrated peroxide is hazardous to skin and eyes. |
| Distilled White Vinegar | Descaling mineral deposits and salt buildup (calcium crust). | Cheap, safe, natural, and highly effective acid. | Requires mechanical scrubbing; weak against bacterial spore structures. |
| Diluted Bleach (Unscented) | Killing stubborn waterborne molds, viruses, and Pythium. | Incredibly cheap. | Pungent smell; highly toxic to plants if even a trace residue remains. |
In indoor hydroponics, your reservoir is a closed-loop environment. In nature, natural soil biology, earthworms, and rain cycle out waste. In a plastic bucket in your spare room, there is no natural cycle.
If you do not intervene, your reservoir will eventually become an incubator for algae, fungal pathogens, and mineral salts.
Over a few growth cycles, a film of microscopic organic slime (biofilm) will coat the inside of your tubing, pump, and bucket. Mineral salts from your fertilizer will leave a stubborn white crust (scaling) that alters your pH. Eventually, a microscopic spore of Pythium will find this organic playground, multiply, and trigger a systemic case of Root Rot.
Keeping your system clinically clean is not just about aesthetics—it is a core crop protection protocol. Here is the step-by-step breakdown of how to deep-clean and sanitize a small home hydroponic system between harvests.
The Direct Quick Answer
To clean a small hydroponic system between harvests, follow the three-step routine: Drain, Scrub, and Sterilize.
First, drain the old nutrient solution and discard all plant material.
Second, dismantle the water pump, tubing, and airstones, scrubbing all plastic parts with hot water and distilled white vinegar to dissolve mineral crust.
Third, fill the system with clean water and add 1 tablespoon of unscented 5.25-6% bleach per gallon, the dose University of Minnesota Extension gives. Run the pump for up to 3 hours, drain it, then partially refill with tap water and run a rinse cycle for another 2 to 3 hours before starting your next crop. If you prefer a peroxide-based sanitizer, use one labelled for food-contact surfaces and follow its label for dose and contact time; Minnesota does not publish a generic figure.
Step-by-Step Deep-Clean Routine (Between Harvests)
Do not start a new seed batch in a system that has just grown a crop without executing this sequence.
Step 1: Dismantle and Dry-Prep
- Turn off Electronics: Unplug your lights, water pump, and air pump to avoid shock hazards.
- Harvest and Evacuate: Harvest your mature lettuce or herbs. Pull all net cups out of the lid. Discard the old root masses and Rockwool.
- Drain the Water: Empty the reservoir entirely. Run a wet-dry vacuum or wipe the bottom with a sponge to remove the sludge that pools at the bottom.
Step 2: The Physical Scrub (Descaling)
Hydroponic fertilizers contain heavy mineral salts (Calcium, Magnesium, Phosphorus) that form a crusty white scaling.
- The Solution: Fill a spray bottle with white distilled vinegar diluted in hot tap water.
- Scrubbing: Spray the inside of the DWC bucket or NFT channel liberally. Let it sit for 10 minutes to soften the calcium. Using a non-abrasive scrubbing pad or clean sponge, scrub all surfaces until smooth. Pay close attention to the water-line ring.
- Dismantle the Pump: Take the plastic cover off your water pump. Pull out the magnetic impeller. You will find a layer of brown slime wrapped around the magnet. Use a cotton swab dipped in vinegar to clean this chamber.
Step 3: Chemical Sterilization (Sanitizing)
Scrubbing removes minerals and biofilm, but it does not kill microscopic pathogens. You must run a chemical sanitizer through the plumbing.
- The Setup: Reassemble the pump, tubing, and stones. Fill your reservoir with hot tap water.
- The Sanitizer Option A (Hydrogen Peroxide): University of Minnesota Extension treats hydrogen peroxide and peroxyacetic-acid products as a bleach alternative but defers the dose, contact time, and flushing steps to the product label rather than a fixed mL-per-gallon figure. Buy a peroxide product labeled safe for food-contact surfaces and follow what’s printed on it instead of measuring out a generic concentration. Peroxide is popular for this because it breaks down into water and oxygen, leaving no toxic residue.
- The Sanitizer Option B (Unscented Bleach): Add 1 tablespoon of unscented 5.25-6% bleach per gallon (University of Minnesota Extension) and run it for up to 3 hours. Warning: Bleach requires heavy rinsing afterward.
- Run the System: Turn on the water pump and air pump. Let the sanitizing water cycle through the entire loop for up to 3 hours. This ensures that the insides of all hoses and nozzles are fully exposed to the sterilizer.
Step 4: The Final Flush and Air-Dry
- Drain: Drain the chemical water completely.
- Rinse: If you used bleach, fill the system once more with plain tap water and run it for 2 to 3 hours before draining again — University of Minnesota Extension’s rinse cycle, long enough to flush residue that would otherwise damage plant roots.
- Air-Dry: Leave the reservoir lid off, open the NFT ports, and let the entire system sit in a well-ventilated room to dry for 24 hours.
Mid-Cycle Maintenance (Every 14–21 Days)
Between the heavy deep-cleans at harvest, you must perform regular mid-cycle resets to prevent organic buildup:
- The 2-Week Reset: As detailed in When to Change Your Hydroponic Nutrient Solution, completely dump your water every two weeks. Wipe the inner walls of the bucket above the water line to remove condensation slime; mid-cycle, University of Minnesota Extension recommends a scrub brush and warm water rather than bleach.
- Top-Off Protocol: Never just pour new nutrients on top of old water indefinitely. The plants absorb water and nutrients at different rates, leading to severe EC and pH drift. Dump, rinse, and refill.
- Pest Inspection: While cleaning, inspect the undersides of your reservoir lids for fungus gnat larvae. The sourced controls are drier surfaces and biological treatments, covered in fungus gnats in herb pots.
By establishing a rigid sterilization routine between crops and performing clean reservoir changes every 14 days, you will ensure a completely sterile, highly oxygenated environment where root diseases cannot take hold.
Sources
Diagnosing water and root issues?
Dirty systems breed waterborne pathogens and trigger chemistry swings. Check these guides to debug your reservoir.
Common questions
Is it safe to use chlorine bleach to sanitize my system?
Yes, but only in highly diluted ratios (approx. 1 tablespoon of unscented liquid bleach per gallon of water). You must run the system with this mix for 2 to 3 hours, then rinse it repeatedly until the smell of chlorine is completely gone.
How do I remove hard water mineral crust from my clay pebbles?
Soak the pebbles in white vinegar until the crust loosens, then rinse thoroughly with clean water before reusing them.
Do I need to clean the air lines and airstones?
Absolutely. Biofilm thrives inside air hoses, and airstones become clogged with mineral deposits. Soak airstones in white vinegar, blow them dry, or replace them entirely every 2 to 3 harvests.
Related guides
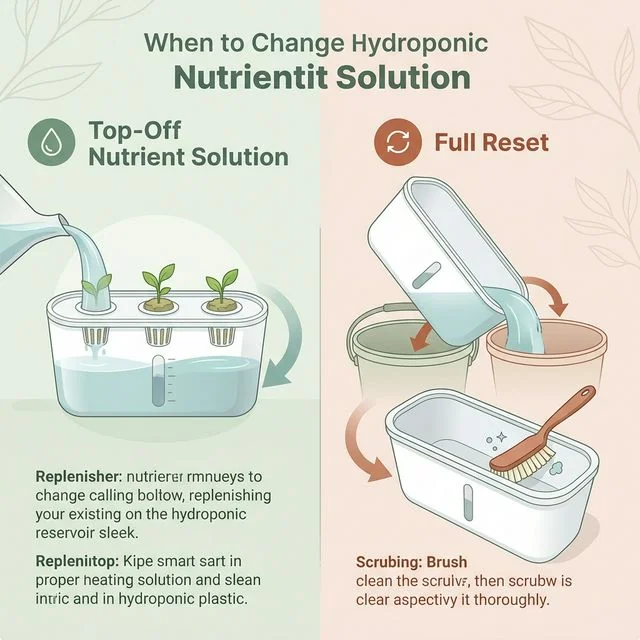
When to change hydroponic nutrient solution: top off vs full reset
A hydroponic reservoir should not be treated like a closed loop forever. This guide shows when a simple top off is enough and when a full reset is the safer move.
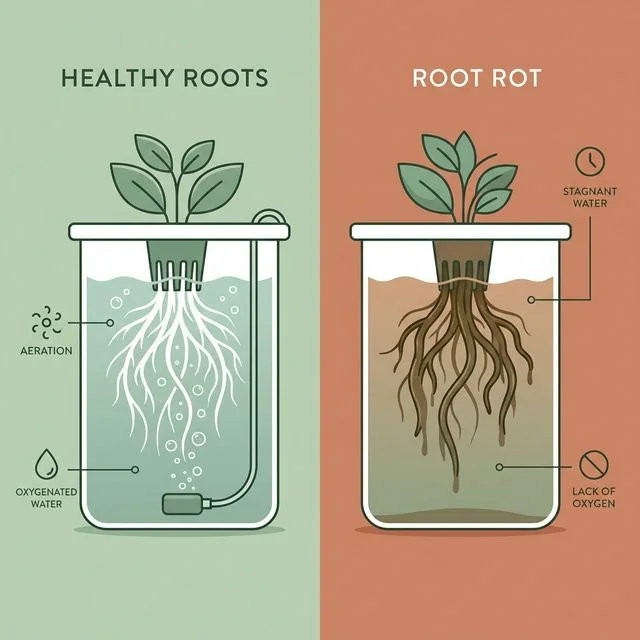
Hydroponic root rot: how to spot it early and stop it
Brown, slimy or swampy-smelling roots mean root rot. Catch it early and fix the conditions behind it — warm water, low oxygen and stagnant flow.
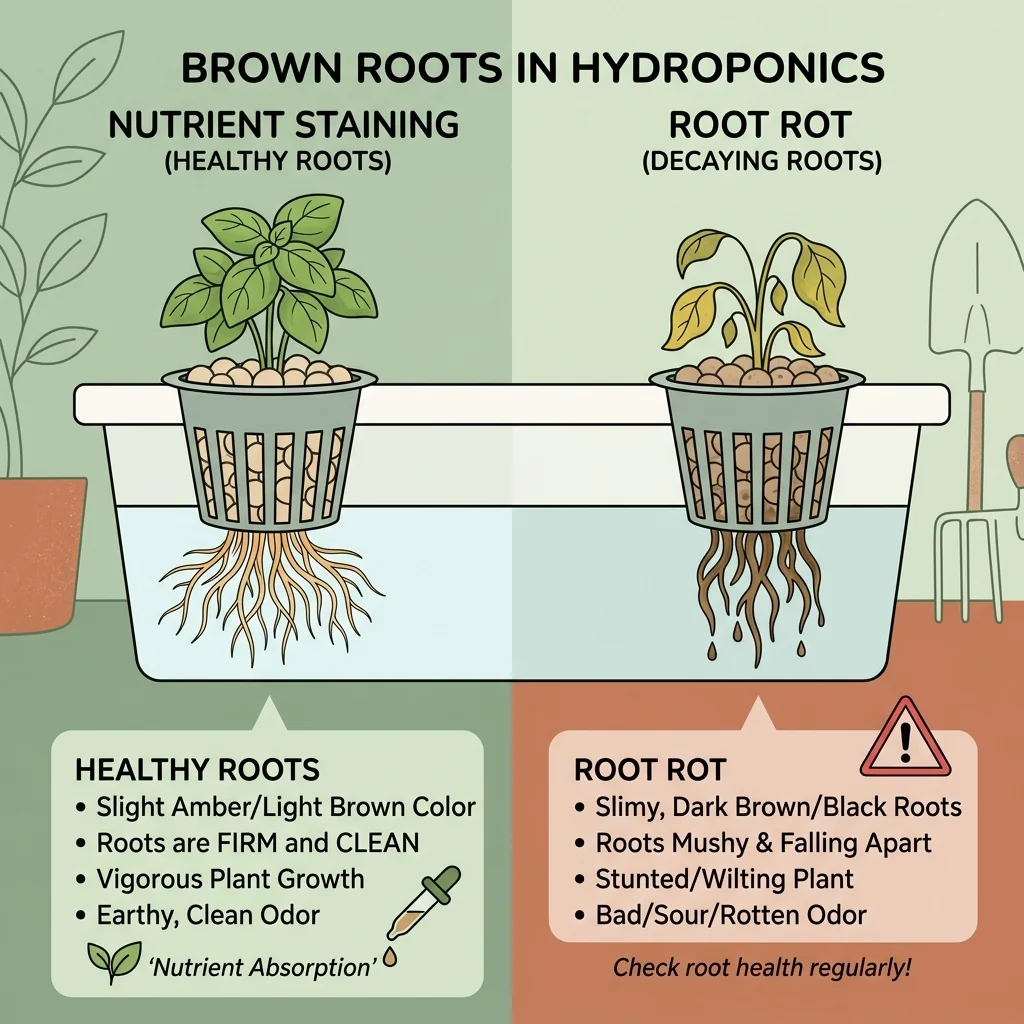
Brown roots in hydroponics: staining vs. root rot
Finding brown roots in your hydroponic reservoir can cause instant panic. But before you dump your nutrients, you need to know: is it a harmless stain or a fatal infection? Here is how to diagnose the difference in seconds.