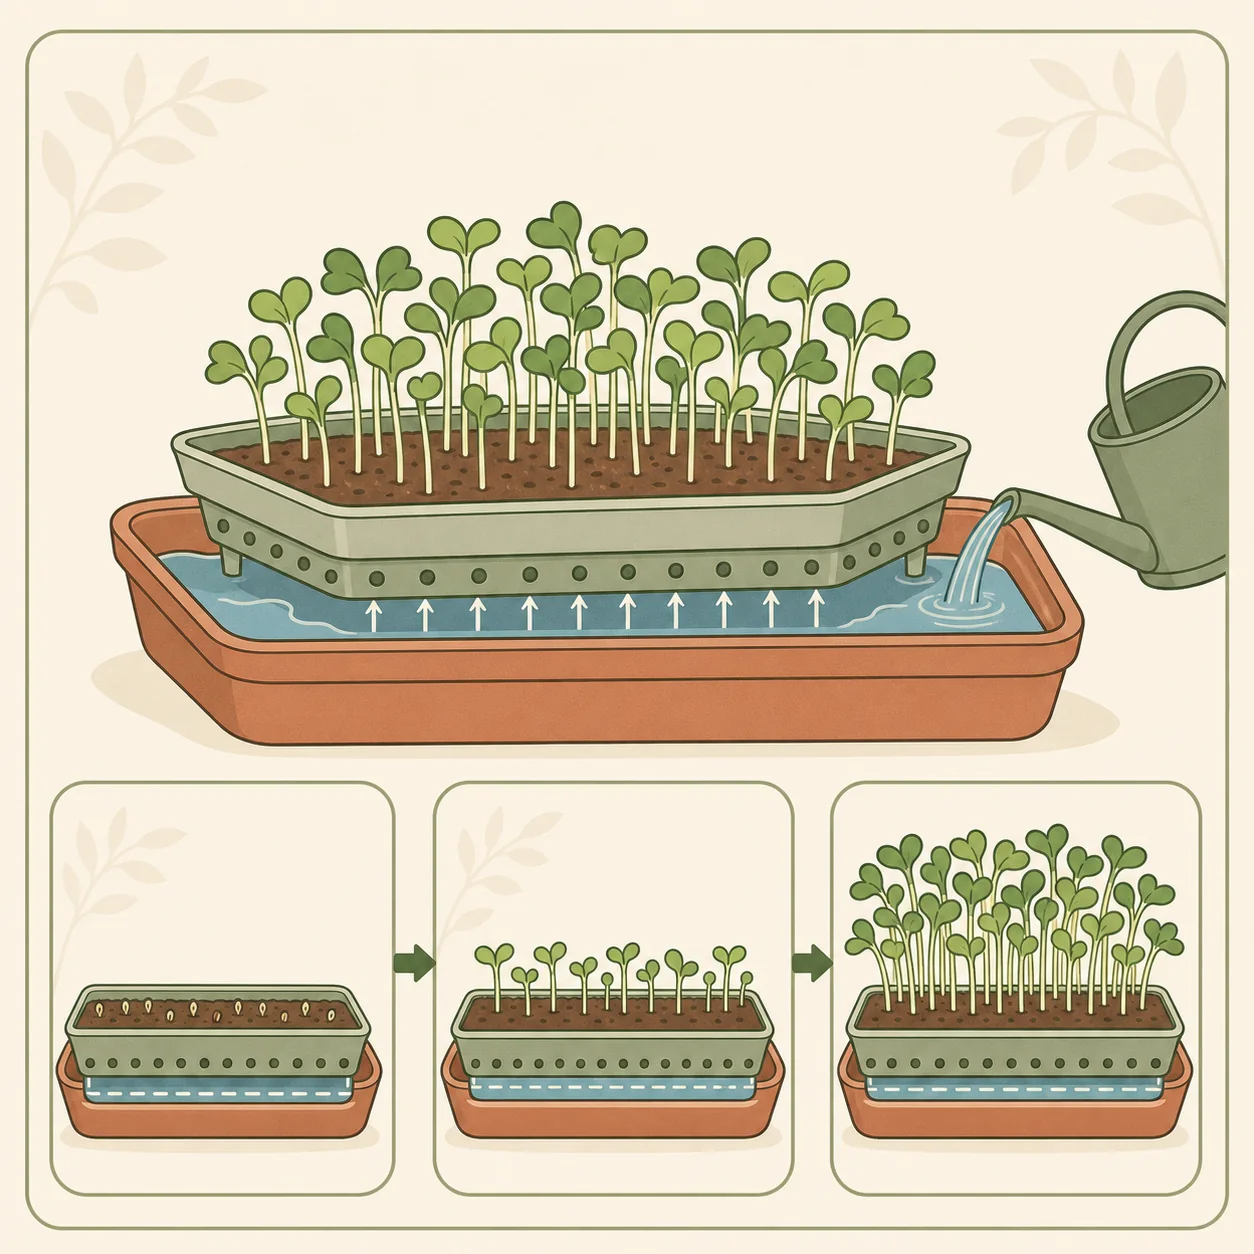
Watering method by growth stage
| Stage | Primary method | Goal | Main risk |
|---|---|---|---|
| Sowing | Pre-moisten medium; gentle top water | Seed-to-medium contact | Displacing small seed |
| Blackout/germination | Minimal top or bottom moisture as needed | Even moisture, not saturation | Warm stagnant mat |
| After emergence | Bottom water | Dryer foliage and deeper root use | Standing water |
| Before harvest | Early light watering only if needed | Dry, clean canopy at cutting | Wet foliage and short storage life |
Bottom watering microgreens means placing water in a solid lower tray so the growing medium pulls it upward through holes in the crop tray. After an absorption period, water that remains is removed. The method keeps foliage and seed hulls drier, encourages roots through the medium, and makes each watering measurable.
It is one part of the complete beginner microgreens method, not a fixed schedule. Tray size, medium depth, seed density, crop stage, room temperature, airflow, and light all change water use.
Use the right tray pair
The upper tray must have drainage holes distributed across the base. The lower tray must be solid, intact, and shallow enough to lift without spilling. They should nest closely while still leaving a path for water to spread.
One perforated tray inside one solid tray is easier to inspect than improvised stacks. Label each pair so water from a questionable tray is not shared with another crop.
Before sowing, test the empty pair with a small amount of water. Confirm that the bench is level and water reaches all areas rather than pooling at one corner.
Prepare even moisture at sowing
Hydrate the medium before seed is spread. It should be uniformly damp but release little or no free water when squeezed. Level it without compressing it into a dense slab.
After sowing, small seeds may need a gentle mist or fine top watering to establish contact. Large seeds that were soaked have different initial needs. Follow crop-specific sanitation and soaking guidance rather than assuming every seed benefits from soaking.
Bottom watering immediately after sowing can float a lightweight medium or move seed into clusters. Wait until roots begin binding the surface unless the medium and tray have been tested successfully.
Know when to switch
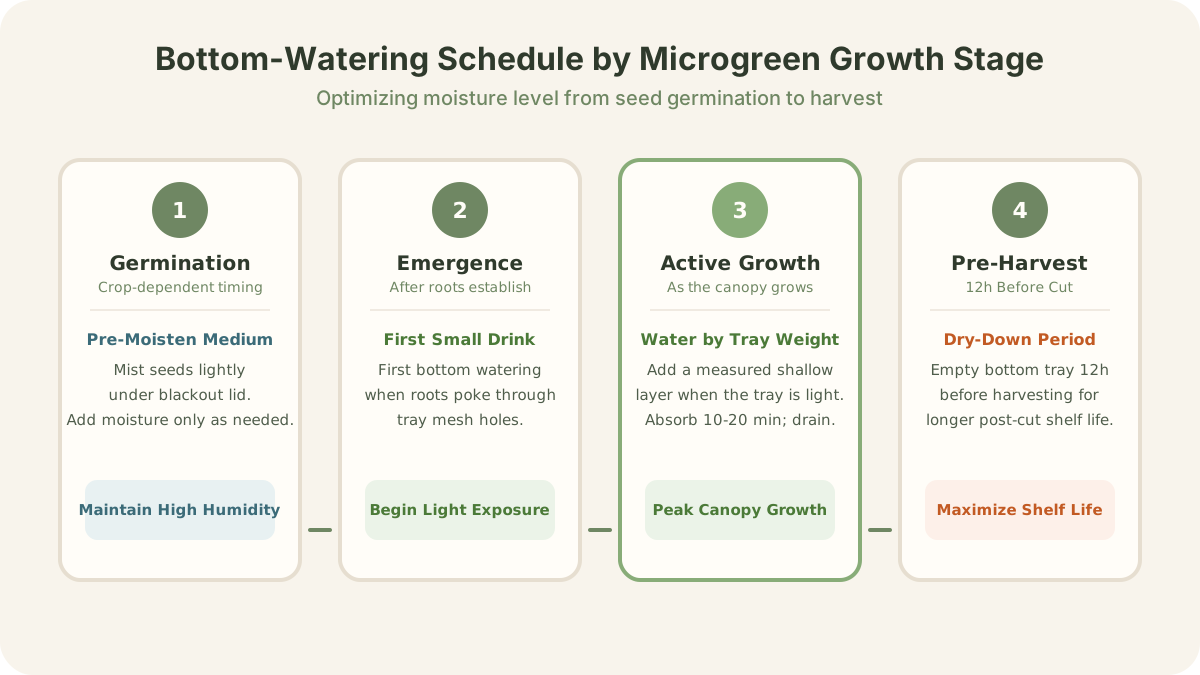
Switch around emergence or the move into light when white roots have entered the medium and the crop mat is stable. Lift a corner of the upper tray carefully. Visible roots through the holes and a surface that no longer shifts easily are practical signs.
Do not wait for the surface to become bone dry. Young roots occupy a shallow layer and can be stressed before the entire tray feels light. Conversely, visible condensation is not proof that the roots need more water.
Follow a measured watering cycle
- Lift the crop tray and inspect the lower tray for old water or odor.
- Add a measured shallow volume of potable water to the clean lower tray.
- Lower the perforated tray evenly so its base contacts the water.
- Wait roughly 10–20 minutes while observing absorption.
- Lift the crop tray and drain water that remains persistently.
- Record the volume, time, and tray weight or feel.
There is no trustworthy universal cup amount. A half-size tray with hemp mat, a shallow coir tray, and a deep soil mix have different capacity. Start conservatively. If the medium remains dry in the center, add a little more on the next cycle rather than flooding it all at once.
Avoid pouring through one corner while the crop tray is nested; the flow can saturate that area before water reaches the opposite side. Spread water across the solid tray first.
Learn tray weight
Weighing is the most transferable home method. Weigh the fully prepared tray before watering, then again after bottom watering and draining. The difference is water retained.
Check the tray at the same time each day. Over several cycles, identify the weight at which the medium is still slightly moist and the seedlings remain firm. That becomes the next-water threshold for that crop and setup.
If you do not have a scale, lift the same corner with the same hand and compare with a newly watered reference tray. This is less precise but improves quickly when paired with notes.
Adjust through growth stages
During germination, demand is modest and evaporation may be restricted by a cover. Avoid adding water because the cover looks dry; inspect the medium itself.
After emergence and under light, transpiration rises. The tray may need daily attention, but attention does not automatically mean daily water. Stronger light, warm air, dense peas or sunflower, and a mature canopy increase use.
Near harvest, keep roots functional without wetting foliage immediately before cutting. If water is required, apply it early enough for the canopy and tray surface to be dry at harvest. Follow hygienic handling and refrigeration guidance for the harvested crop.
Diagnose uneven drying
If one edge wilts first, map airflow and light before adding more water to the whole tray. A fan aimed at one corner or a fixture hot spot can create a local deficit. Rotate the tray if that does not spread contamination between crops and correct the source.
If the center stays wet while edges dry, seed density or medium depth may be uneven. Improve sowing and leveling on the next crop. Repeatedly compensating with extra water can turn the wet center into a disease zone.
Algae indicates persistent light and moisture at the surface, though it does not prove the crop is unsafe by itself. Reduce surface wetting, correct excess water, and clean equipment between cycles.
Keep the water path hygienic
Use potable water and a clean container for measuring. Never pour drainage water from one tray into another. Empty standing water rather than topping it up indefinitely.
Wash solid trays after harvest to remove biofilm and organic debris, then sanitize using a food-production-appropriate product and its labeled concentration and contact time. Cleaning must happen before sanitizing because debris can shield microorganisms.
If a tray develops sour odor, slime, stem collapse, or credible mold, stop sharing tools and water. The safety decision process in microgreens mold or root hairs? explains when disposal is appropriate.
Common bottom-watering mistakes
- Leaving the crop tray in standing water all day.
- Switching before roots stabilize the medium.
- Copying a water volume from a different tray size.
- Judging only the dry-looking surface.
- Reusing drainage water between trays.
- Trying to correct uneven light or airflow with more water.
- Harvesting a wet canopy for storage.
Create a repeatable log
For each crop, record seed weight, medium and depth, tray size, day moved to light, daily retained water, room conditions, and harvest weight. After three cycles, you will have a more accurate watering guide than a generic timetable.
The goal is not to keep the tray wet. It is to move the root zone through a controlled moisture range while preserving air, clean foliage, and steady growth.
Sources and further reading
- Penn State Extension: Ensuring Food Safety in Microgreens Production covers water, hygiene, cleaning, and food-safety considerations for crops commonly eaten raw.
- University of Minnesota Extension: How to prevent seedling damping-off explains why clean equipment, drainage, and controlled moisture matter for young seedlings.
Complete the microgreens setup
Pair controlled watering with the full growing process, safe equipment, correct light, and mold diagnosis.
Common questions
When should I start bottom-watering microgreens?
Switch when roots have entered the medium and shoots are established enough that the mat will not float or shift, commonly around emergence or the move into light. Crop and medium change the exact day.
How much water should I put in the bottom tray?
Start with a measured shallow layer the medium can absorb within roughly 10–20 minutes, then drain persistent excess. Record the volume and adjust from tray weight rather than copying one universal amount.
Can microgreens sit in water all day?
They should not remain in stagnant water as a routine. Saturated media lose air and can encourage root stress, odor, and disease. Drain water that remains after the absorption period.
Related guides
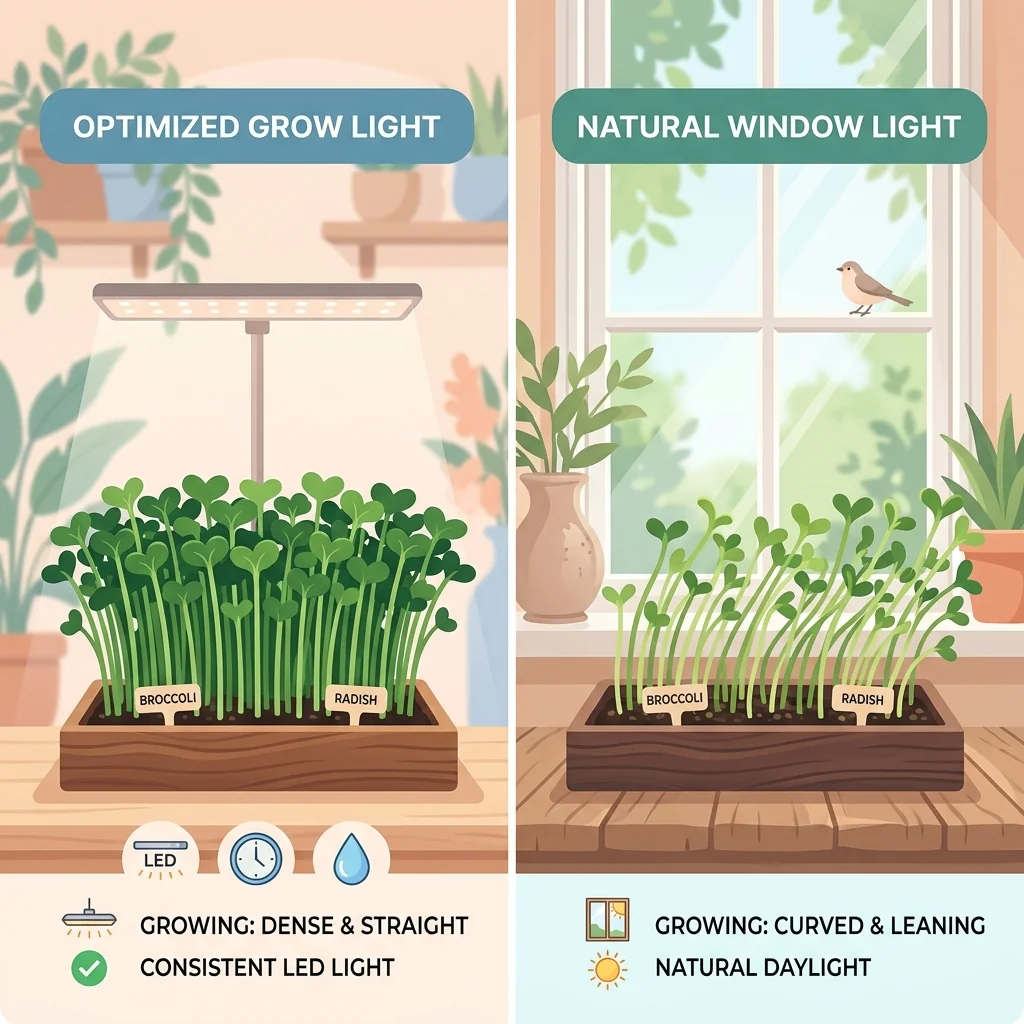
Microgreens light requirements and a simple setup
Microgreens are kept dark to germinate, then need good light to stay short and green. Here is how much light they need and the simplest windowsill or LED setup.
How to grow microgreens at home: a beginner's guide
Microgreens are the fastest crop you can grow indoors. This beginner guide walks through sowing, watering, light, and harvesting your first tray in about ten days.
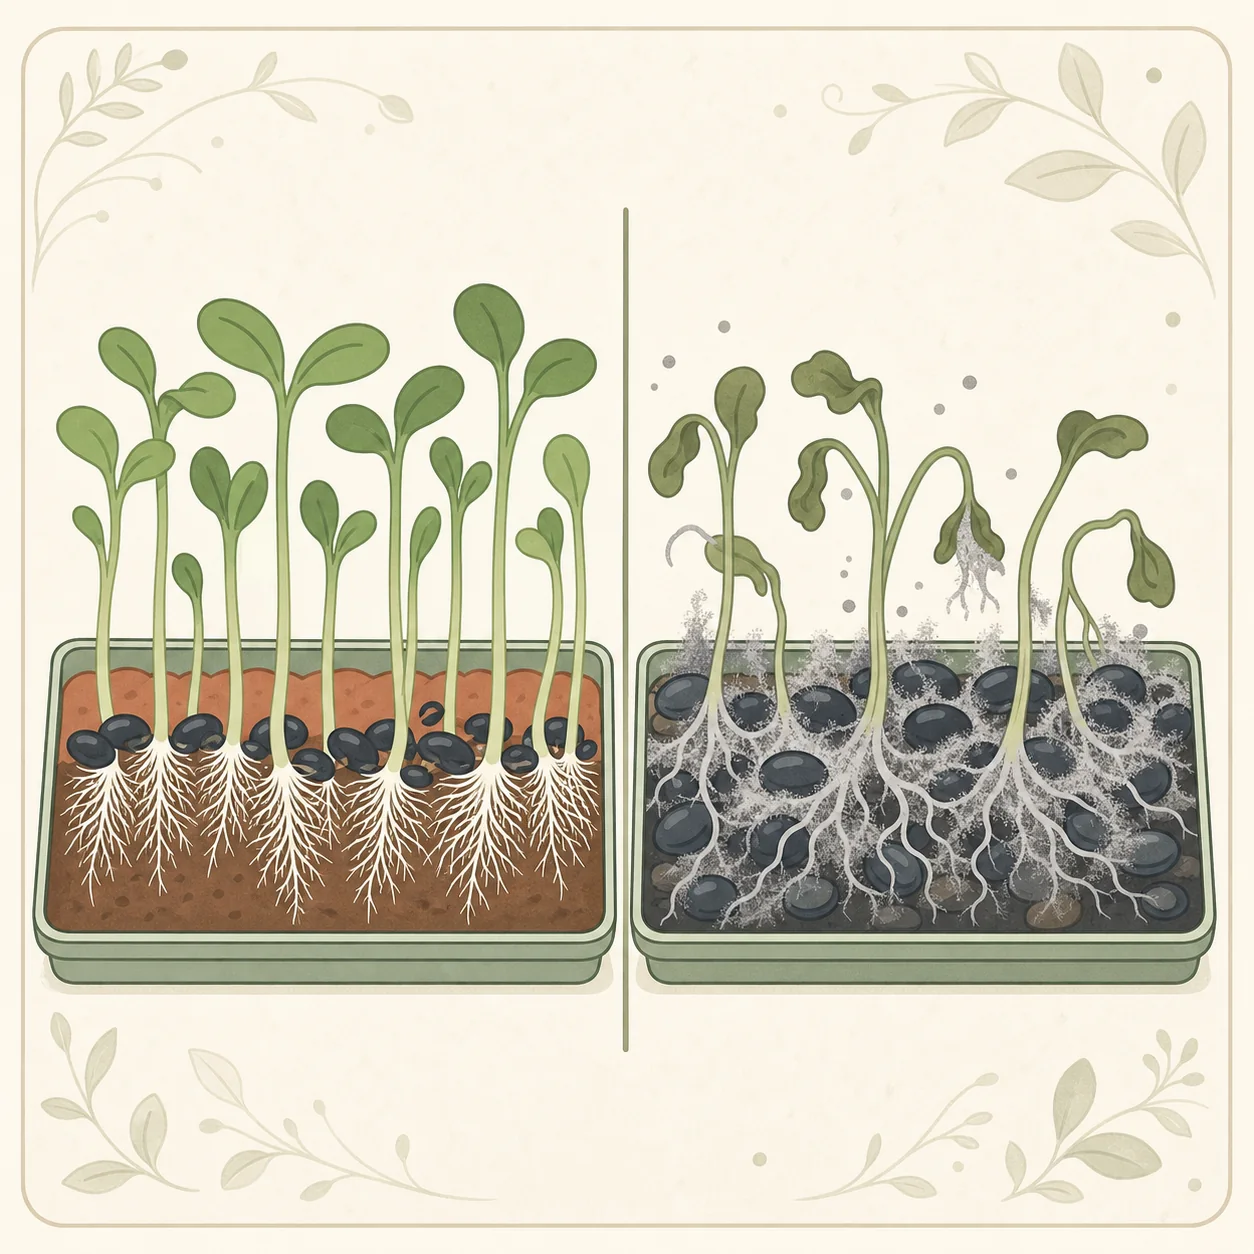
Microgreens mold or root hairs? How to tell safely
White fuzz around newly emerged roots is often normal root hair growth. Irregular spread, bad odor, slime, or collapsing stems changes the decision.