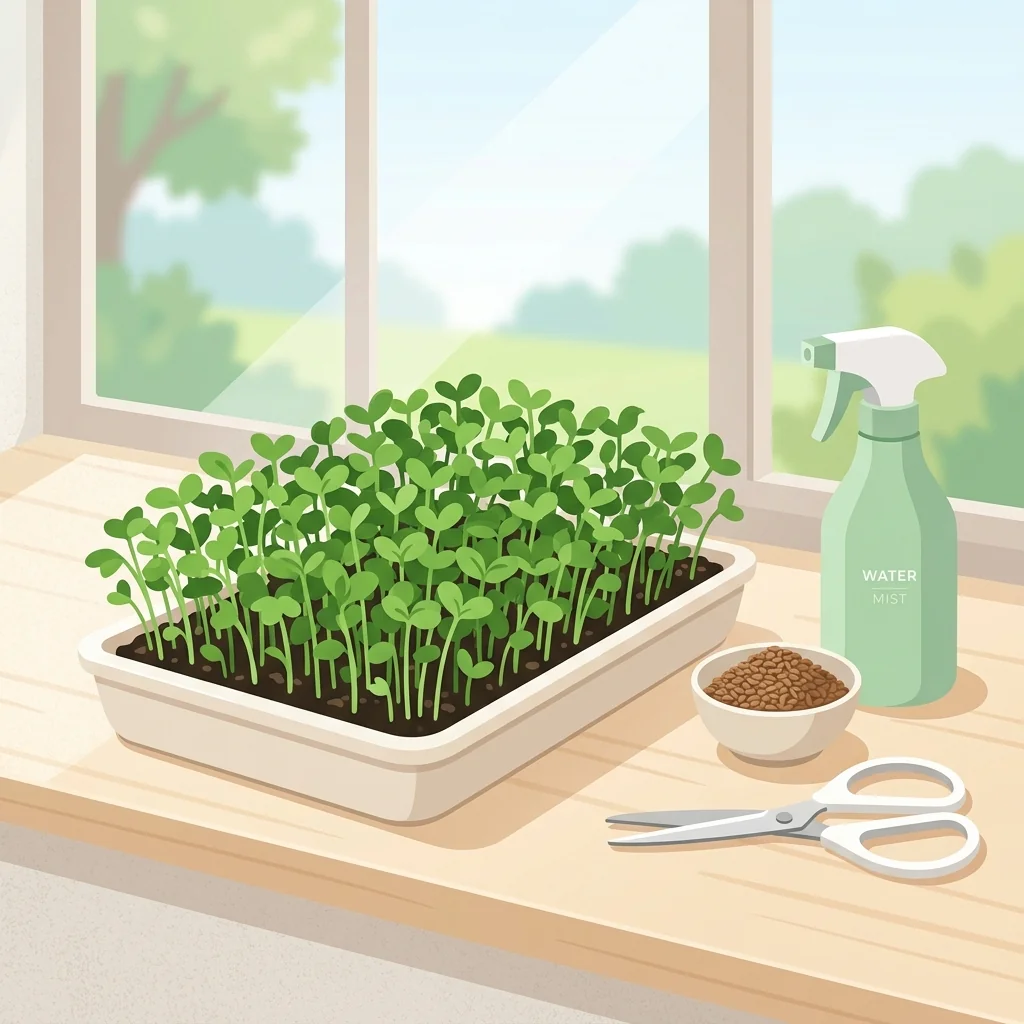
The four steps to a microgreen tray
| Step | What to do | Timing |
|---|---|---|
| 1. Sow | Scatter seeds densely on moist mix, press in lightly | Day 0 |
| 2. Cover | Cover to keep dark and humid until germination | 1-3 days |
| 3. Uncover | Move under light, water from below, keep airflow | Days 3-5 |
| 4. Harvest | Cut just above soil when first true leaves show | Days 7-14 |
Microgreens are the fastest edible crop you can grow at home, ready in about one to two weeks on a windowsill or under a light. As a quick answer: sow seeds densely on a shallow tray of moist mix, cover them to germinate, uncover under light once they sprout, and cut just above the soil when the first true leaves appear. No big pots, no long season, very little that can go wrong.
What you need
- A shallow tray (an inch or two deep), with or without drainage.
- A fine potting or seed-starting mix, or a soil-free growing pad.
- Microgreen or sprouting seeds — see best microgreens for beginners for forgiving varieties.
- A spray bottle and a bright windowsill or a small grow light.
For the full shopping list, with cheaper swaps and what you can skip, see what you need to grow microgreens.
Step 1: Sow densely
Fill the tray with about an inch of moist mix and level it. Scatter the seeds so they nearly cover the surface — much denser than you would sow anything else — and press them in gently so they contact the soil. Microgreens are harvested young, so crowding is the point.
Step 2: Cover to germinate
Cover the tray with a second tray or a lid to keep it dark and humid for the first few days. Most seeds germinate in one to three days. Check daily and mist if the surface looks dry.
Step 3: Uncover under light
Once the seeds have sprouted and are lifting the cover, move the tray into light — a bright window or a grow light. From here, water from below where you can (pour into the tray base) to keep leaves dry, and keep some airflow in the room. Good light now prevents the pale, stretched growth beginners often get; a grow light makes this reliable year-round. See microgreens light requirements and a simple setup for how much light trays actually need, or how to grow herbs indoors under a grow light for the general fixture setup.
Step 4: Harvest
When the first true leaves appear — usually 7 to 14 days from sowing — snip the greens just above the soil line with clean scissors. Rinse gently, and use them fresh. Most microgreens do not regrow usefully, so compost the roots and mix, and sow a fresh tray.
The two mistakes to avoid
Nearly every failed tray comes down to one of two things:
- Mold and damping-off from overwatering, no airflow, or sowing too thickly on soggy mix. Water from below, keep the room ventilated, and do not drown the tray.
- Pale, leggy greens from too little light after germination. Get them under a bright window or light promptly and keep it close.
Get those two right and microgreens are close to foolproof. When you want a tidier indoor method, try growing microgreens without soil.
They are not literally foolproof. Dense, moist, warm seedlings eaten raw require safe water, hygiene, traceable seed, and a clear discard rule.
Establish a food-safety zone
Wash hands before handling seed or harvest. Remove visible debris from trays and tools, then sanitise food-contact surfaces with a product labelled for that use. Follow its concentration and contact time. Use potable water and seed intended for microgreen production. Keep pets, raw animal foods, compost, and dirty garden tools outside the area.
Do not harvest a tray with slime, decay, off odour, animal contamination, or unexplained collapse. Post-harvest washing cannot reliably rescue a contaminated crop.
Replace “dense” with a weighed rate
Seed size, germination, season, tray area, and crop protocol determine grams per tray. Record dimensions and seed mass, then adjust after measuring airflow, disease, and usable yield. Over-seeding traps humidity; under-seeding wastes footprint but is easier to correct than a saturated canopy.
Keep one record per tray
Write down cultivar and lot, seed mass, any soak, sowing date, covered days, temperature, light schedule, water additions, harvest date, discarded area, and usable mass. Photograph the same area when diagnosing a problem.
This record can later support useful original content and monetisation: cost per tray, yield per day, and failure rate are stronger than another generic “best microgreens” list.
Harvest and refrigerate safely
Use clean scissors and a clean container; cut above the medium without dragging blades through it. Refrigerate promptly. Follow current public-health guidance for handling raw produce, especially for people at higher risk from foodborne illness.
Sources and further reading
Keep going with microgreens
Pick easy varieties, control tray moisture, diagnose suspicious growth, or add a grow light for year-round trays.
Common questions
How long do microgreens take to grow?
Most microgreens are ready to harvest in 1 to 2 weeks, or 7 to 21 days depending on the variety. Fast growers like radish and mustard can be ready in about a week, while others take a little longer.
Do microgreens need sunlight or a grow light?
They need light once they have germinated, but not necessarily direct sun. A bright windowsill works, and a small grow light gives more reliable, year-round results. Before germination, seeds are kept covered in the dark.
Do you need special soil for microgreens?
No. A standard fine potting mix or seed-starting mix works well. You can also grow on a soil-free pad or mat, which is tidier indoors. What matters is that the medium stays evenly moist but not waterlogged.
Do microgreens regrow after cutting?
Most do not regrow usefully after harvest, so you sow a fresh tray each time. A few, like pea shoots, may give a small second cut, but for consistent quality it is best to start again.
Related guides
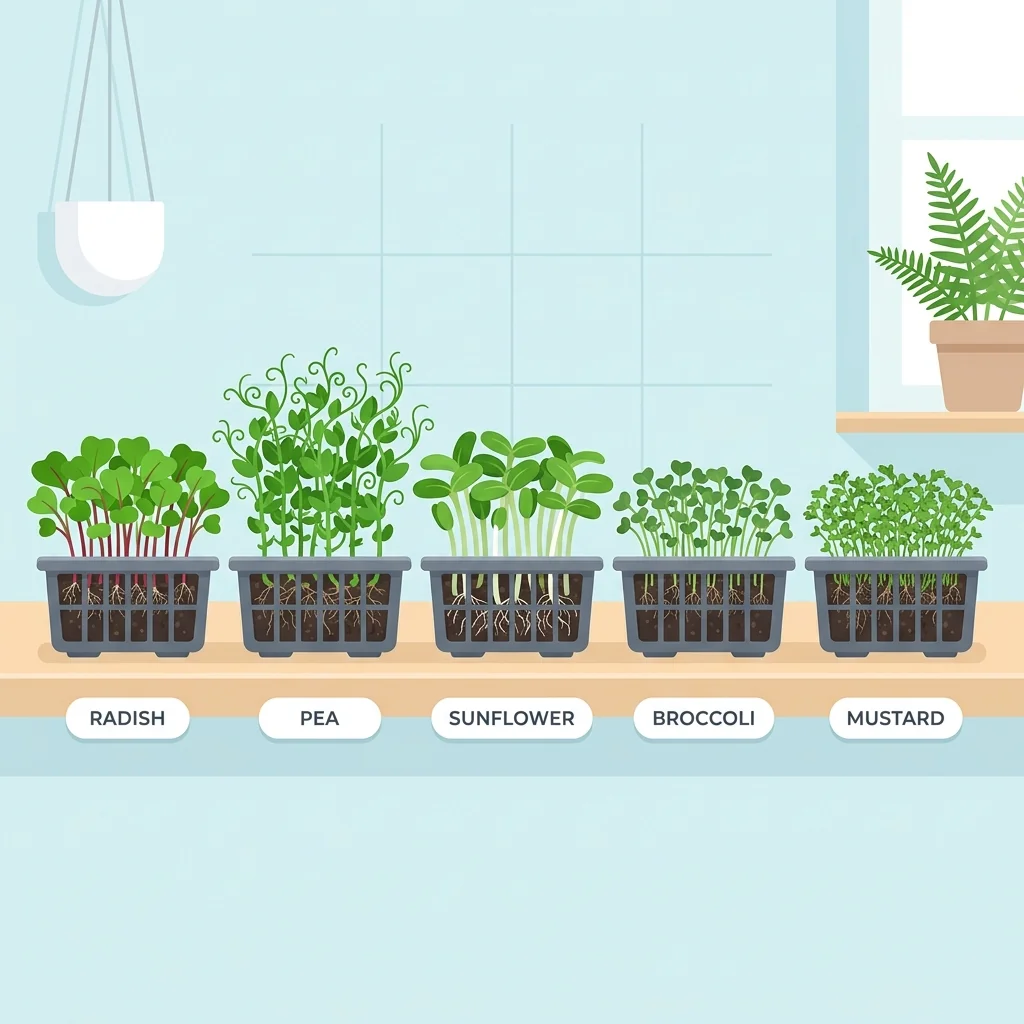
Best microgreens for beginners (fast and forgiving)
Start with microgreens that germinate fast and forgive mistakes. Radish, peas, sunflower, broccoli, and mustard are the easiest first trays, ready in about a week.
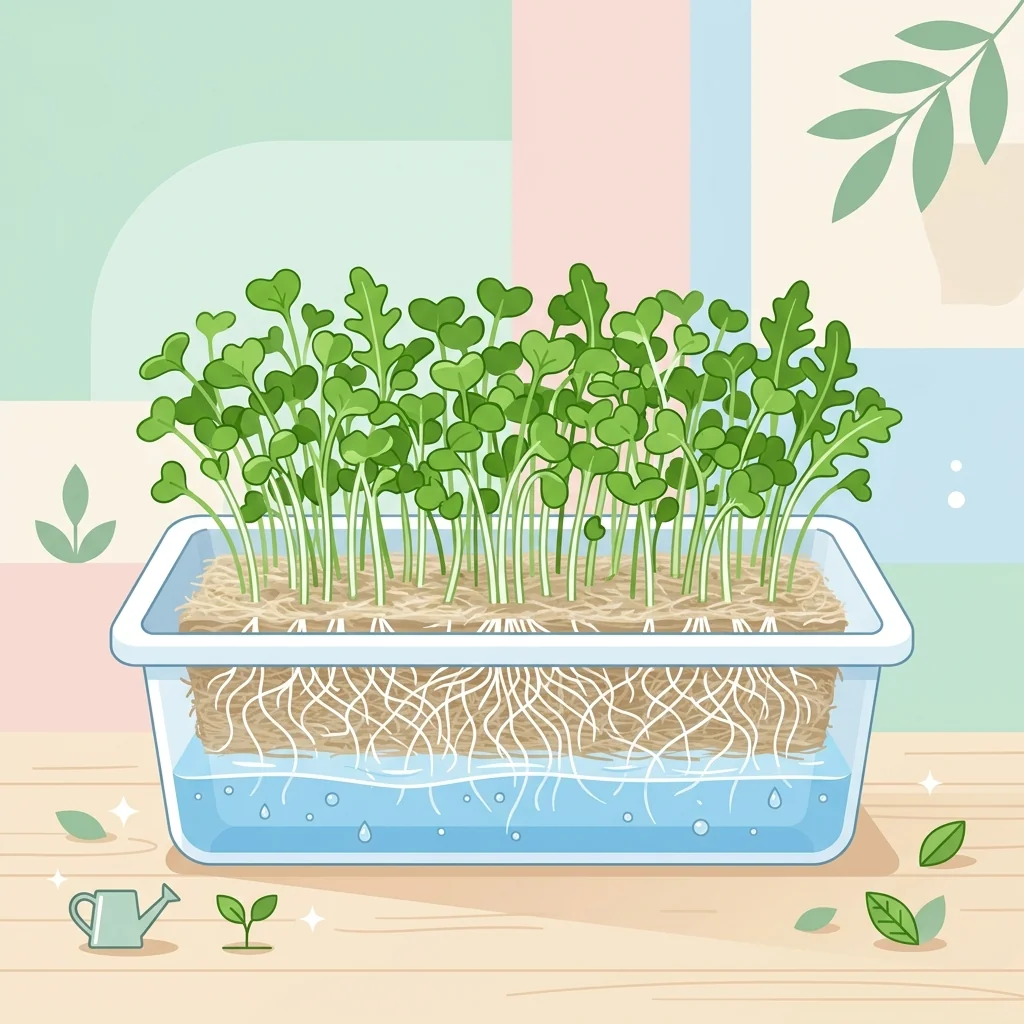
How to grow microgreens without soil (hydroponic)
No soil, no mess. Grow microgreens hydroponically on a grow mat or pad for clean, tidy trays indoors. Here is how the soil-free method works and where it shines.
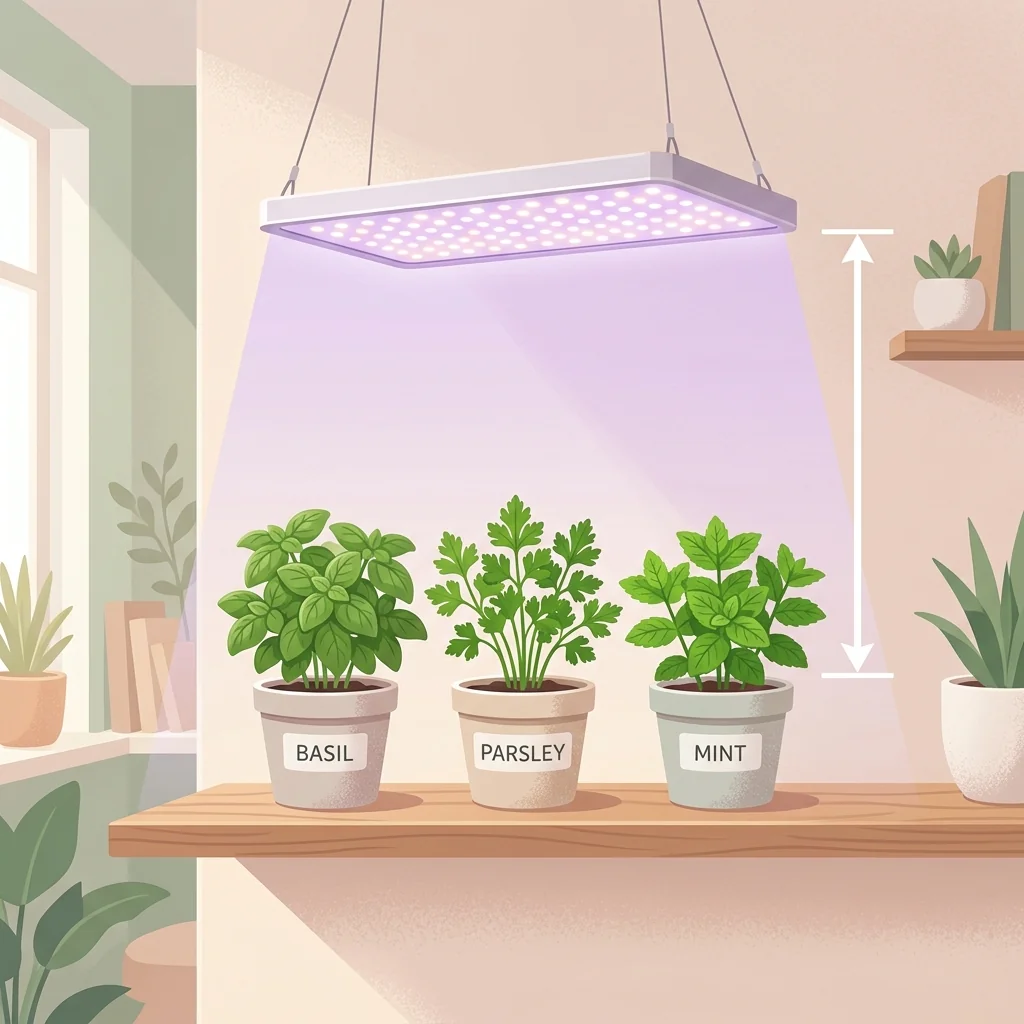
How to grow herbs indoors under a grow light
A grow light lets you grow herbs indoors anywhere, even with no sun. Here is the simple end-to-end setup: which light, how high, how long, and how to avoid leggy growth.