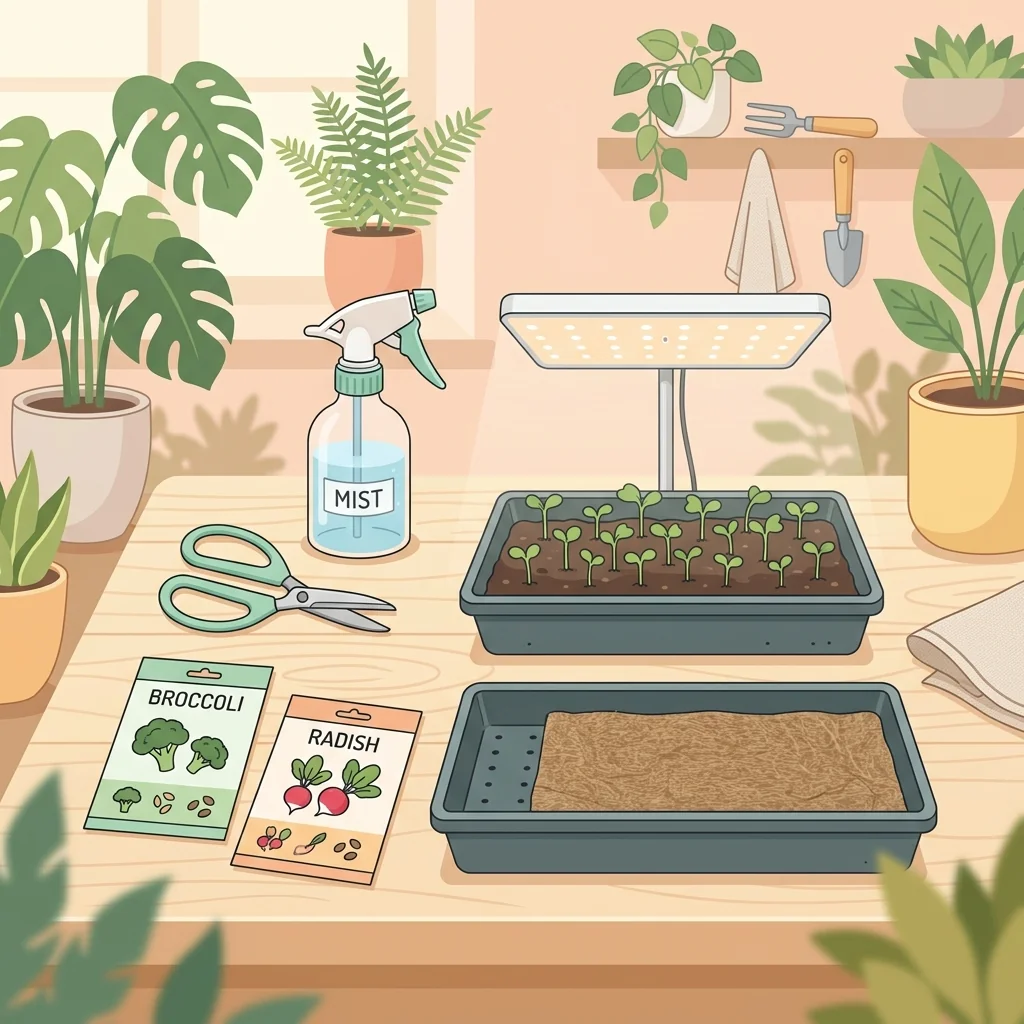
Microgreens starter list
| Item | What to get | Need it? |
|---|---|---|
| Tray | Shallow, 1-2 in deep (10x20 or any food-safe container) | Essential |
| Medium | Fine potting/seed mix, or hemp/felt mat | Essential |
| Seeds | Radish, pea, sunflower, broccoli, mustard | Essential |
| Spray bottle + scissors | Any clean ones | Essential |
| Light | Bright window or small LED on a timer | Essential (window counts) |
| Second tray (cover) | Same size, used upside down | Cheap upgrade |
| Heat mat, nutrients, tent | — | Skip at the start |
Editorial note: The retailer link is an untracked shopping reference; Urban Harvest Lab does not currently receive a commission from it. Recommendations are based on stated features and suitability criteria, with no claim of undocumented hands-on testing.
Microgreens are deliberately low-gear: the whole setup is six items, most of which you may already own. As a quick answer: you need a shallow tray, a growing medium (fine mix or a grow mat), seeds, a spray bottle, a light source, and scissors — plus, ideally, a second tray to use as a germination cover. The method that puts them to work is in how to grow microgreens at home.
The essential six
- Shallow tray. An inch or two deep. Purpose-made 10x20 trays are convenient and stackable, but any food-safe shallow container works.
- Growing medium. A fine potting or seed-starting mix, or — tidier indoors — a hemp, felt, or coir grow mat, as used in microgreens without soil.
- Seeds. The biggest quality lever. Start with radish, pea, sunflower, broccoli, or mustard — the reasoning is in best microgreens for beginners. Buy seed sold for microgreens or sprouting, in bigger packets than regular garden seed.
- Spray bottle. For misting during germination without dislodging seeds.
- Light. A bright windowsill counts. A small LED a few inches above the tray is the upgrade that most improves winter trays — setup in microgreens light requirements.
- Clean scissors. For harvest, cutting just above the medium.
Browse microgreen trays, seeds, and grow mats on Amazon
The one cheap upgrade: a second tray
A matching tray flipped upside down over the first makes the ideal germination cover: dark, humid, and easy to lift for daily checks. Some growers add light weight on top for the first days, which produces sturdier stems. It costs almost nothing and fixes the patchy-germination problem beginners blame on seeds.
What to skip
Most gear marketed for microgreens is for scaled-up growers, not first trays:
- Heat mats — beginner crops germinate fine at room temperature.
- Nutrient bottles — the seed feeds the crop to harvest; plain water is enough.
- Grow tents and racks — relevant only if you move to many trays at once.
Start with the six essentials, grow a few trays, and let an actual limitation — not a product page — tell you what to add next.
Add sanitation to the real minimum
An edible-crop setup also needs handwashing access, detergent for cleaning, an appropriately labelled food-contact sanitiser, clean drying/storage space, and a clean harvest container. Cleaning removes debris; sanitising follows on an already clean surface. Use the product’s concentration and contact time.
Do not reuse scratched, cracked, or unidentified plastic for food production. A repurposed package must be food-compatible, cleanable, and able to drain safely. “Free” is not worth uncertain material or trapped residue.
Buy by specification, not bundle size
For trays, verify internal dimensions, drainage pattern, stiffness when wet, stack fit, and replacement availability. For mats, require composition, food-crop suitability, water-holding behaviour, and disposal route. For seed, require crop, lot, supplier, and sowing/soak guidance.
A retailer kit link is a shopping shortcut, not evidence of a tested winner. A future named recommendation needs measured tray durability, germination, usable yield, cleaning time, and cost per successful crop.
Create a first-tray budget
Separate durable cost—trays, light, timer, scissors—from consumables such as seed, medium, sanitation, water, and energy. Record seed grams and harvest mass. This exposes bundles that look cheap but include tiny seed packets or non-replaceable tray formats.
Correct three oversimplifications
Seed should be sold for microgreen production, not assumed safe merely because it is a garden or sprouting seed. Room temperature is not suitable for every crop or season. And some short crops can use seed reserves and clear water, while medium and crop protocol determine whether nutrition is needed; avoid an unmeasured “weak feed.”
Sources and further reading
Put your supplies to work
These guides cover the growing method, the easiest seeds to buy, watering, troubleshooting, and the soil-free and lighting options.
- How to grow microgreens at home: a beginner's guide
- Best microgreens for beginners (fast and forgiving)
- How to grow microgreens without soil (hydroponic)
- Microgreens light requirements and a simple setup
- How to bottom-water microgreens without soaking the tray
- Microgreens mold or root hairs? How to tell safely
Common questions
What do you need to grow microgreens at home?
Six things — a shallow tray (1 to 2 inches deep), a growing medium (fine potting mix, seed-starting mix, or a hemp/felt grow mat), microgreen seeds, a spray bottle, a light source (bright window or small LED), and clean scissors for harvest. A second tray as a germination cover is a worthwhile seventh.
Do you need special trays for microgreens?
No. Purpose-made 10x20 trays are convenient, but any shallow, food-safe container works — takeaway containers, baking trays lined with a mat, or seed trays. Depth of an inch or two is all microgreens use.
Do you need a grow light for microgreens?
Not necessarily. A bright windowsill grows good trays. A small LED a few inches above the tray gives denser, more even microgreens year-round, and matters more in winter or a dim room.
What should you not buy for microgreens?
At the start: heat mats (room temperature is fine for beginner crops), nutrient solutions (the seed feeds the crop), grow tents, and bulk equipment. Microgreens are deliberately low-gear; add extras only if you scale up.
Related guides
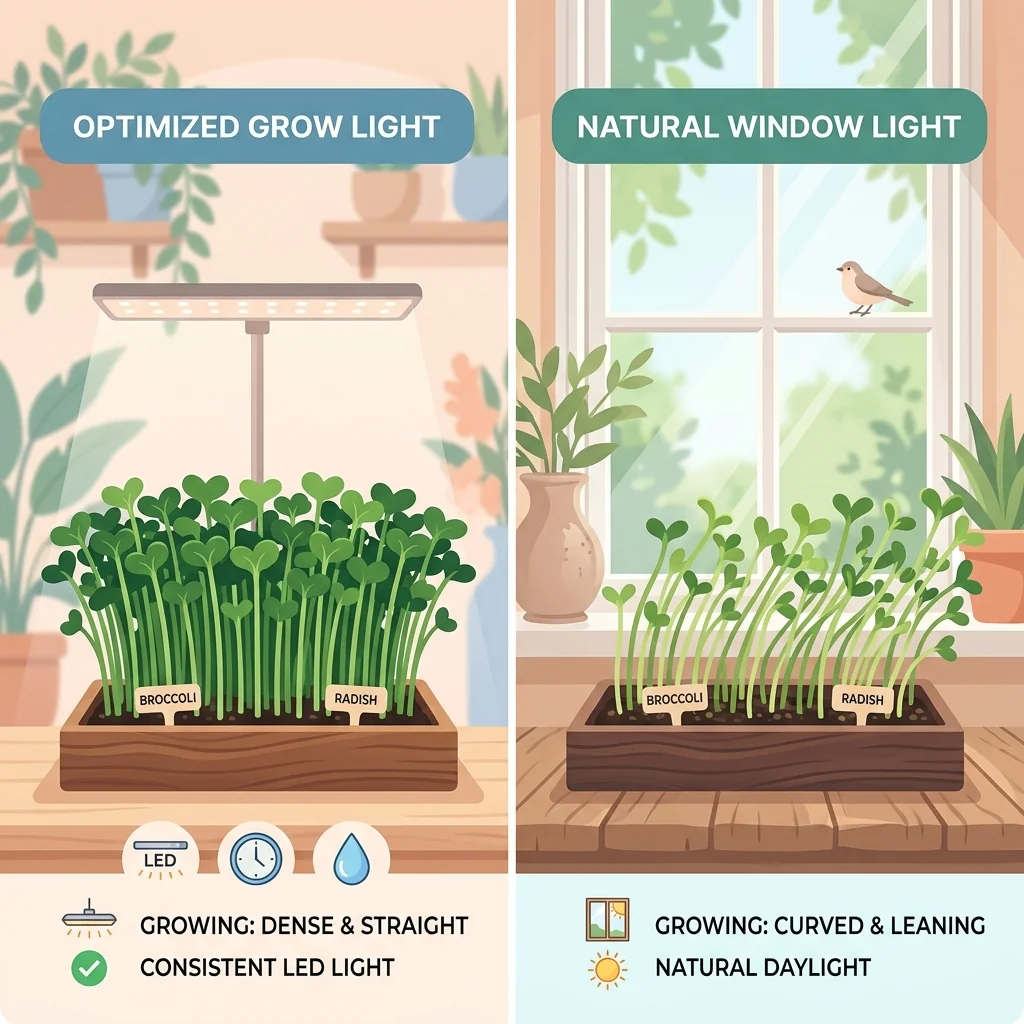
Microgreens light requirements and a simple setup
Microgreens are kept dark to germinate, then need good light to stay short and green. Here is how much light they need and the simplest windowsill or LED setup.
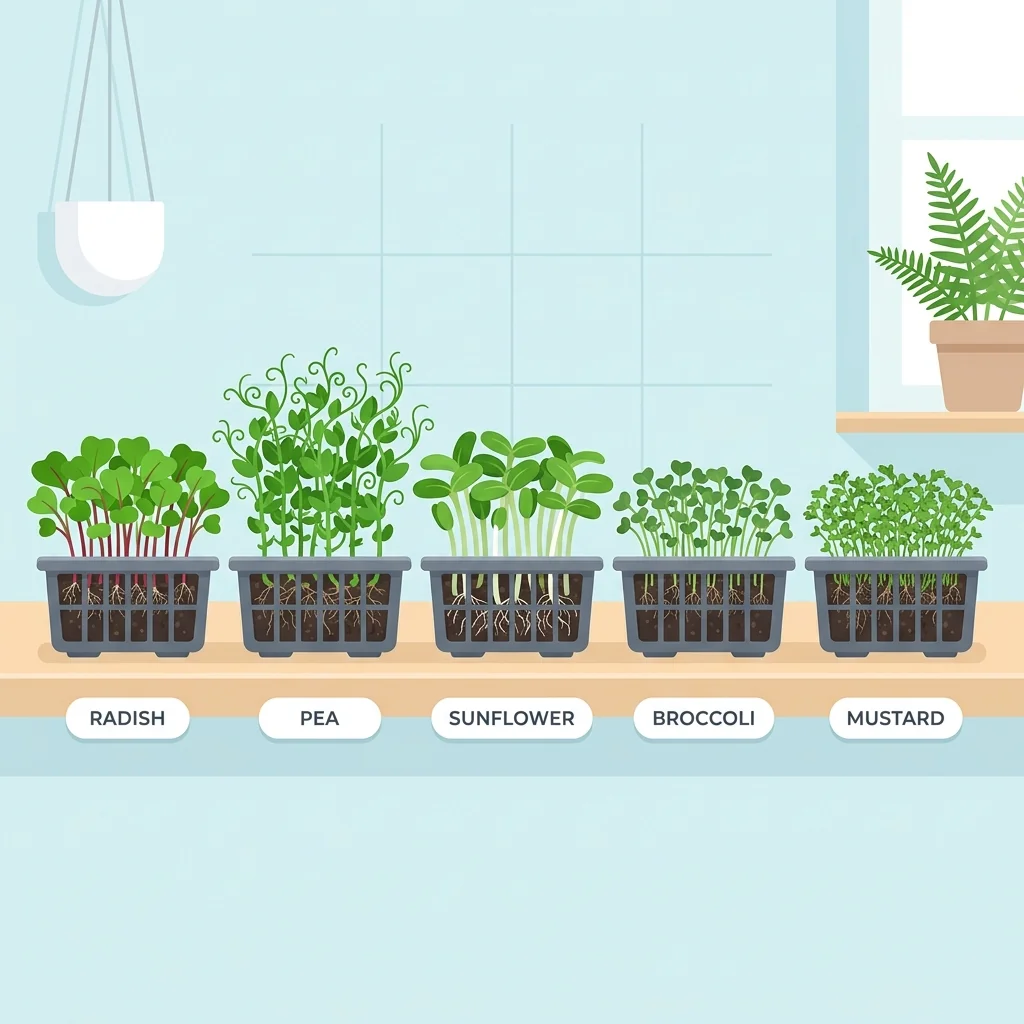
Best microgreens for beginners (fast and forgiving)
Start with microgreens that germinate fast and forgive mistakes. Radish, peas, sunflower, broccoli, and mustard are the easiest first trays, ready in about a week.
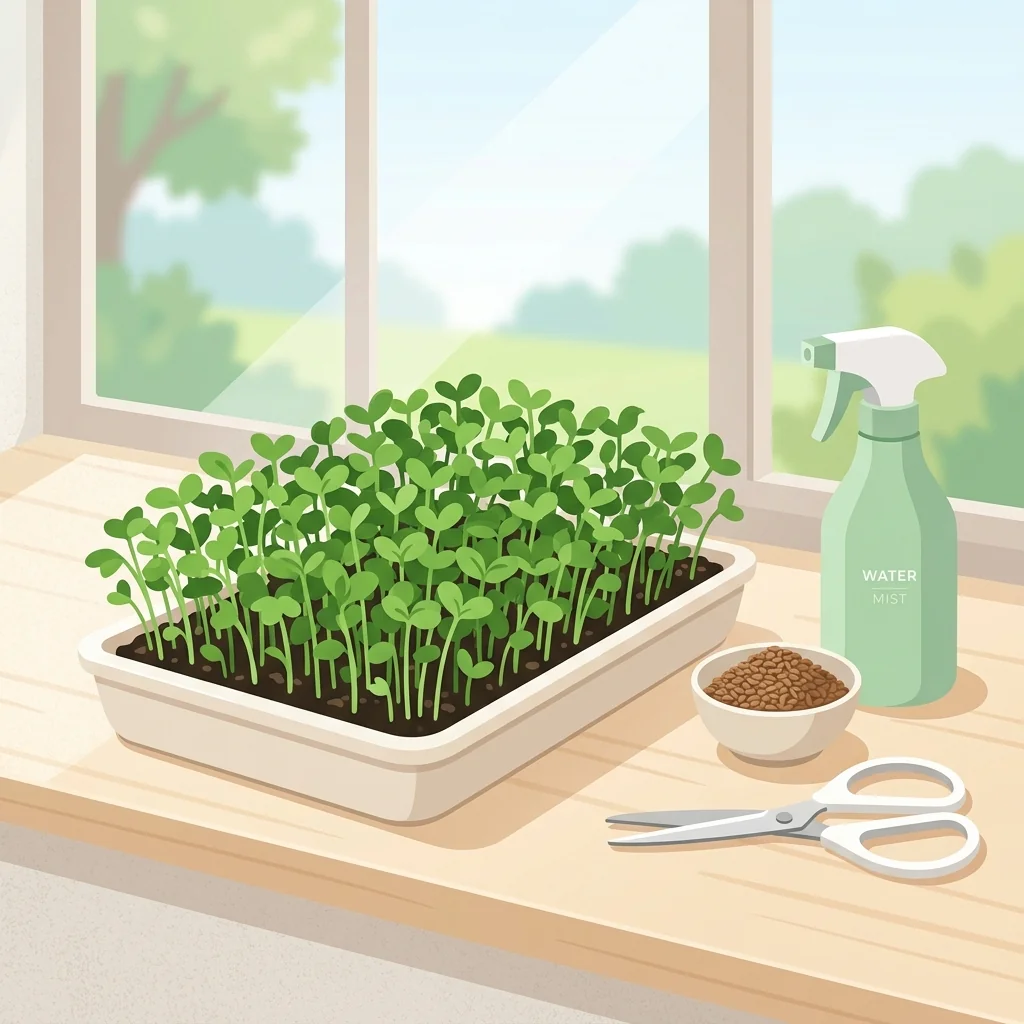
How to grow microgreens at home: a beginner's guide
Microgreens are the fastest crop you can grow indoors. This beginner guide walks through sowing, watering, light, and harvesting your first tray in about ten days.