
Parts of the Maryland bucket planter
| Part | Size or detail | Job |
|---|---|---|
| Food-grade bucket | 5 gallons, with a lid | Holds the reservoir and the mix |
| Lid separator | Cut to fit inside the bucket, 15 holes of 5/16 inch | Holds the mix above the water; roots grow through the holes |
| Drain-tile supports | Three pieces of 4-inch perforated tile, 2.5 inches long | Prop the separator above the reservoir |
| Overflow hole and tube | 3/4 inch hole, 2 inches above the bottom, 6 inches of 1/2 inch tubing | Sets the top water level and sends extra water out |
| Milk jug | 1 gallon, with an X cut in the shoulder | Catches the overflow so you can pour it back |
A self-watering planter needs only three things: a platform that holds the mix, a reservoir underneath, and an overflow hole set just below the platform. University of Maryland Extension publishes a build from a food-grade 5-gallon bucket that follows exactly that plan. Before you pick up a drill, check which plants suit a root zone that stays moist: self-watering pots for herbs sorts the thirsty herbs from the ones that rot, and food-safe containers covers the bucket itself.
How the planter works
Maryland Extension describes the idea in two sentences. Instead of drainage holes in the bottom, these containers have an overflow hole on one side, and the growing medium sits on a perforated platform directly above a water reservoir. Roots grow through the medium and into the water, and in most cases water is also wicked up from the reservoir into the medium.
That is why the overflow hole matters more than any other detail. It fixes the highest water level. Set it below the platform and the reservoir can fill to the brim without soaking the mix. Set it too high, or leave it out, and the container becomes a sealed tub with the problem described in do pots need drainage holes.
The Maryland design uses no rope. The perforations and the mix do the lifting.
What you need
The parts list from Maryland Extension, for one planter:
- One 5-gallon plastic bucket with a lid, food grade. Maryland Extension notes that bakeries, delis and restaurants often give them away.
- A 7.5-inch length of 4-inch perforated drain tile, cut into three pieces of 2.5 inches.
- A 6-inch length of clear tubing, 1/2 inch inside diameter.
- A 1.5-inch wood or decking screw and some electrical tape.
- An empty 1-gallon milk jug.
- A cinder block or bricks to raise the bucket.
- Tools: a saber saw, a drill with 5/16 inch and 3/4 inch bits, a utility knife and a hacksaw.
Build it
- Cut the lid so it fits inside the bucket. It becomes the separator between mix and water.
- Drill 15 holes of 5/16 inch in the lid. Roots grow through them into the reservoir.
- Stand the three drain-tile pieces on the bottom of the bucket and rest the lid on them.
- Drill one 3/4 inch hole in the side of the bucket, 2 inches above the bottom.
- Wrap one end of the tubing with electrical tape for a snug fit and push it into the hole. It sits directly below the separator.
- Drive the screw through the tubing, inside the bucket, 1 inch from the end. Maryland Extension adds that this stops the tubing being pulled out.
- Cut an X in the shoulder of the milk jug and push the free end of the tubing in.
- Raise the bucket 8 inches on the block or bricks, so the jug sits below the hole.
Paint is optional. Maryland Extension suggests decoupage or a spray paint made for plastic.
The bucket-in-bucket version
Maryland Extension’s vegetable-container guide also shows a pair of buckets that form a closed system. The plant grows in potting mix in the top bucket, which drains into the second bucket. Overflow from the second bucket’s reservoir is collected by a milk jug that you reuse to water the plant. Holes in the bottom of the top bucket need a layer of fiberglass window screening, which keeps the mix from falling through.
Whichever you choose, the logic is identical: mix on top, water below, a fixed exit for the surplus.
Fill and plant
Maryland Extension fills the bucket with about 4 gallons of moistened growing medium, plants the seeds or plants, then adds 2-3 gallons of water. The reservoir fills and the excess travels through the tubing into the milk jug.
Two Maryland pages name different media. The bucket instructions use only compost, while the vegetable-container guide plants in potting mix. For a mix you can rely on across a whole season, potting mix versus raised-bed soil explains what to buy and what to leave in the bed.
Keep it running
Rain will do some of the work outdoors. If it does not rain, the bucket needs water regularly: every day in July and August if it sits in full sun, at 1-2 quarts a day to refill the reservoir, according to Maryland Extension. Before you add new water, pour back whatever collected in the milk jug. The jug holds water and nutrients, so returning it wastes neither. This is part of Maryland’s closed-system design, which recycles water and nutrients on purpose; some commercial pots are sold with different advice about returning runoff, as covered in best self-watering pots for herbs.
University of Maryland Extension says that when a growing mix is 50% compost, you should reduce the fertilizer amount by half and not apply fertilizer until plants are growing. The bucket design above uses only compost, so that rule applies directly. Maryland also warns that too much fertilizer can cause excessive salts to build up in the container, which can stress or kill roots, so follow the label of whichever product you use.
Standing water also invites mosquitoes. Maryland Extension’s advice about saucers is to empty them regularly so the water does not serve as a breeding site, and the same reasoning applies to the open milk jug. Pour it back every time you water.
What to grow in it
Maryland Extension shows tomato and pepper (one per bucket) growing in self-watering bucket gardens, and broccoli in a plain 5-gallon food-grade bucket. University of Kentucky Cooperative Extension says a 4 to 5-gallon bucket works well for one plant of eggplant, tomato, pepper, yellow squash or zucchini. For how big each crop really wants to be, see tomato pot size.
Herbs are a narrower question. Basil, mint and parsley like steady moisture. Rosemary, thyme and oregano do not, and a reservoir you cannot drain is a poor home for them; the full sort is in self-watering pots for herbs.
Pick the bucket carefully
The bucket is the one part where a shortcut can hurt you. University of Maryland Extension names recycling code #2 (HDPE) and #5 (PP) as the food-safe plastics, and says to avoid #3, #6 and #7. It adds that any bucket that held chemicals such as paint or cleaning agents is no longer food-safe, even if it is #2 HDPE. University of Kentucky Cooperative Extension puts it plainly: make sure the buckets are food grade, to avoid chemical residues leaching into the soil. If you would rather buy than build, best self-watering pots for herbs compares ready-made options.
Sources
Before and after you build
Check which herbs suit a constantly moist root zone, and which container materials are safe for food.
Common questions
How do you make a self-watering planter at home?
Put a perforated platform above an empty reservoir inside a food-grade bucket, drill an overflow hole just below the platform, fill the top with moistened mix, and water until the reservoir fills. University of Maryland Extension drills 15 holes of 5/16 inch in a lid cut to fit inside the bucket and sets it on three short pieces of drain tile.
Where should the overflow hole go?
Low on the side of the bucket, below the platform. In the Maryland Extension design the 3/4 inch hole sits 2 inches above the bottom of the bucket and a short length of tubing carries the excess to a milk jug.
Do I need a rope wick?
Not in the Maryland Extension design. Roots grow through the platform holes into the water, and water is also wicked up from the reservoir into the mix. Rope-wick builds are a different design with their own instructions.
How much water does a 5-gallon self-watering bucket use?
University of Maryland Extension adds 2-3 gallons at the start to fill the reservoir. In full sun in July and August it needs refilling daily, at 1-2 quarts a day.
Related guides
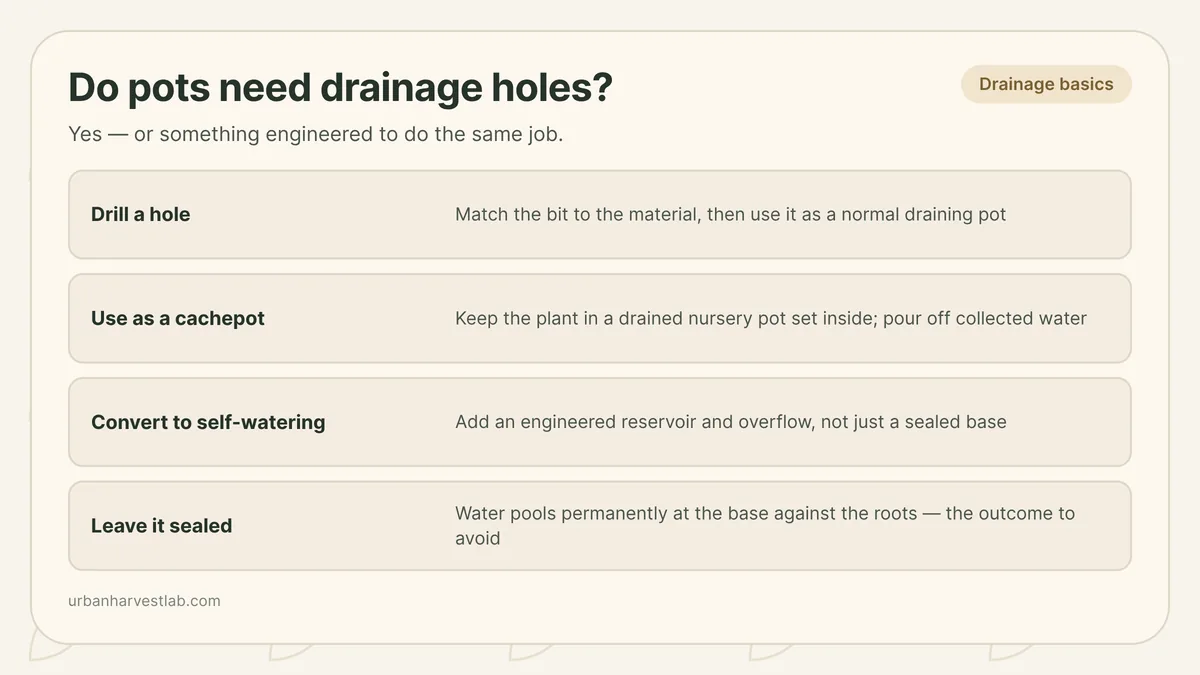
Do pots need drainage holes, and how to add one safely
A pot with no drainage hole is not a design quirk you can water around. Here is why that matters, how to drill one safely by material, and how to use a hole-less pot the right way instead.
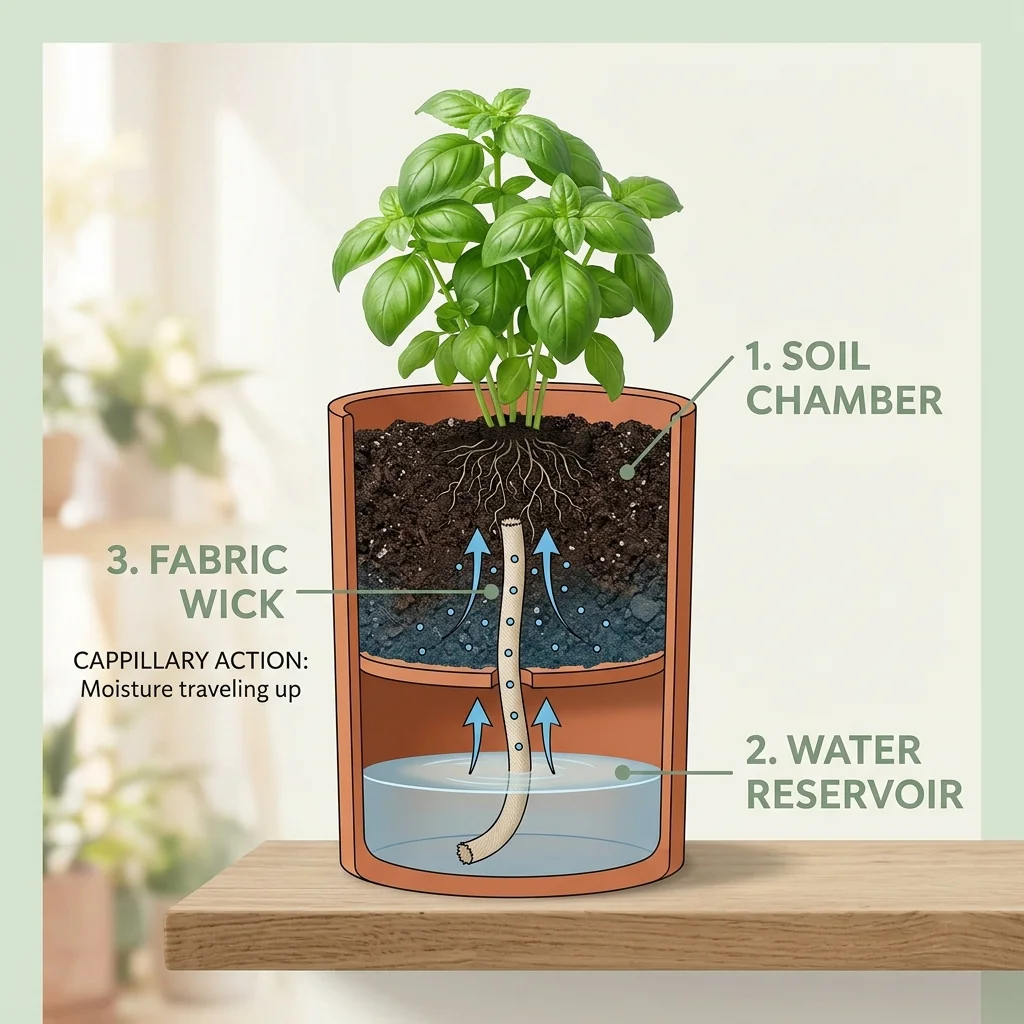
Best self-watering pots for herbs
Self-watering pots take the guesswork out of watering thirsty herbs, but they are wrong for Mediterranean herbs. Here is how to choose and who they suit.
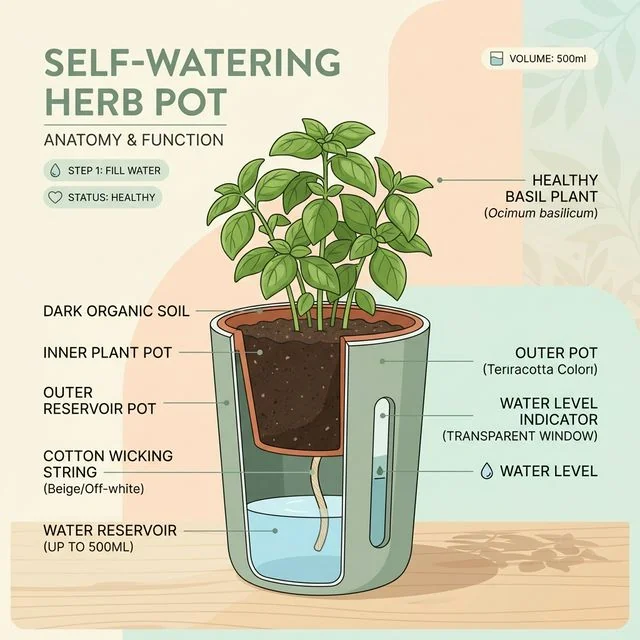
Self-watering pots for herbs: worth it or more trouble?
Self-watering pots sound like the holy grail for busy gardeners. While they are fantastic for moisture-loving herbs like mint, they can quickly turn into a swamp of rotting roots for drought-tolerant plants like rosemary.