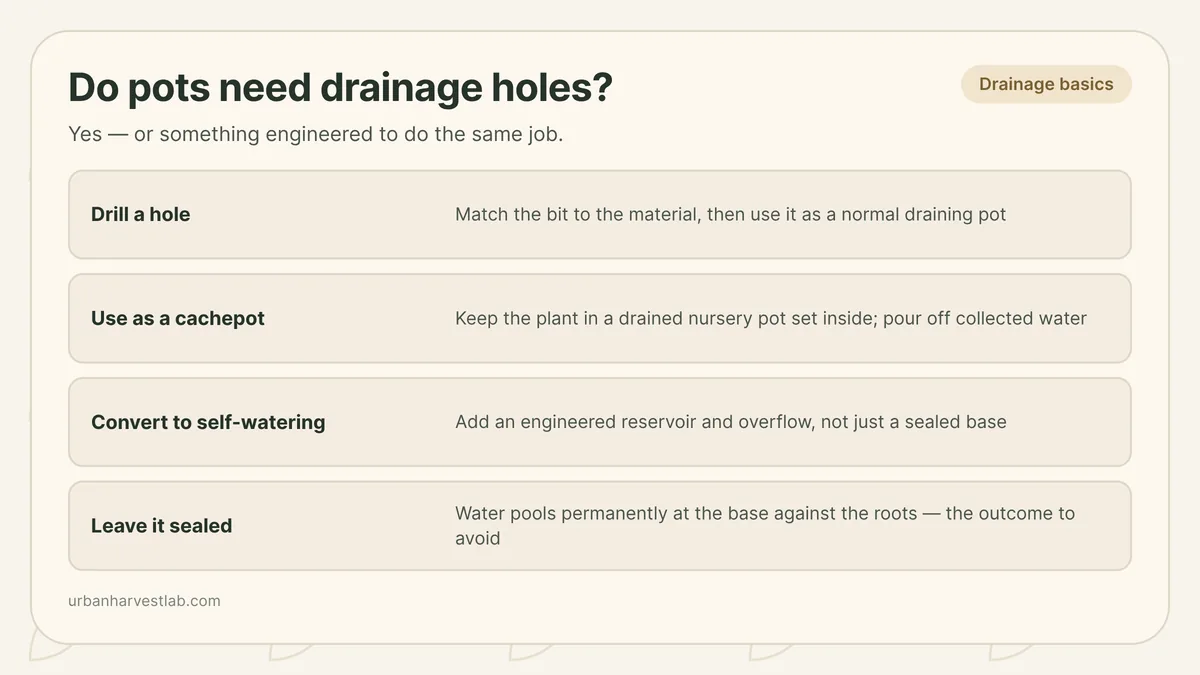
Your options for a pot with no drainage hole
| Option | What you do | Best for |
|---|---|---|
| Drill a hole | Add a hole matched to the material, then use it as a normal draining pot | A pot you plan to keep as the main growing container |
| Use it as a cachepot | Keep the plant in a drained nursery pot set inside, and pour off collected water after watering | A decorative pot you do not want to alter |
| Convert to self-watering use | Add an engineered reservoir and overflow, not just leave the base sealed | A pot you are deliberately building into a sub-irrigated planter |
| Leave it sealed with no plan | Water pools permanently at the base against the roots | Nothing -- this is the outcome to avoid |
Yes, pots need a drainage hole, or something engineered to do the same job. Without one, the water gravity pulls down through the potting mix has no exit, so it collects permanently at the bottom of the container instead of draining away, and the roots sitting in that zone run short on oxygen. The size and material of the container also matter, and best containers for herbs covers how those choices work together, but none of that helps if the pot has no way to let water out in the first place.
Why a hole-less pot is the drainage problem taken to its extreme
Every container that drains still holds a band of saturated mix at its very base, because water resists moving out of a fine potting mix until that layer is fully wet. Washington State University Extension’s Linda Chalker-Scott describes this band as a perched water table, and it exists in any pot, holes or not. A gravel layer under the mix makes this band worse by raising it higher into the root zone instead of draining it away, which is exactly the mechanism the gravel-in-the-pot myth explains in full. A pot with no drain hole at all is the same problem with no bottom to let go of that saturated band whatsoever. The water that gravity pulls down has no exit at all, so it collects as free water at the base and stays there until the plant or evaporation removes it — which means the roots in that zone sit in it for days rather than minutes.
The visible signs are the same ones a badly drained pot produces, only faster and more completely: a swampy smell from the potting mix, leaves yellowing and dropping from the bottom of the plant up, and soil that stays wet for days after a single watering even in bright, warm conditions. If a plant is showing those signs and the pot has no visible hole in the base, check that first, before assuming the problem is watering frequency or fertilizer.
How to drill a drainage hole, by material
Most containers can be drilled safely, but the bit and the technique change with the material, and using the wrong one is how a decorative pot ends up in pieces in the sink.
| Material | Bit to use | Technique | What goes wrong with the wrong approach |
|---|---|---|---|
| Plastic and resin | A standard drill bit or a step bit for a wider hole | Drill at moderate speed; support the base from underneath so it does not flex | Cracking around the hole if the pot flexes unsupported |
| Unglazed terracotta | A masonry or carbide-tipped bit | Low speed, light pressure, keep the drilling area wet, and let the bit do the work rather than pushing | Hairline cracks or a chipped-out hole if you drill dry or push hard |
| Glazed ceramic | A diamond-tipped bit made for tile and glass | Start at a shallow angle to score through the glaze before straightening the drill; keep the area wet throughout | The glaze chips or spiderwebs if the bit skids across a dry, hard glazed surface |
| Metal or tin | A metal-rated bit, starting with a small pilot hole | Mark the spot with a punch first so the bit does not wander; widen gradually with progressively larger bits | The bit skates across the surface and scratches the finish instead of biting in |
| Concrete or stone | A masonry bit rated for the material’s hardness | Very low speed, frequent pauses, water to control dust and heat | Overheating the bit or fracturing a thin-walled pot |
A few habits carry across every material: mark the spot first, keep the pot steady rather than hand-held in the air, and drill from the outside in on anything glazed or finished, since the exit side of any hole is where chipping is most likely. If a pot has a raised foot or ridge on the base, drilling through that thicker section rather than the thin center of the floor gives the bit more material to bite into and less to crack.
Terracotta and unglazed ceramic are the materials most likely to fail during drilling, because they are more brittle than plastic and, per University of Illinois Extension, more porous — the same wall porosity that makes terracotta dry out faster once it is planted. If a pot is a genuine antique, has a hairline crack already, or is thin-walled decorative china rather than sturdy stoneware, do not drill it at all; use the cachepot approach below instead.
Once the hole is through, the job is not quite finished. Run a finger around the inside edge for sharp shards or a burr and knock them loose, then rinse the pot out so grit and dust do not sit against the roots once it is planted. Washington State University Extension’s fix for a wet root zone is functioning drainage holes plus a uniform mix; a large pot needs its base openings kept clear and unblocked, whatever their number or size. A layer of coarse mesh or a piece cut from a window screen over each hole keeps potting mix from washing out without recreating the gravel-layer problem, because a thin screen is not a distinct depth of coarse material for water to catch on the way through.
The cachepot technique: the right way to use a pot with no hole
Not every pot without a drain hole should be drilled. A pot you inherited, a glazed import with a glaze you do not want to risk, or anything you are not willing to damage is better used as a cachepot: a decorative outer pot with no hole, used purely as a sleeve around a separate, properly drained container.
The plant itself lives in an ordinary nursery pot or plastic liner with a working drain hole, sized to fit inside the cachepot with a little clearance. Water that pot the way you would any other, let it drain, and set it inside the decorative pot. The cachepot does not hold the growing mix directly; it only hides the plain container.
The one habit that makes this work is emptying the cachepot after every watering. Water that drains out of the inner pot collects in the bottom of the outer one, and left there it behaves exactly like a pot with no hole: a standing pool the inner pot’s own drainage holes now sit in, wicking moisture straight back up into the root zone. Lift the inner pot out, tip the cachepot to empty it, or use a layer of pebbles under the inner pot to keep its base above any water that collects, then check again after the next watering. Treating a cachepot as decoration you can forget about, rather than a container that needs emptying, is how a hole-less pot ends up doing exactly the damage a drain hole exists to prevent.
Self-watering pots are a different exception, not the same shortcut
A self-watering or sub-irrigated planter also has no hole in the bottom, and it is easy to look at that and conclude a hole-less pot is fine after all. A sealed cachepot with standing water in the bottom and a self-watering planter’s engineered reservoir look similar from the outside, but only one of them has a designed limit on how high that water can rise. Self-watering pots for herbs covers the mechanism and which herbs suit it; neither case is a reason to skip drainage on an ordinary container.
Sources
Get the container right before you plant
Pot size and material decide as much about root health as the hole itself.
Common questions
Do pots really need a drainage hole?
Yes. A hole lets excess water leave the pot after gravity pulls it down through the potting mix. Without one, water has nowhere to go and collects permanently at the bottom, keeping the roots sitting in it short on oxygen.
Can I drill a hole in a ceramic or terracotta pot without cracking it?
Usually, with a masonry or diamond-tipped bit made for tile and stone, run at low speed with light pressure, and the surface kept wet to control heat. A glaze can chip where the bit first bites if it skids, which is why you start at a shallow angle to score through it; the exit face on the far side is where a clean blowout is most likely once the bit breaks through, which is why you drill from the outside in so any blowout lands on the hidden inner surface.
What is a cachepot?
A cachepot is a decorative pot with no drainage hole, used purely as an outer cover. The plant stays in its own drained nursery pot set inside the cachepot, and any water that collects in the bottom gets poured out after watering rather than left to sit against the roots.
Is a self-watering pot the same as a pot with no drainage hole?
No. A self-watering pot also lacks a bottom hole, but it replaces that opening with a built-in reservoir and a fixed overflow point, so excess water has a controlled exit instead of nowhere to go at all.
Related guides
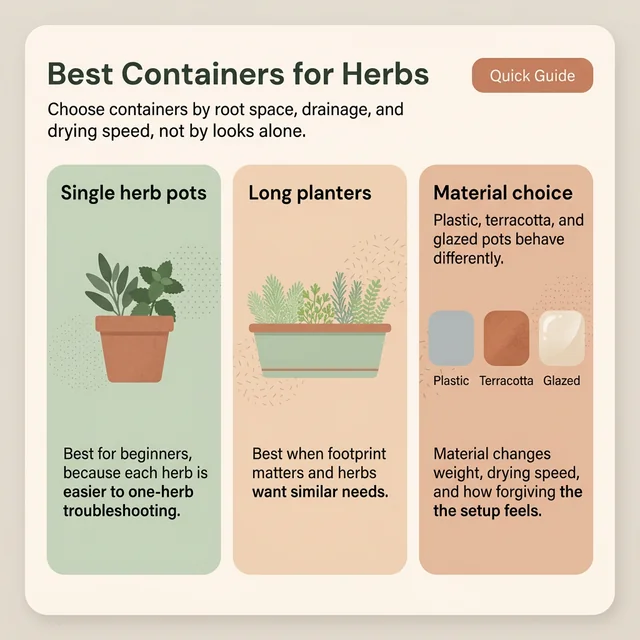
Best containers for herbs: drainage, pot size, and materials that work
A practical guide to herb containers that explains which pots work best, why drainage matters, and how material changes the way containers dry.
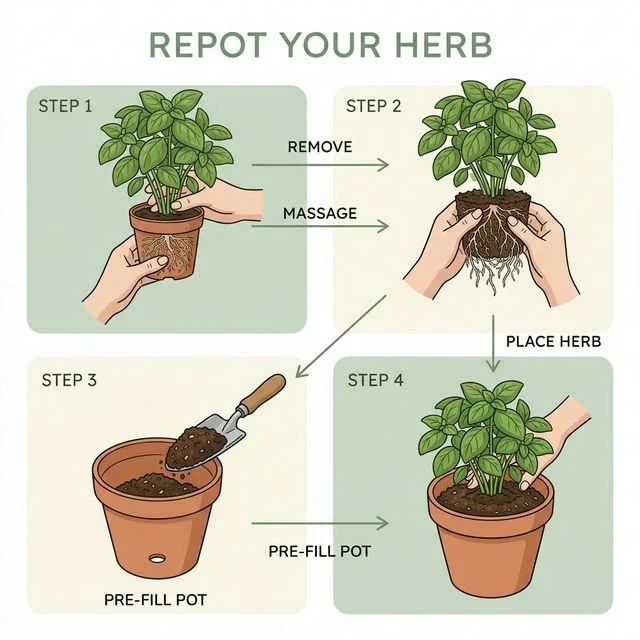
How to repot herbs without slowing growth
Moving an herb to a bigger pot should trigger a massive growth spurt. If your plants wilt and drop leaves after repotting, you are suffering from transplant shock. Here is how to upgrade your container without stressing the roots.
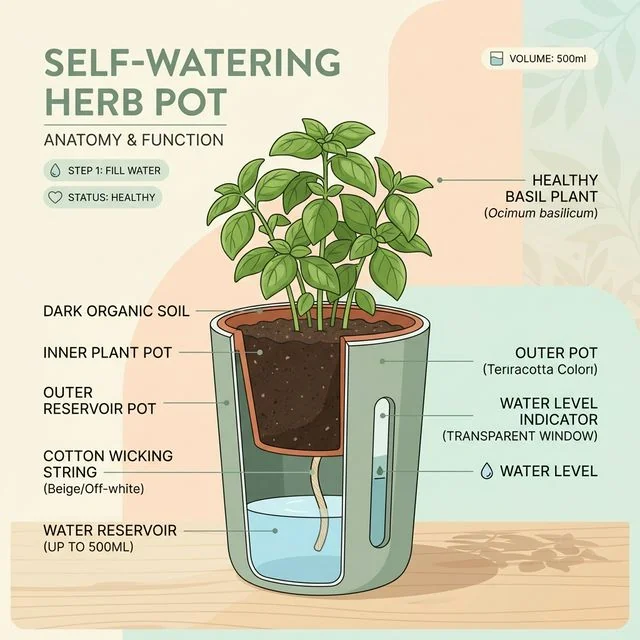
Self-watering pots for herbs: worth it or more trouble?
Self-watering pots sound like the holy grail for busy gardeners. While they are fantastic for moisture-loving herbs like mint, they can quickly turn into a swamp of rotting roots for drought-tolerant plants like rosemary.