Apartment vegetable garden plan at a glance
| Step | Decision | Quick guidance |
|---|---|---|
| 1. Light | Where will it grow? | Use the brightest window; add a grow light if weak |
| 2. Containers | What to plant in? | Pots with drainage, sized to the crop |
| 3. Crops | What to grow? | Start with greens, green onions, and easy herbs |
| 4. Routine | How to maintain? | Water by checking the soil; harvest little and often |
Growing food in an apartment works when light, containers, crops, and routine are planned together rather than picked at random. As a quick answer: plan light first, then containers, then crops, then routine, and start small. You do not need a yard or balcony. This plan ties together the crop and herb guides into one starting workflow.
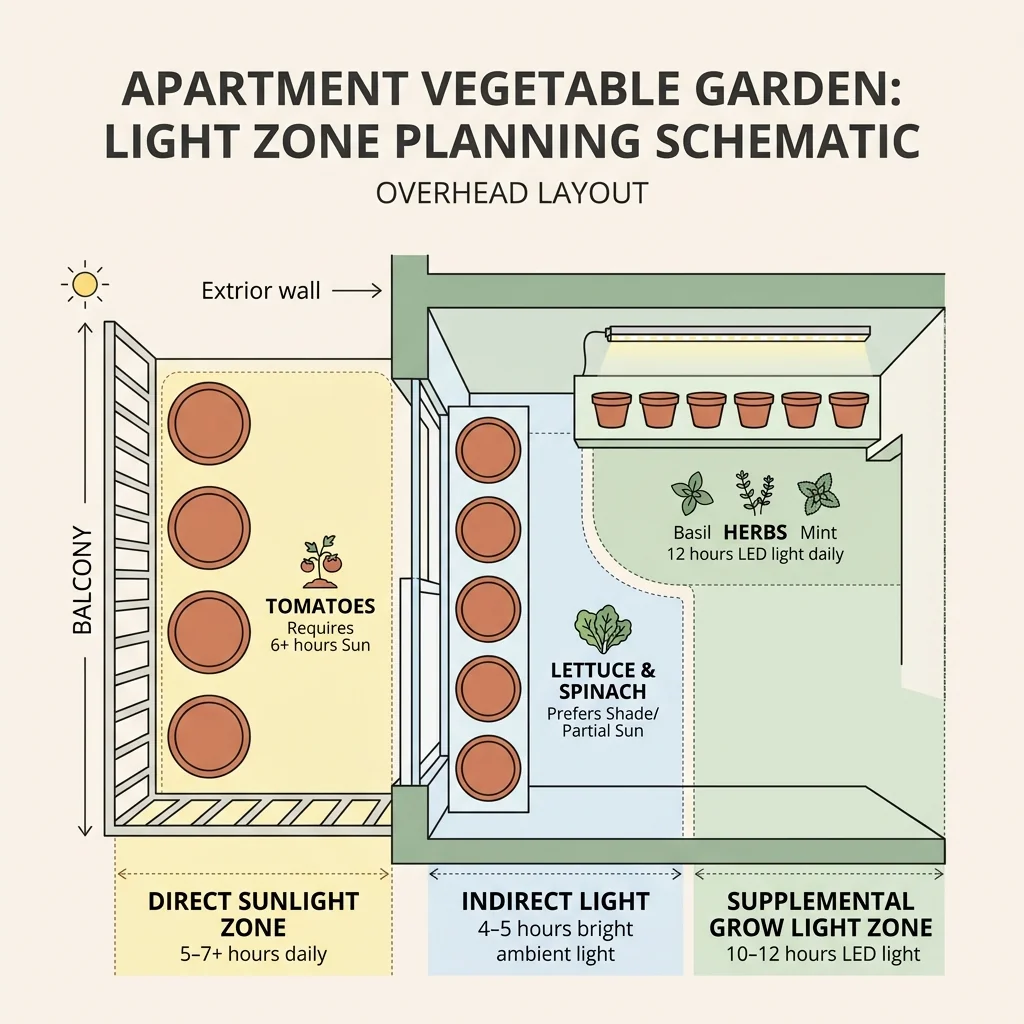
Step 1: plan the light
Light is the constraint that decides everything else, so start here. Find your brightest window and be honest about it: a south-facing window supports the most crops, east or west windows are workable, and north-facing or interior spots usually need help. If the natural light is weak, plan for a grow light from the start; the realistic expectations are covered in how much light do herbs need?, and the low-light strategy in how to grow herbs in a low-light apartment.
Step 2: choose containers
Pick containers with drainage holes, sized to the crop: shallow, wide trays for leafy greens, deeper pots for radishes and taproot crops, and roomy pots for anything fruiting. Material matters less than drainage and size; best containers for herbs applies equally to small vegetables.
Step 3: choose crops for your light
Match crops to the light you planned in step 1:
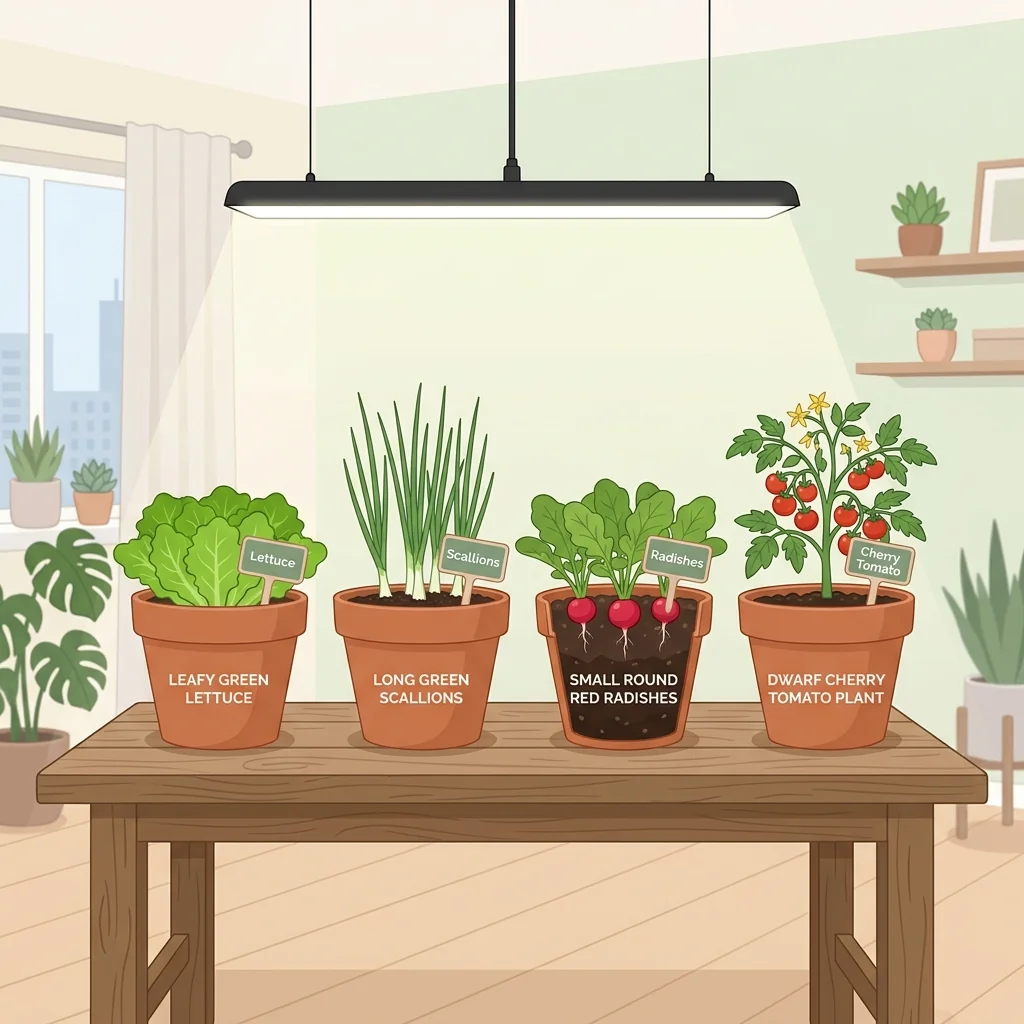
- Bright window only: leafy greens, green onions, radishes, microgreens, and easy herbs.
- Grow light available: add cherry tomatoes, peppers, and a wider range of greens.
The full crop list is in best vegetables to grow indoors in an apartment, and the herb side in best herbs to grow in an apartment.
Step 4: set a simple routine
Water by checking the soil rather than on a fixed schedule, harvest little and often to keep plants productive, and watch how each spot performs over the first few weeks. A simple routine you can keep beats an ambitious one you abandon.
Start small, then expand
The most common beginner mistake is filling the apartment with pots before learning which spots actually work. Begin with one bright location and a few easy crops, prove the setup, then scale up. A single tray of lettuce and a jar of regrowing green onions is enough to learn from, and it turns the question of whether an apartment can grow food into a definite yes.
Put the plan together with these guides
These guides cover the crops, herbs, containers, and light that make up an apartment vegetable garden.
Common questions
How do I start a vegetable garden in an apartment?
Start by finding your brightest window, then choose a few easy crops that match that light (leafy greens, green onions, herbs), pot them in containers with drainage, and add a grow light if the natural light is weak. Begin small and expand once it works.
Do you need a balcony to grow vegetables in an apartment?
No. A bright windowsill or a counter with a grow light is enough for leafy greens, herbs, and fast crops. A balcony helps, but indoor-only apartment gardens are entirely workable.
What should a beginner grow first in an apartment?
Leafy greens, green onions, and a couple of easy herbs. They are fast, forgiving, and prove your light works before you invest in fruiting crops like tomatoes that need much more light.
How much space does an apartment vegetable garden need?
As little as one bright windowsill. The limit is usually light, not floor space, so a small, well-lit setup beats a large collection of pots in a dim room.
Related guides
Best vegetables to grow indoors in an apartment
Beyond herbs, plenty of vegetables grow indoors in an apartment. Leafy greens and fast crops are the easy wins; fruiting veg are possible with strong light.
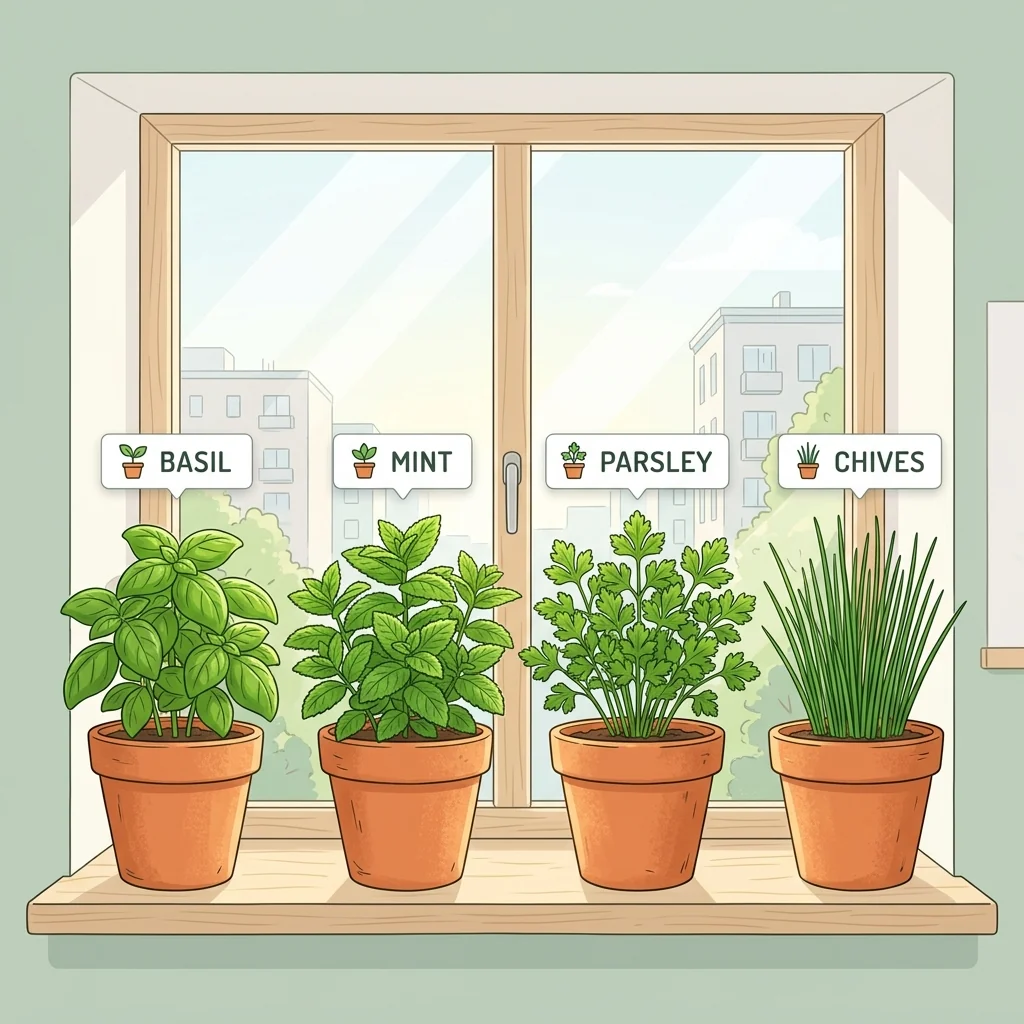
Best herbs to grow in an apartment (no yard needed)
You do not need a yard to grow herbs. These forgiving, compact herbs do well on apartment windowsills and counters, matched to how much light you actually have.
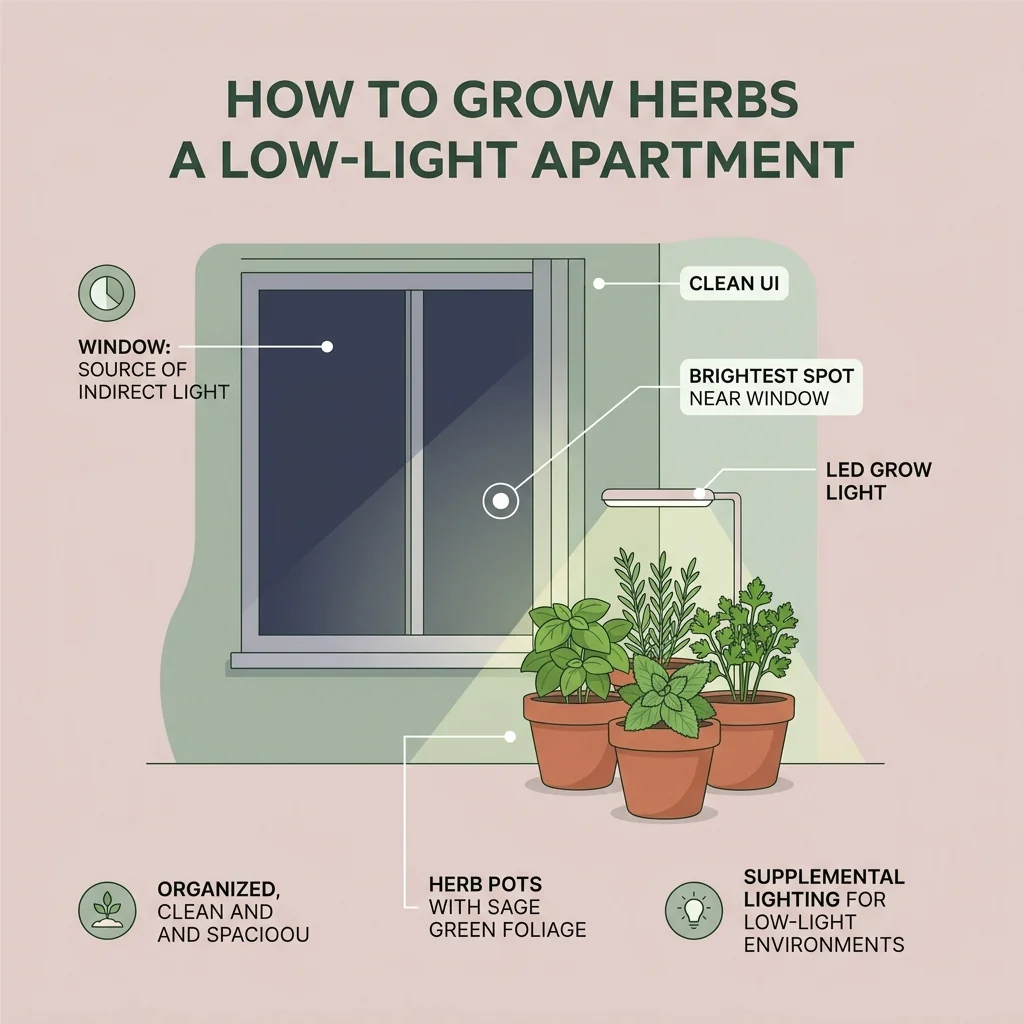
How to grow herbs in a low-light apartment
A dark apartment does not rule out herbs, but it changes the strategy. This is a how-to for placement, expectations, and the grow-light decision, not just a herb list.