Troubleshoot the system before you change the inputs.
Symptoms
- Seed rots in the medium and fails to emerge, leaving bare patches with no visible seedling.
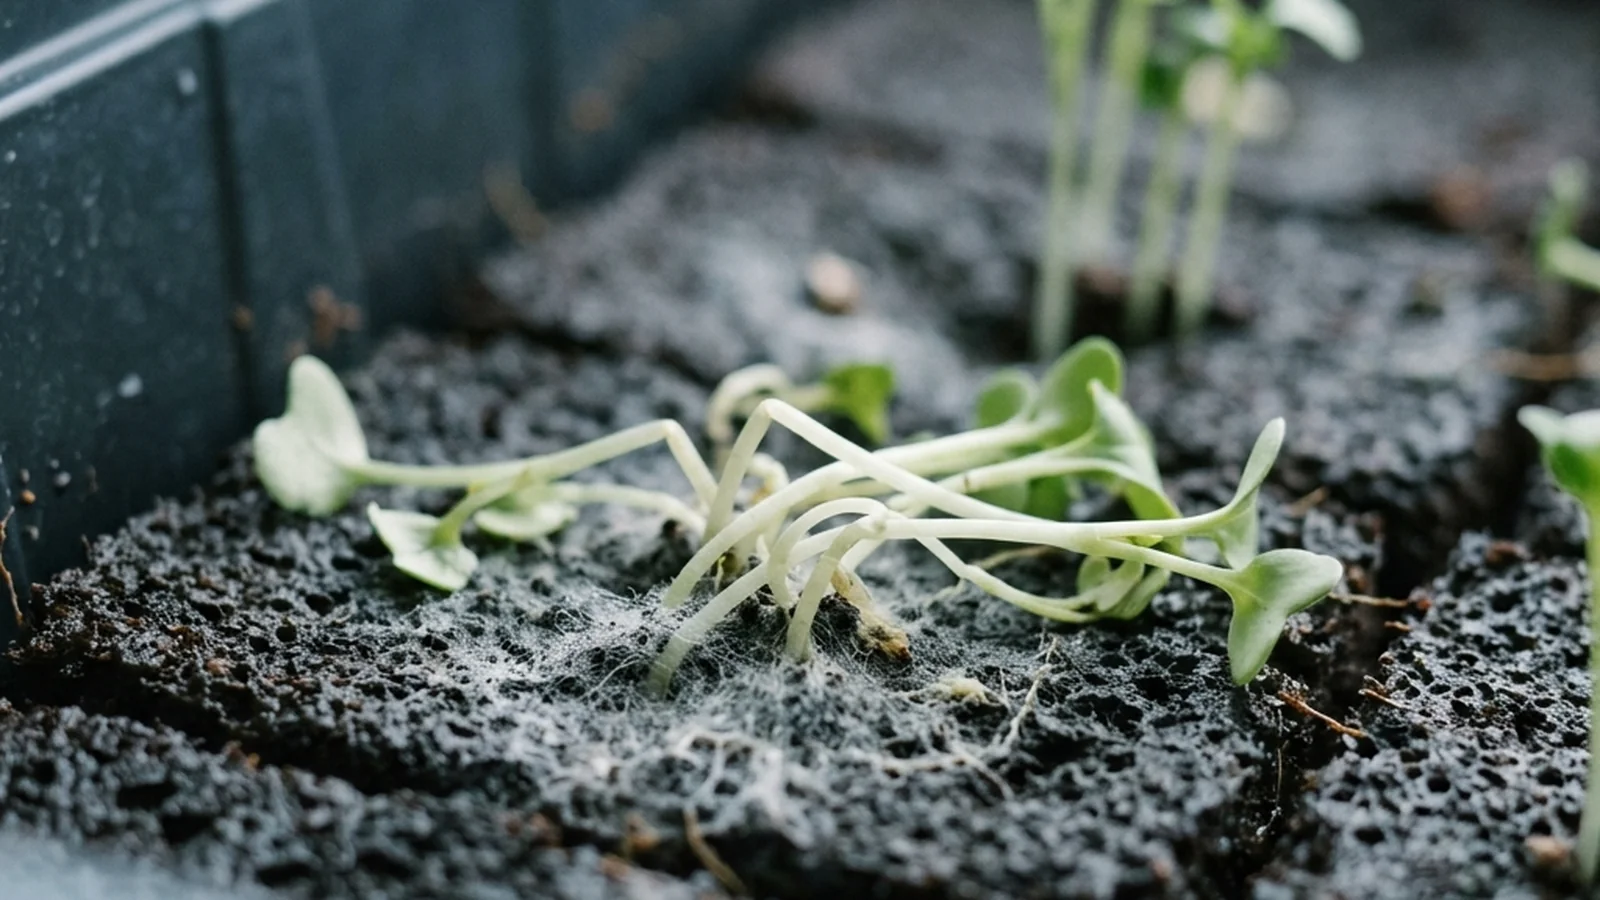
- After emergence, the stem looks pinched, thread-thin, or water-soaked right at the growing-medium line.
- Cotyledons wilt and young leaves turn grey or discolored while the seedling topples over.
Possible causes
- Pythium, the most common damping-off pathogen in home microgreens, is active in wet, reused medium.
- Rhizoctonia, Fusarium, or Phytophthora species are infecting roots and the stem base.
- A reused tray or unsterilized growing medium carried pathogen inoculum into the new sowing.
Quick fixes
- Remove affected seedlings and, if collapse is spreading rather than isolated, discard the whole tray.
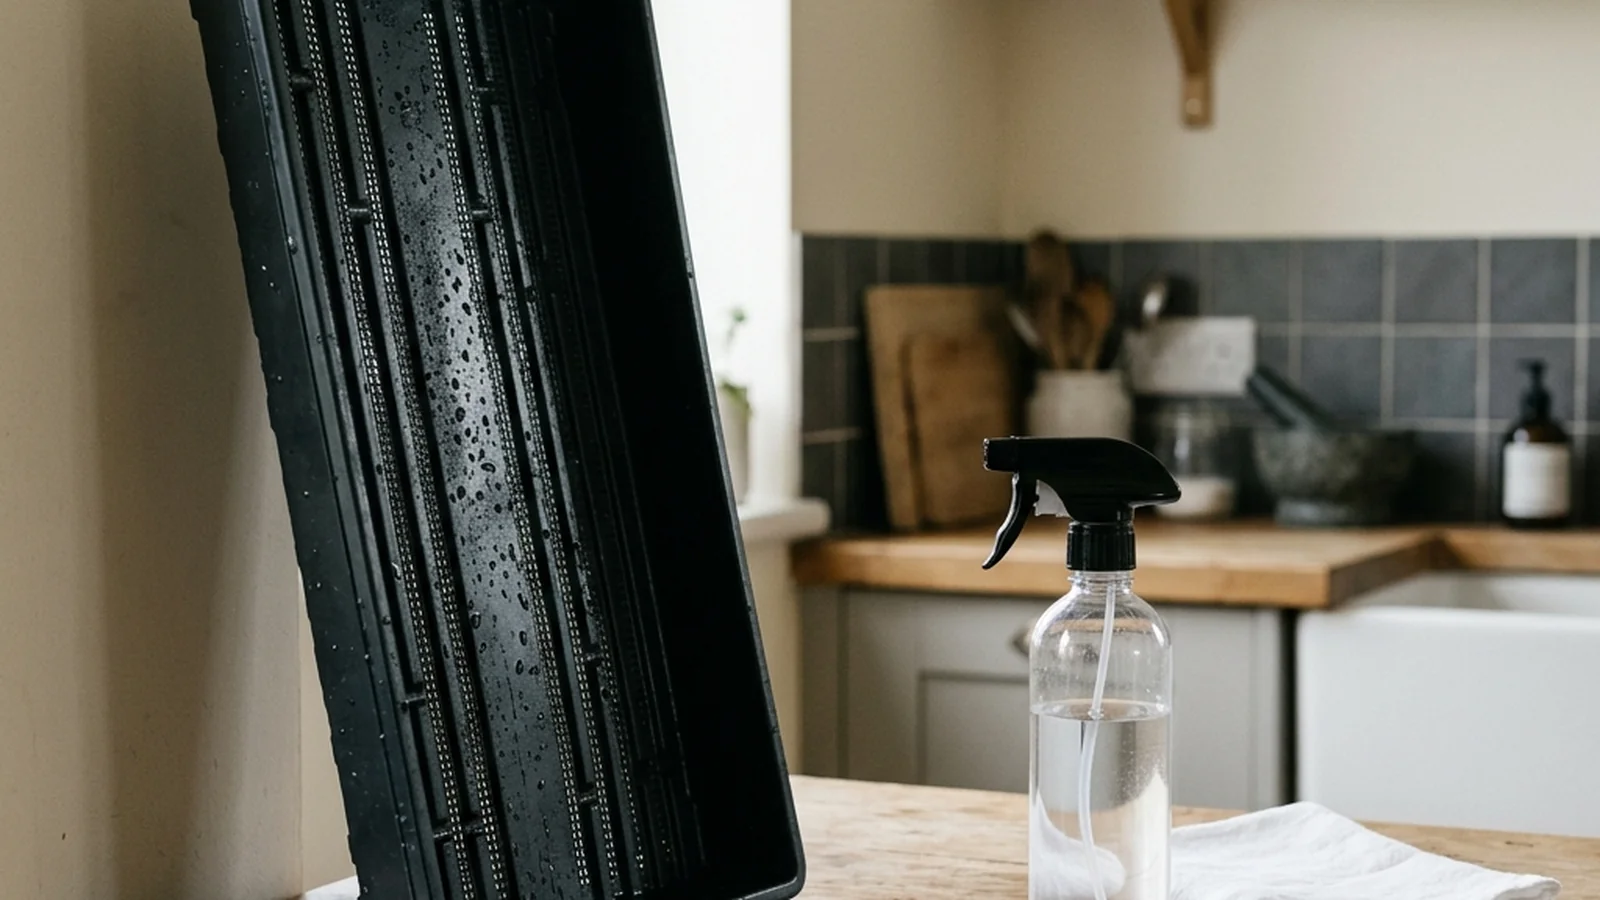
- Wash and sanitize reused trays in a 10% bleach solution for 30 minutes, then air dry fully before reuse.
- Start the next sowing in a steam-sterilized or pasteurized, fast-draining growing mix.
Damping-off is a seedling disease caused by soilborne fungi and water molds - most commonly Pythium, along with Rhizoctonia, Fusarium, and Phytophthora - that attacks the roots and the stem at the growing-medium line. It rots seed before it emerges, or collapses seedlings after it, and you control it with sanitation rather than fungicide. Look at the stem base: a pinched, thread-thin, or water-soaked section right at the medium line is the symptom that separates this from anything growing on top of the tray.
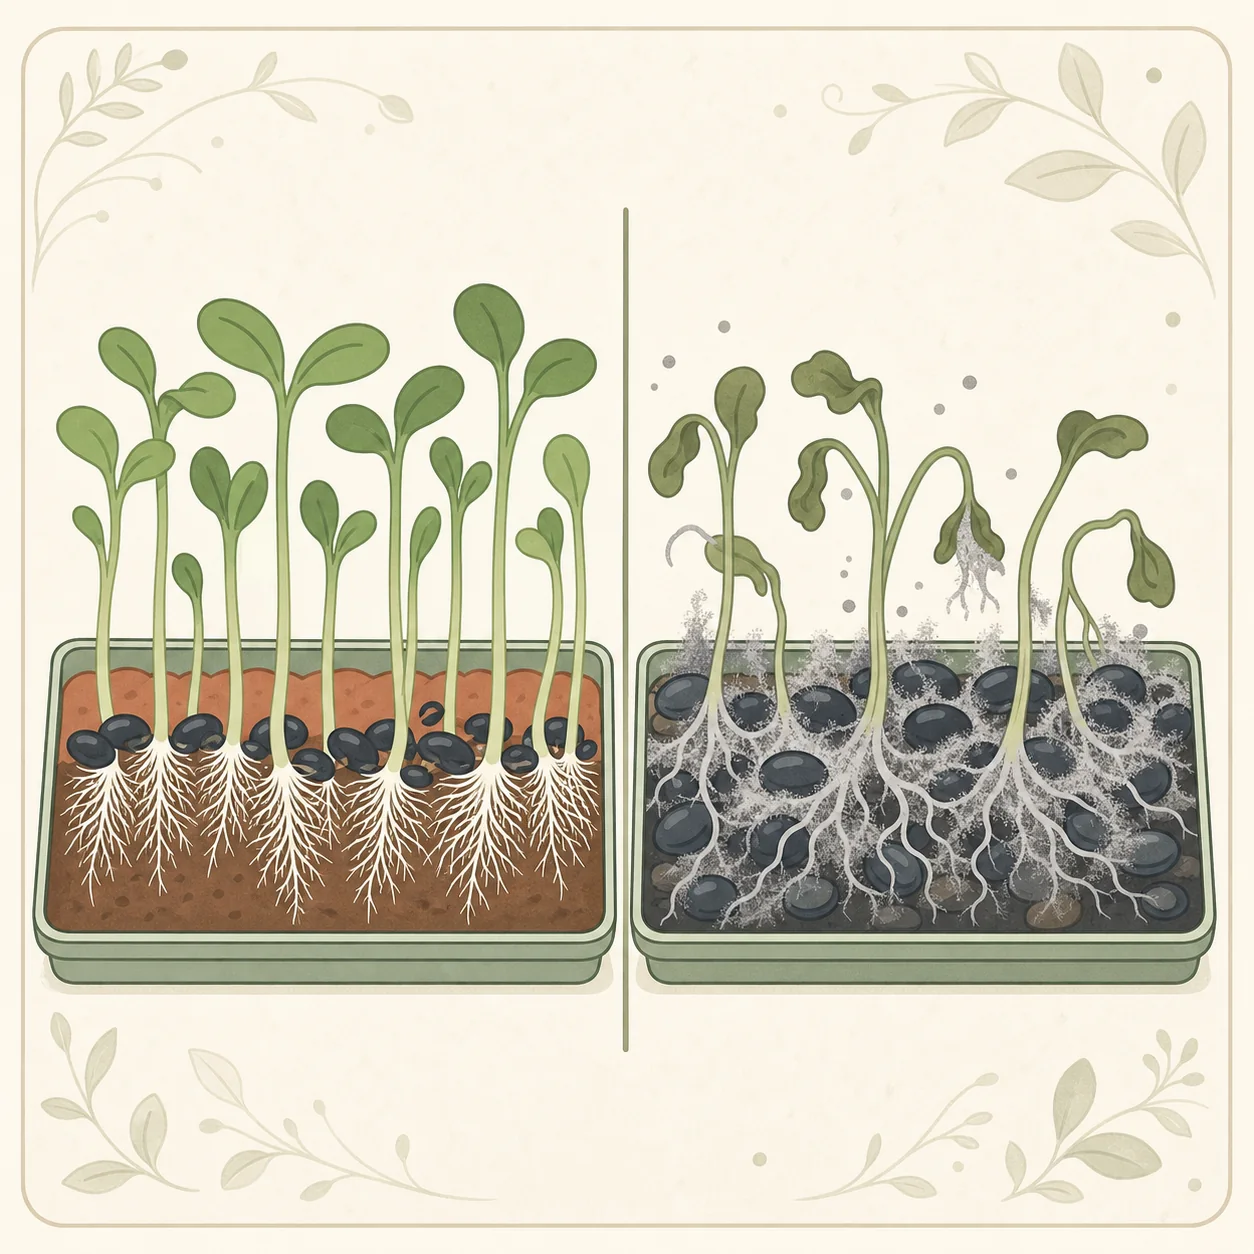
It is not the white fuzz that sometimes appears around germinating roots - that question, normal root hairs versus surface mold on hulls and debris, is covered in Microgreens mold or root hairs? How to tell safely.
Start with the complete beginner microgreens method if the growing routine itself is not yet settled. Seed density, tray choice, watering habits, and airflow all affect how vulnerable a tray is in the first place, and it is easier to prevent an outbreak than to diagnose one after the fact.
What damping-off actually is
UC IPM and UMass Extension attribute damping-off to several soilborne fungi and water molds, with Pythium the most common cause alongside Rhizoctonia, Fusarium, and Phytophthora species. These organisms are common in growing media, water, and reused equipment, and microgreens - grown at high density in a shallow, consistently moist medium - sit close to the conditions that let them establish.
Pre-emergence and post-emergence: two different pictures
University of Minnesota Extension and UMass Extension split damping-off into two stages, and which one you have changes what the tray looks like.
Pre-emergence damping-off
The seed rots in the medium before it ever sends up a shoot. From above, the result looks like poor germination: bare patches where nothing came up. Because nothing visibly failed, this stage is easy to write off as bad seed or uneven sowing rather than disease.
Dig before you conclude. Scrape the surface of a bare patch with a fingertip and lift out two or three seeds. A seed that simply has not germinated yet is still firm, holds its shape between finger and thumb, and often shows a pale, intact seed coat. A seed killed by pre-emergence damping-off is the opposite: soft, darkened, and it smears or breaks apart under light pressure instead of resisting, which is the seed decay UC IPM and UMass Extension describe for this stage. Some will have started to germinate and stopped, showing a short radicle that has gone brown and limp rather than white and firm.
That check is what separates the two explanations for the same bare patch. Firm, intact seed points at sowing depth, seed age, or an uneven soak - the ground microgreens not germinating covers. Soft, rotted seed in a medium that has stayed wet points at disease, so sanitize the tray and start the next sowing in a clean mix.
Post-emergence damping-off
Here the seedling has already emerged, and the pathogen attacks the roots and the stem right at the medium line. The stem becomes pinched or water-soaked at that point, and because the seedling can no longer move water up from a functioning root system, cotyledons wilt and young true leaves turn grey or take on an off color before the seedling topples over. This is the stage most growers actually notice, since a tray of otherwise even microgreens develops a spreading patch of collapsed stems.
Check the stem base
Damping-off is different from anything on the tray surface in one specific way: the plant’s structure fails. Look at the base of a wilting or fallen seedling. A pinched, thread-thin, or water-soaked section right at the medium line, rather than a fuzzy or discolored surface, points to disease attacking the stem and roots rather than something growing on top of the tray. The full comparison, including a side-by-side decision guide for the surface picture, lives in Microgreens mold or root hairs? How to tell safely - use it when the surface looks ambiguous, and come back here once a stem itself looks compromised.
What to do with an affected tray
You cannot restore a seedling once its stem has collapsed at the medium line, so the decision is about the tray, not the individual plant. Remove the affected seedlings, and if the failure is spreading rather than isolated to a clearly separate edge, treat the whole tray as compromised rather than harvesting around the healthy-looking section - the crop is dying and the medium is filling with decaying tissue, which is the same condition that started the outbreak. For the broader hygiene practices that keep a batch safe to eat, from seed sourcing and water quality through handling at harvest, see microgreens food safety and sanitation.
The more useful work happens before the next sowing.
Sanitation first
Reused trays are a common route for pathogen carryover between batches. University of Minnesota Extension’s protocol is to wash all growing medium and debris off a reused tray first, then sanitize it in a 10% bleach solution for 30 minutes, and let it air dry fully before it goes back into use. The wash step matters on its own: leftover organic debris can shield pathogens from the sanitizer even when the solution strength and contact time are correct.
Start clean on the medium
University of Minnesota Extension recommends a steam-sterilized or pasteurized, lightweight, fast-draining starting mix for the next batch. A dense, slow-draining medium holds the constant moisture that favors these pathogens; a fast-draining one gives roots access to air between waterings and spends less time saturated after each one.
Watering and airflow support the same goal
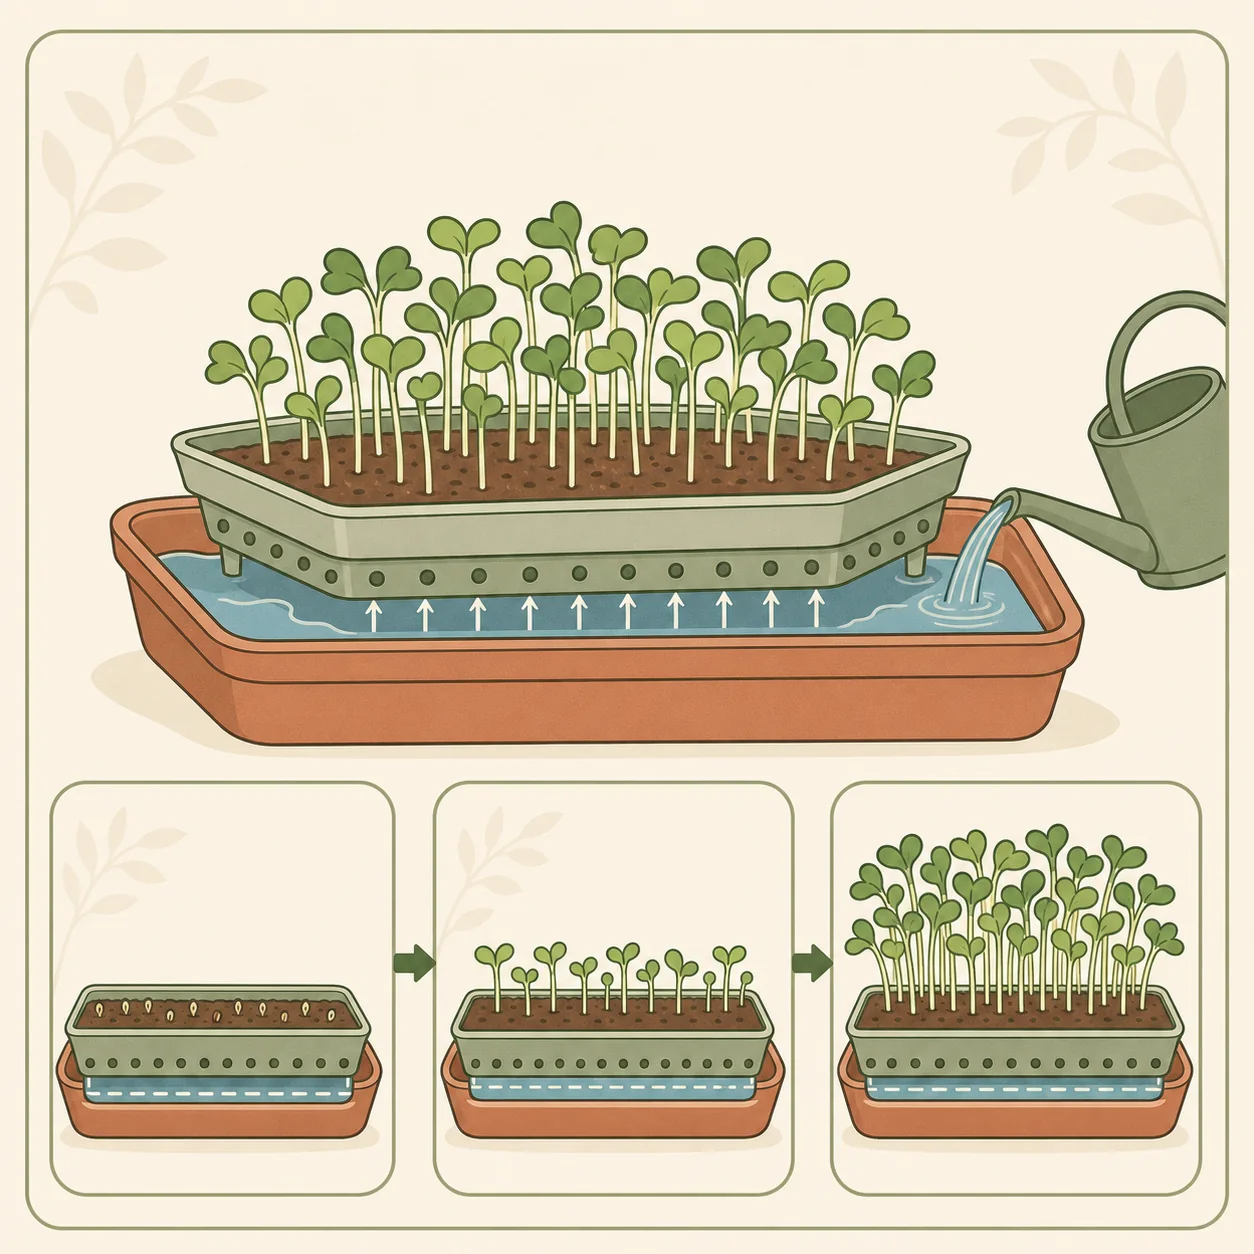
Bottom watering keeps the surface and stem base drier than overhead watering does. Pairing that with reasonable seed density and gentle airflow after emergence reduces the amount of time the medium surface spends saturated - the exact condition damping-off pathogens need to establish. None of these steps eliminates the risk of a future outbreak in an uncontrolled home environment; they simply remove the conditions that make one likely.
Why fungicide is not the answer here
For a food crop grown at home and harvested within one to three weeks, treating an affected tray with a fungicide is not an appropriate response. Fungicides labelled for ornamentals and seedlings are not cleared for a food crop harvested within one to three weeks, and treating the tray does nothing about the moisture and sanitation conditions that caused the outbreak. Discarding the affected tray and correcting sanitation and drainage on the next sowing addresses the actual cause; a chemical treatment addresses neither the safety question nor the growing conditions.
Common mistakes
- Assuming a bare patch is simply bad seed without checking for a rotted seed underneath the surface.
- Treating a collapsing patch as mold and misting more, which keeps the medium wet and favors the pathogen.
- Reusing medium or an unsanitized tray from a batch that already had a failure.
- Harvesting around a collapsing section instead of discarding the tray.
- Reaching for a fungicide on a crop that will be eaten raw within days.
Keep a log to catch the pattern
Damping-off in a home setup is rarely a one-off accident; it tends to repeat when the same tray, medium, or watering habit is reused without change. A simple log - tray and medium source, sanitation date, seed lot, sowing date, and outcome - makes it possible to see whether a specific tray, a specific seed lot, or a watering habit is the recurring variable, rather than treating each failed tray as an unrelated event.
Sources
Tell microgreens problems apart with confidence
Compare damping-off with surface mold, review food-safety basics, and get watering and setup right before the next sowing.
Common questions
Is damping-off the same as the mold I see on microgreen hulls?
No. Surface mold grows on hulls, dead seed, or medium debris and is usually irregular in shape. Damping-off is a disease of the seedling itself, attacking roots and the stem at the medium line, and shows up as pinched or water-soaked stems and collapsing seedlings rather than a fuzzy surface growth.
What is the difference between pre-emergence and post-emergence damping-off?
Pre-emergence damping-off rots the seed before it sprouts, leaving bare patches where nothing came up. Post-emergence damping-off infects roots and the stem after the seedling has emerged, causing wilting cotyledons, discolored young leaves, and stem collapse right at the medium line.
Can a tray with damping-off be saved by harvesting the unaffected section?
That is not a reliable approach. If collapse is spreading rather than clearly isolated to one separate edge, treat the whole tray as compromised, discard it, and put the effort into sanitation and a clean mix before the next sowing.
Should I treat a microgreens tray with fungicide?
No. For a food crop grown at home and harvested within one to three weeks, fungicide is not an appropriate response and does not fix the moisture and sanitation conditions that allowed the disease to establish. Discarding the affected tray and sanitizing trays and medium for the next batch addresses the actual cause.
Related guides
Microgreens food safety: sanitizing trays, seed, and water
Sprout recalls do not automatically make microgreens risky. The harvest method is what separates them, and one hydroponic setup can erase that gap.
How to bottom-water microgreens without soaking the tray
Bottom watering is a controlled transfer, not permanent standing water. Add a measured amount, let the medium absorb it, and drain what remains.
Microgreens mold or root hairs? How to tell safely
White fuzz around newly emerged roots is often normal root hair growth. Irregular spread, bad odor, slime, or collapsing stems changes the decision.