
Troubleshoot the system before you change the inputs.
Symptoms
- No seed has broken the surface after a reasonable number of days for that specific crop.
- Seed is swollen but has not cracked or sent up a shoot, sitting in dry medium.
- Seed sits in a consistently soggy, waterlogged mix with no root growth visible.
- Only part of the tray shows any activity while the rest of it stays bare.
Possible causes
- The crop simply needs more days - beet, chard, spinach, amaranth, lettuce, and celery run longer than the fast brassicas.
- Room or tray temperature sits below the 60 to 75°F medium and 60 to 70°F air range germination needs, or reads near the low end of that range rather than closer to the 74-75°F ideal.
- The medium dried out during the germination window, or it is oversaturated and starved of air.
- The seed is old, not sold for sprouting or microgreens, or a large hard-coated seed that needed a presoak.
- Seed was sown too deep or too thick for even emergence.
- Seed rotted before emerging - pre-emergence damping-off.
Quick fixes
- Check the expected range for that specific crop before assuming the tray failed.
- Move the tray to a warmer spot; 60-75°F medium and 60-70°F air is the minimum, and closer to the 74-75°F Illinois and Utah State treat as ideal is better.
- Mist with a spray bottle to keep the surface moist, or drain standing water and improve airflow.
- Buy seed marketed for sprouting or microgreens, and presoak large seed 6 to 12 hours next time.
- Resow at about 1/8 in. deep, spread evenly instead of piled or clumped.
- If bare patches persist well past the expected date with no swollen seed underneath, treat it as damping-off, not slow germination.
Six causes of microgreens not germinating
| Cause | Identifying sign | Fix |
|---|---|---|
| Not enough time yet | Crop is a slower species and has not reached its normal germination window | Check the expected range for that crop before troubleshooting further |
| Temperature too low | Room or tray reads in the low 60s°F or below - well under the ~75°F Illinois gives as ideal | Move to a spot within 60-75°F medium and 60-70°F air, aiming toward the warmer end near 74-75°F |
| Medium too dry | Surface and seed are dry to the touch, hulls have not swollen | Mist with a spray bottle to keep the seed moist through germination |
| Medium too wet | Standing water, with no root growth despite time passed | Drain excess water, improve airflow, switch to bottom watering once sprouted |
| Seed quality or type | Old seed, seed not sold for sprouting or microgreens, or a large hard-coated seed | Buy seed marketed for microgreens or sprouts; presoak large seed 6-12 hours |
| Sowing depth or density | Seed piled too deep or clumped into a thick mat | Sow about 1/8 in. deep, spread evenly across the medium |
| Pre-emergence damping-off | Bare patches persist past the expected date with no swollen seed underneath | Treat as seedling disease, not slow germination - see the damping-off guide |
A tray that shows nothing after a few days is usually timing, temperature, or moisture - not disease or dead seed. Three things that are cheap to check and easy to fix before writing off the whole batch.
Checked in order - cheapest and most likely first, disease last - the causes worth ruling out are: not enough time yet, a room that is too cold, moisture in either direction, seed that will not perform, seed sown too deep or too thick, and seed that rotted before it could emerge. Work through them one at a time on a resow rather than changing temperature, moisture, and seed all at once - that is what makes the next sowing tell you anything.
If the growing routine itself still needs settling - tray choice, seed density, watering habit - start with the complete beginner microgreens method and come back here once a specific tray is the problem, not the overall setup.
Give it enough time first
Penn State Extension puts seed-to-harvest for microgreens at 7 to 21 days overall, and where a tray falls in that range depends heavily on the crop. Fast brassicas - broccoli, radish, arugula, kale, mustard - are the quick group Penn State Extension describes, typically finishing in about 7 to 8 days from seed to harvest. A tray in that group still bare on day 3 has already used a meaningful share of its whole window and is worth checking; a slower crop bare on day 3 has not.
Beet, Swiss chard, spinach, amaranth, lettuce, and celery are simply slower. They run longer than the fast brassicas, and checking one of these trays on day 2 or 3 and seeing nothing is not evidence of a problem - it is often just early. Before assuming a slow-germinating crop has failed, confirm what a normal timeline looks like for that specific seed rather than comparing it to a brassica tray sown the same week.
Utah State University Extension publishes days-to-harvest for individual crops under its own growing conditions: arugula in 6 to 8 days, broccoli, kale, and radish in 8 to 12, basil in 12 to 16, and cilantro in 21 to 28. Those figures sit alongside Penn State’s 7-8 day fast-brassica group and its wider 7-to-21-day range rather than replacing them - basil and cilantro are the two crops most often given up on early, since both run well past the fast brassicas’ timeline before home conditions stretch things further still.
Home conditions can stretch that window further than either figure suggests. The UC Master Gardener Program of Sonoma County frames a slower, home-windowsill expectation: two to three weeks to reach 2-3 in. tall, for crops well past Penn State’s 7-8 days by that point. The gap is light and temperature, not a different definition of germinating - a bright grow light over soil held at 60-75°F runs closer to Penn State’s timeline, while a cooler room lit by a window runs closer to UC’s. A reader measuring a windowsill tray against the 7-8 day figure is measuring against the wrong number.
Most trays spend those first days already covered - blackout starts at sowing, not after emergence, and once the seed sprouts the cover comes off or gets flipped for a further stretch before first light. How long, by crop, is in the blackout period by crop guide - a different question from germination itself, but easy to confuse when a tray still looks bare on day 2 or 3.
Check the temperature
Penn State Extension gives a defined temperature range for germination: roughly 60 to 75°F for the growing medium and 60 to 70°F for the surrounding air. A tray sitting on a cold windowsill, an unheated spare room in autumn or winter, or a cold tile floor can sit well below that range even when the rest of the house feels comfortable.
Illinois Extension puts the ideal germination soil temperature at around 75°F, reachable with a heat mat or with a sunny room under a plastic lid, and Utah State University Extension runs its own germination at 74°F. Both sit at the top of Penn State’s 60-75°F band rather than competing with it, so a tray reading in the low 60s is technically inside the range but still far from where seed moves fastest - worth nudging warmer rather than crossed off the list.
A room thermometer placed at tray height is what makes this cause quick to rule out - it either confirms the range or it does not. Moving the tray to a warmer interior spot away from drafts and cold glass answers the question directly. Seed that is otherwise healthy and correctly watered can sit dormant for days in a cold spot and then germinate normally once moved somewhere warmer.
Purdue Extension reports that professional growers aim for 68 to 72°F, but that figure is a commercial ambient target for the whole crop rather than a germination soil temperature - keep it separate from Penn State’s germination range and from Illinois’ 75°F rather than averaging the three.
Check the moisture
Seed needs to stay moist through germination, and the two ways this fails are opposites. A spray bottle is the right tool for this early stage, keeping the surface consistently damp without pooling water. A pad or mix that is allowed to dry out between mistings stalls germination outright - the seed simply waits.
The other direction fails the same way in reverse: a mix kept saturated, with standing water in the bottom tray, invites rot rather than roots. If it smells sour, that is decay rather than slow germination - discard and resow, and see microgreens mold or root hairs. Once seedlings appear, watering shifts to bottom watering and drainage becomes the priority, but during germination itself, the goal is even moisture, not maximum moisture.
If a tray has sat bone-dry, remisting and giving it another day or two before resowing is worth trying. If it has sat waterlogged with no root growth after a reasonable time for that crop, draining the excess and improving airflow is the first move - and if stems have already formed and are collapsing rather than simply failing to appear, microgreens falling over sorts out a tray that came up and then went down.
Check the seed
Seed quality and type matter more than most home growers expect. Penn State Extension’s advice is to buy seed marketed specifically for sprouting or microgreens, because that seed is processed under food-safety standards appropriate for a crop eaten raw and young - and seed intended for garden transplanting is not automatically a substitute.
Old seed, or seed that has been stored poorly, loses vigor and germinates unevenly or not at all, independent of temperature and moisture being correct. If a lot performs badly under conditions you have already checked, test a small amount from a different lot before changing anything else.
Large or hard-coated seeds are a separate case. A presoak speeds up how quickly they take up water and start germinating, and the UC Master Gardener Program of Sonoma County gives 6 to 12 hours for large seed. Which specific crops benefit from soaking, and which are kept out of water entirely, is covered in the seed soaking guide; the question here is only whether soaking applies to what is currently in the tray. If basil seed was soaked rather than sown dry, it will have gone to gel and clumped, coming up patchy - basil is mucilaginous and is sown dry, not soaked.
Check sowing depth and density
Sowing depth affects how evenly a tray comes up. The UC Master Gardener Program of Sonoma County’s general guidance is about 1/8 in. deep - enough contact with the medium and light cover, without burying the seed so deep that a shoot has to work through more material than necessary to reach the surface.
Density matters alongside depth. Seed piled unevenly, or a thick clumped mat where seeds overlap several layers deep, tends to produce patchy emergence: some seeds break the surface easily while others underneath simply do not get through. A tray that shows scattered activity in some spots and nothing in others, despite correct temperature and moisture, is often a sowing problem rather than a seed or environment problem. Illinois Extension and Penn State Extension independently give the same benchmark to sow against: about 6 to 8 large seeds per square inch, or 10 to 12 small seeds. Microgreens seed density has the calculator for working that out per tray. Spreading seed evenly at the next sowing, rather than covering the tray by eye in a hurry, is the fix.
Rule out pre-emergence damping-off
The one cause on this list that is not a growing-condition fix is pre-emergence damping-off: seed that rots in the medium before it ever sends up a shoot. From above, it looks exactly like poor germination - a bare patch with nothing visible - which is why it belongs last, after the more common and more easily corrected causes have been checked first.
If bare patches persist well past the expected date for that crop, and temperature and moisture have both already been confirmed correct, it is worth checking underneath the surface for a soft, discolored seed rather than assuming the lot is simply slow or dead. Soft, dark seed means disease rather than slow germination - see damping-off in microgreens for identification and the sanitation the next sowing needs.
Common mistakes
- Judging a slow crop like beet or lettuce against a fast brassica timeline and calling it a failure on day 3.
- Changing temperature, moisture, and seed all at once on a resow, which makes it impossible to know what actually fixed the tray.
- Misting more when a tray is already waterlogged, on the assumption that more water is the default fix for slow germination.
- Sowing seed thickly “to be safe,” which produces patchy emergence instead of a fuller tray.
- Reusing seed of unknown age or origin without checking whether it is sold for sprouting or microgreens.
Sources
- Penn State Extension: Growing Microgreens - germination temperature ranges for medium and air.
- UC Master Gardener Program of Sonoma County: Growing Microgreens - sowing depth and home-grower timelines.
- Penn State Extension: The ABCs of Microgreens - seed sourcing and the fast-brassica harvest window.
- Penn State Extension: A Step-By-Step Guide for Growing Microgreens at Home - watering method through germination.
- Illinois Extension: Growing Microgreens - ideal germination soil temperature.
- Utah State University Extension: Grow Your Own Microgreens - per-crop germination temperature and days to harvest.
- Purdue Extension: Grow Microgreens at Home - commercial ambient temperature target.
Get the setup right before the next sowing
Start with the full beginner method, supplies, and watering routine so temperature, moisture, and seed handling stay controlled from the start.
Common questions
How long should I wait before deciding my microgreens are not germinating?
Give the crop its full expected window before troubleshooting. Fast brassicas such as broccoli, radish, and arugula are part of the group Penn State Extension puts at about 7 to 8 days from seed to harvest, so a tray still bare on day 3 has used a meaningful share of that window. Beet, Swiss chard, spinach, amaranth, lettuce, and celery run toward the slower end of Penn State's overall 7-to-21-day seed-to-harvest range, so checking on day 3 can simply be too early for that crop. Utah State University Extension gives cilantro specifically as 21 to 28 days to harvest under its own conditions - one of the slowest crops grown as a microgreen, and one of the most often written off before it has reached its own window. On a home windowsill rather than under a grow light, the UC Master Gardener Program of Sonoma County's slower two-to-three-week estimate to reach 2-3 in. tall is often the more realistic yardstick.
What temperature does the room need to be for microgreens to germinate?
Penn State Extension puts germination temperature at roughly 60 to 75°F for the growing medium and 60 to 70°F for the surrounding air. Illinois Extension gives an ideal nearer 75°F, and Utah State University Extension germinates at 74°F - both toward the top of Penn State's range, so a tray reading in the low 60s is technically inside it but still worth warming. A cold windowsill, an unheated room in autumn or winter, or a tray resting on a cold floor can sit well below the range entirely, which slows or stalls germination even when the seed itself is perfectly fine.
Can too much water stop microgreens from germinating?
Yes, in the same way too little water does. A waterlogged medium starves seed of the air it needs just as a dry one denies it moisture. Keep the surface moist with a spray bottle through germination, then switch to bottom watering and allow drainage once seedlings appear, so the mix does not stay saturated.
Does seed depth matter if microgreens are not coming up?
It does. Sowing at roughly 1/8 in. deep, spread evenly across the medium, gives seed enough contact and cover without burying it. Seed piled too deep or clumped into a thick mat tends to produce patchy, uneven emergence even when temperature and moisture are both correct.
Related guides
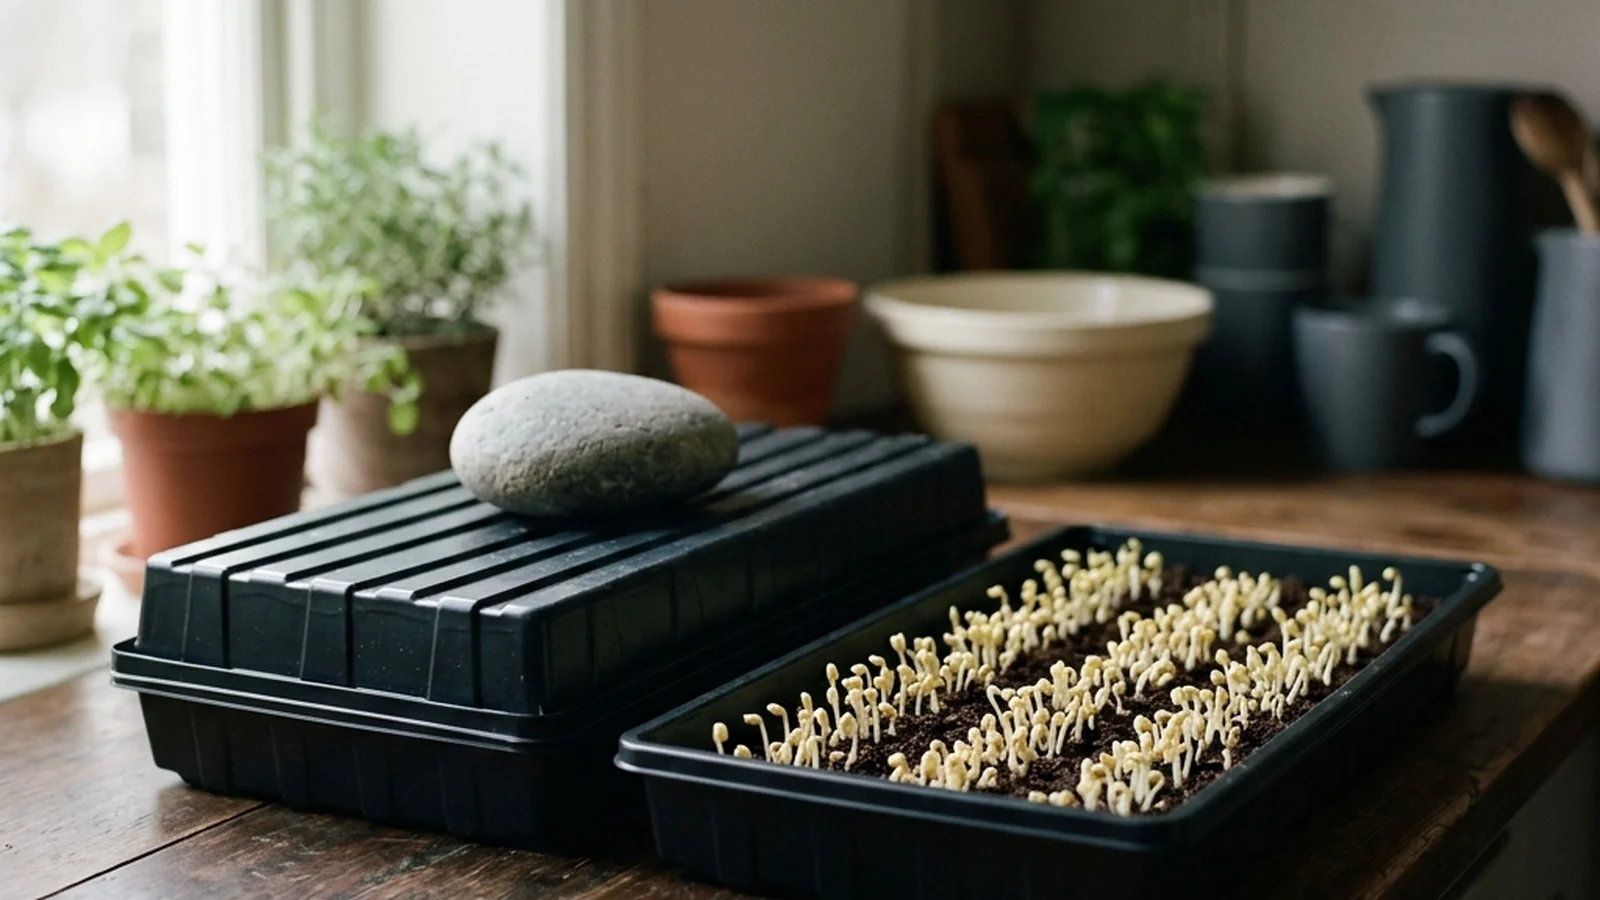
Microgreens blackout time by crop: what varies and why
Blackout time varies by crop — Utah State's table runs from 1-2 days for arugula to 7-14 for cilantro. Here is how that compares to the documented blackout methods, and how to judge readiness by the tray instead of the calendar.

Soaking microgreen seeds: which crops need it, and for how long
Soaking is not a step every crop needs. Two extension sources cover it — one general rule and one per-crop protocol — and they agree with each other.
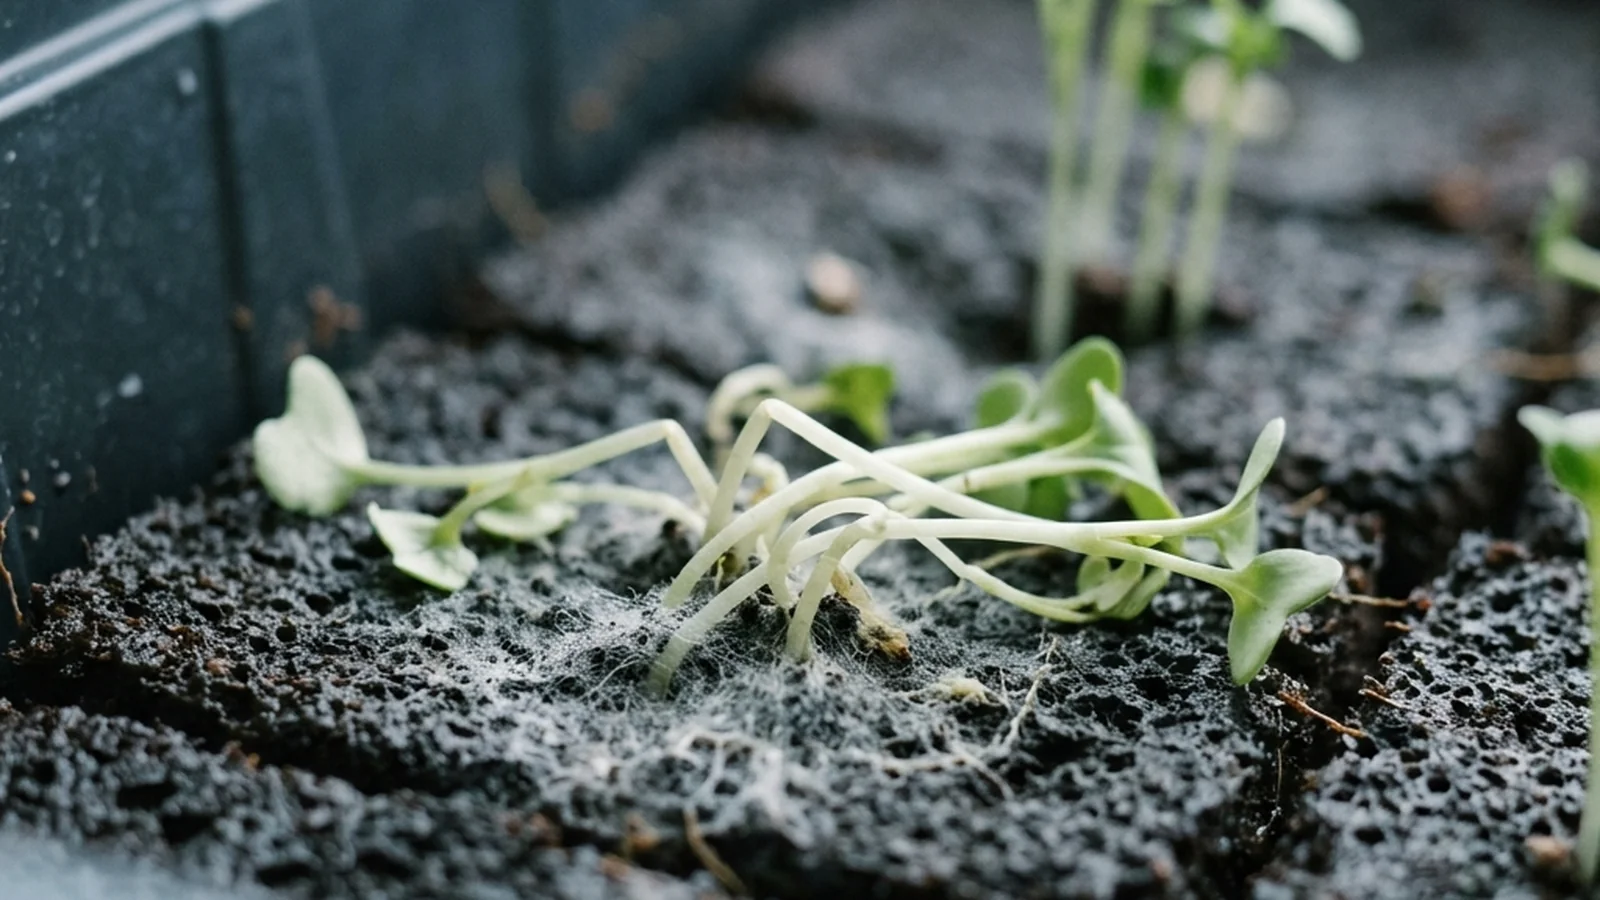
Damping-off in microgreens: symptoms and control
Damping-off attacks the seedling itself, not the tray surface. Here is how to recognize pre- and post-emergence stages and control outbreaks with sanitation, not fungicide.