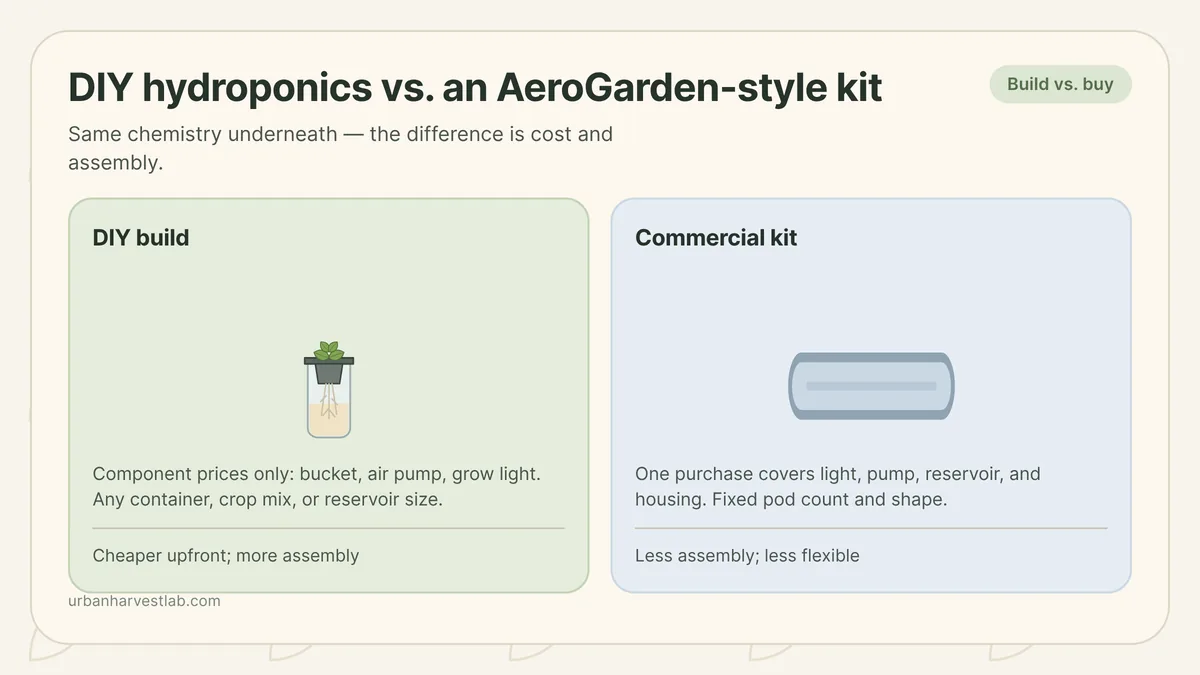
Building your own countertop hydroponic system usually costs less upfront and gives more control over light, reservoir size, and crop mix than buying an all-in-one kit. A commercial kit trades that control for less assembly and, on many models, a built-in reminder system, not a documented growth advantage. Neither one removes the daily work of running a small hydroponic system: someone still has to check pH, top up nutrients, and clean the reservoir. For the mechanics of running a countertop system once it is set up, see countertop hydroponic herbs for beginners.
What “DIY” means for a countertop system
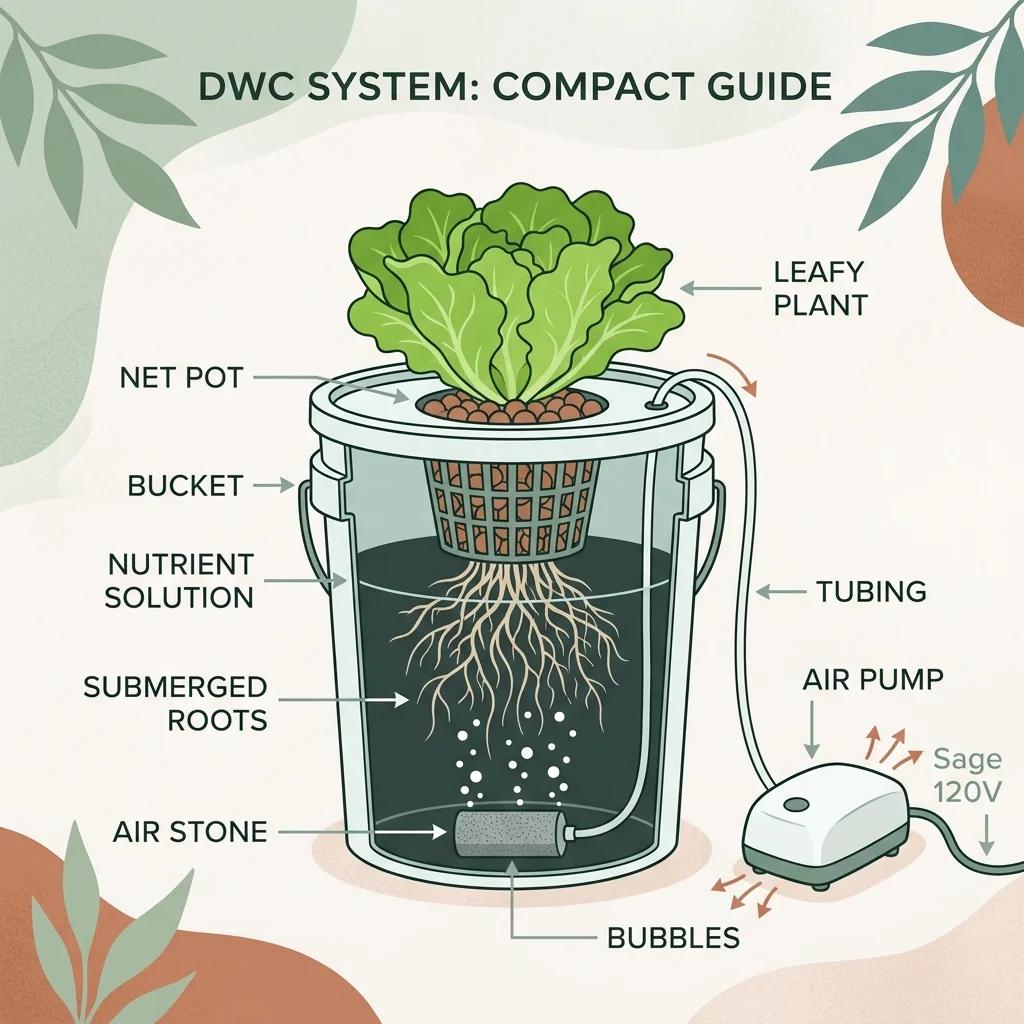
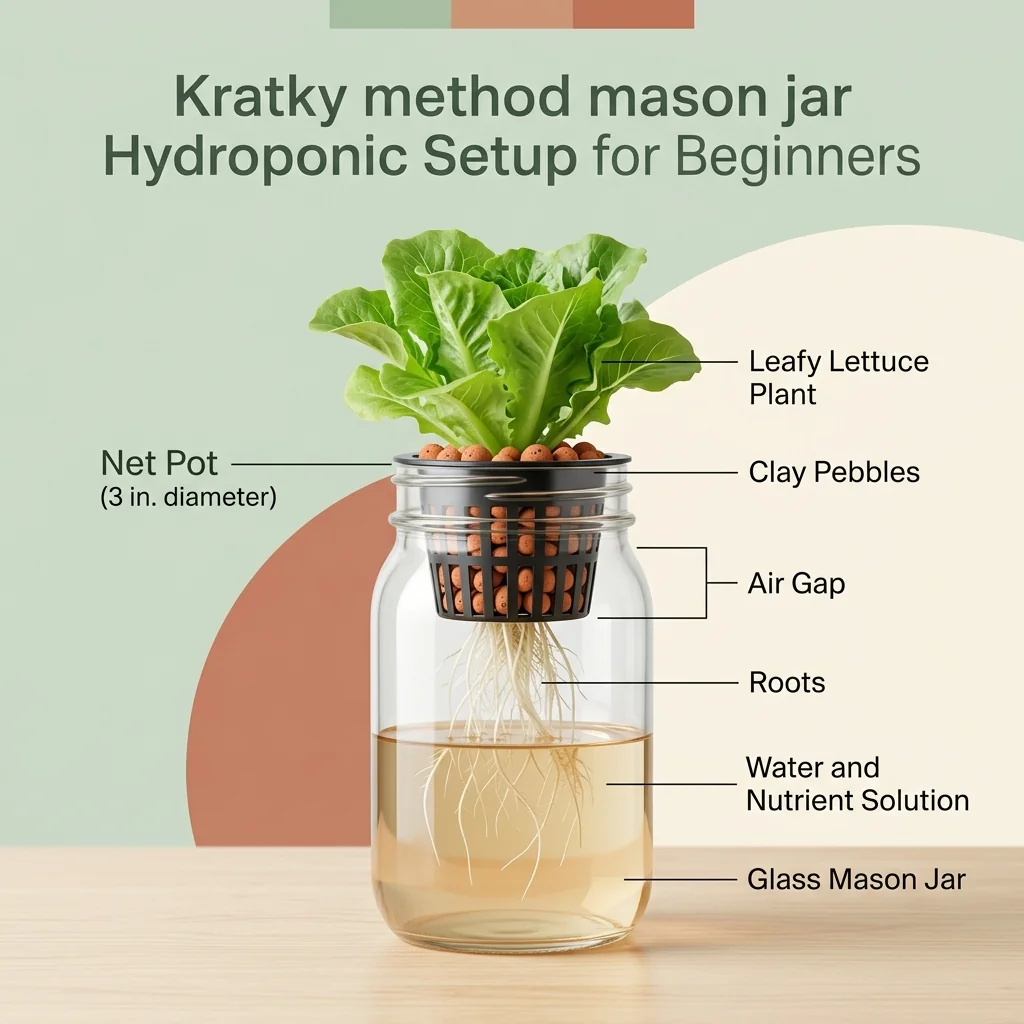
A DIY countertop build is usually one of two things: a small deep water culture (DWC) bucket with an air pump and airstone, or a passive Kratky jar that needs neither pump nor electricity. The University of Kentucky Center for Crop Diversification gives deep water culture more than 4 litres (more than 1 gallon) of reservoir water per plant, and University of Minnesota Extension notes that a container as simple as a 5-gallon bucket or plastic storage bin works, provided it is clean and made of a food-safe material. Deep water culture for small spaces covers sizing and aeration for that route, and the Kratky method covers the pump-free one.
Deep water culture needs an air pump and airstone to hold 6-8 ppm dissolved oxygen, according to Kentucky and Virginia Cooperative Extension. A Kratky jar gets its oxygen from an air gap above the water instead, with the roots kept only one-third to one-half submerged, per University of Minnesota Extension. Whether you actually need an air pump depends on which of those two builds you choose, not on whether you bought or built the reservoir.
What a commercial kit actually adds
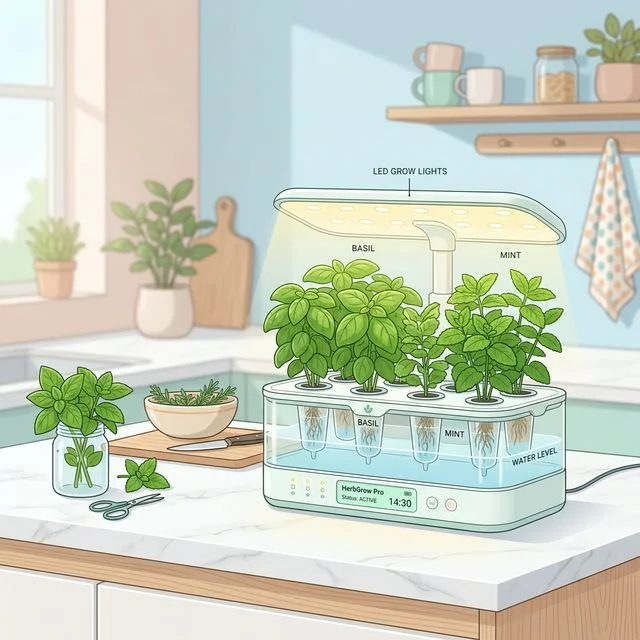
A commercial countertop kit bundles the same core parts, a light, a reservoir, sometimes a pump, into one pre-engineered housing, plus a timer and, on many models, an app or a light-up reminder. None of that changes the chemistry underneath: EC, pH, dissolved oxygen, and light intensity govern growth whether the reservoir is a branded pod tray or a bucket drilled at home. What a kit buys is less assembly, a tidier footprint on the counter, and a built-in timer or reminder light that a bucket build has to replicate with a separate outlet timer and your own memory.
Component costs, roughly
University of Minnesota Extension worked out a real example for a small DIY build: one or two 5-gallon buckets lit by a single 9-watt LED grow light rated at a photosynthetic photon flux of 16 µmol/s, costing about $15 plus roughly $10 for a work-light fixture to mount it. Run 14 hours a day, every day, that light draws about 45,990 watt-hours a year and, at 12 cents per kWh, costs roughly 45 cents a month, or $5.44 a year, to operate. A bulb rated for 25,000 hours lasts about 4 years and 10 months on that schedule. Those are US figures from the 2020s and will not translate directly to every market — the same caveat applies to the meter prices below — but the order of magnitude, a light costing a few dollars a year to run, holds regardless of currency.
Add a meter and the number moves. Oklahoma State University Extension’s 2017 fact sheet prices combination EC/pH meters at $100 to $500, and University of Missouri Extension states, as of 2025, that a quality standalone meter runs $100 to $300, with dissolved-oxygen meters running upward of $500. A bucket with no meter is a guess at nutrient strength, whichever brand of light sits on top of it, so that cost is not really optional if the goal is consistent growth rather than trial and error.
A commercial kit folds a comparable light, and often a pump, into the purchase price, and on some models into an ongoing cost for proprietary nutrient pods or growing medium. That recurring cost, more than the sticker price on day one, is usually what widens the long-run gap between a kit and a DIY build.
Build vs. buy, side by side
| Building your own | Buying a commercial kit | |
|---|---|---|
| Upfront cost | Component prices only: bucket, air pump, airstone, grow light | One purchase price covering light, pump, reservoir, and housing |
| Ongoing cost | Electricity, occasional part replacement | Electricity, plus proprietary pods or medium on some models |
| Setup effort | You source and connect every part | Mostly assembled out of the box |
| Flexibility | Any container, crop mix, and reservoir size; easy to resize as you go | Fixed pod count and reservoir shape |
| Reservoir care | Scrub a bucket freely, from any angle | Reservoir access limited by the housing; check the pump chamber |
An EC/pH meter is a cost both routes carry: a kit’s timer or reminder light tells you when to check, not what the reading is.
The maintenance neither one skips
Regardless of who built the reservoir, University of Minnesota Extension’s sanitising sequence applies the same way: spray off debris, wash with detergent and warm water using a scrub brush, rinse with potable water, then sanitise. The reservoir dose is 150-200 ppm bleach, one tablespoon of unscented 5.25-6% sodium hypochlorite per gallon of water, run through the system for up to three hours and followed by a two-to-three-hour rinse. Cleaning a small hydroponic system covers the physical scrubbing and descaling steps that come before this dose.
Nutrient solution schedules disagree by source and by crop, not by which system holds the water. Oklahoma State recommends replacing the solution entirely every two weeks; Kentucky allows three to four weeks between full or partial changes, with top-ups in between; Minnesota notes that fast-maturing leafy greens rarely need a full change-out at all, and gives lettuce, harvested in six to seven weeks, as its example. A kit’s reminder light does not know which of those applies to your crop. You still have to.
Sizing your own build
If you are building rather than buying, size the reservoir before you pick a light. Hydroponic reservoir size works from Kentucky’s more-than-4-litre-per-plant deep water culture figure to size a bucket for however many plants you actually want growing at once, and hydroponic nutrient basics covers the EC and pH targets you will be checking with whichever meter you bought.
Which one to pick
A DIY build makes sense if you want to grow more than a handful of plants, want to choose your own crop mix instead of a fixed number of pod slots, or want the ongoing cost to stay close to electricity alone. A commercial kit makes sense if sourcing and connecting parts yourself is not something you want to spend an afternoon on, and paying more for that convenience is an acceptable trade. Either way, the reservoir does not run itself. Check pH and EC on a schedule, and set your own top-up and sanitising routine rather than waiting for a light on the housing to tell you.
Sources
- Oklahoma State University Extension HLA-6722, “Electrical Conductivity and pH Guide for Hydroponics”
- University of Minnesota Extension, “Small-scale hydroponics”
- University of Kentucky Center for Crop Diversification CCD-CP-63, “Hydroponic Lettuce Production in Controlled Environments”
- Virginia Cooperative Extension SPES-464, “Hydroponic Production of Edible Crops: Deep Water Culture (DWC) Systems”
- University of Missouri Extension G6984, “Hydroponic Nutrient Solutions”
Building or running a countertop system
Sizing, running, and maintaining a small hydroponic build once you have picked DIY or commercial.
Common questions
Is a DIY hydroponic countertop system cheaper than an AeroGarden-style kit?
Usually yes for the upfront build, since you are paying for individual parts rather than an assembled appliance. The gap narrows if a commercial kit's ongoing pod or growing-medium cost adds up over time.
Can a DIY hydroponic system grow herbs as well as a commercial kit?
Growth follows light intensity, EC, pH, and dissolved oxygen, not the brand of housing around the reservoir, so a well-run DIY build can match a well-run commercial kit on those measures.
What do I need to build a DIY countertop hydroponic system?
A food-safe reservoir holding more than 4 litres per plant for deep water culture, per the University of Kentucky; a grow light — Minnesota's worked example for one or two 5-gallon buckets is a single 9-watt LED at 16 µmol/s; an EC and pH meter; and, for a deep water culture build, an air pump and airstone.
Does a commercial kit need less maintenance than a DIY build?
No. The cleaning and nutrient-dosing routine is the same either way; a kit's reminders do not replace checking pH, EC, and the reservoir yourself.
Related guides
What is DWC? Deep water culture for small spaces
DWC suspends roots in aerated nutrient solution for fast growth. It is one of the best active systems for a small space, as long as you manage oxygen and heat.
The Kratky method: passive hydroponics for beginners
The Kratky method is the simplest way into hydroponics: a container of nutrient solution, a net pot, and no pump or power. Here is how it works and its limits.
Countertop hydroponic herbs for beginners: what to buy and what to ignore
Countertop hydroponic systems can work very well for herbs, but only if you treat them as small growing systems rather than decorative appliances.