
Troubleshoot the system before you change the inputs.
Symptoms
- Seedlings are pale yellow-white and noticeably stretched right after the blackout cover comes off.
- Seedlings stay pale or yellow-green and keep stretching even after a day or two under light.
- Lower leaves yellow late in the cycle in a dense, humid tray while the top of the canopy still looks green.
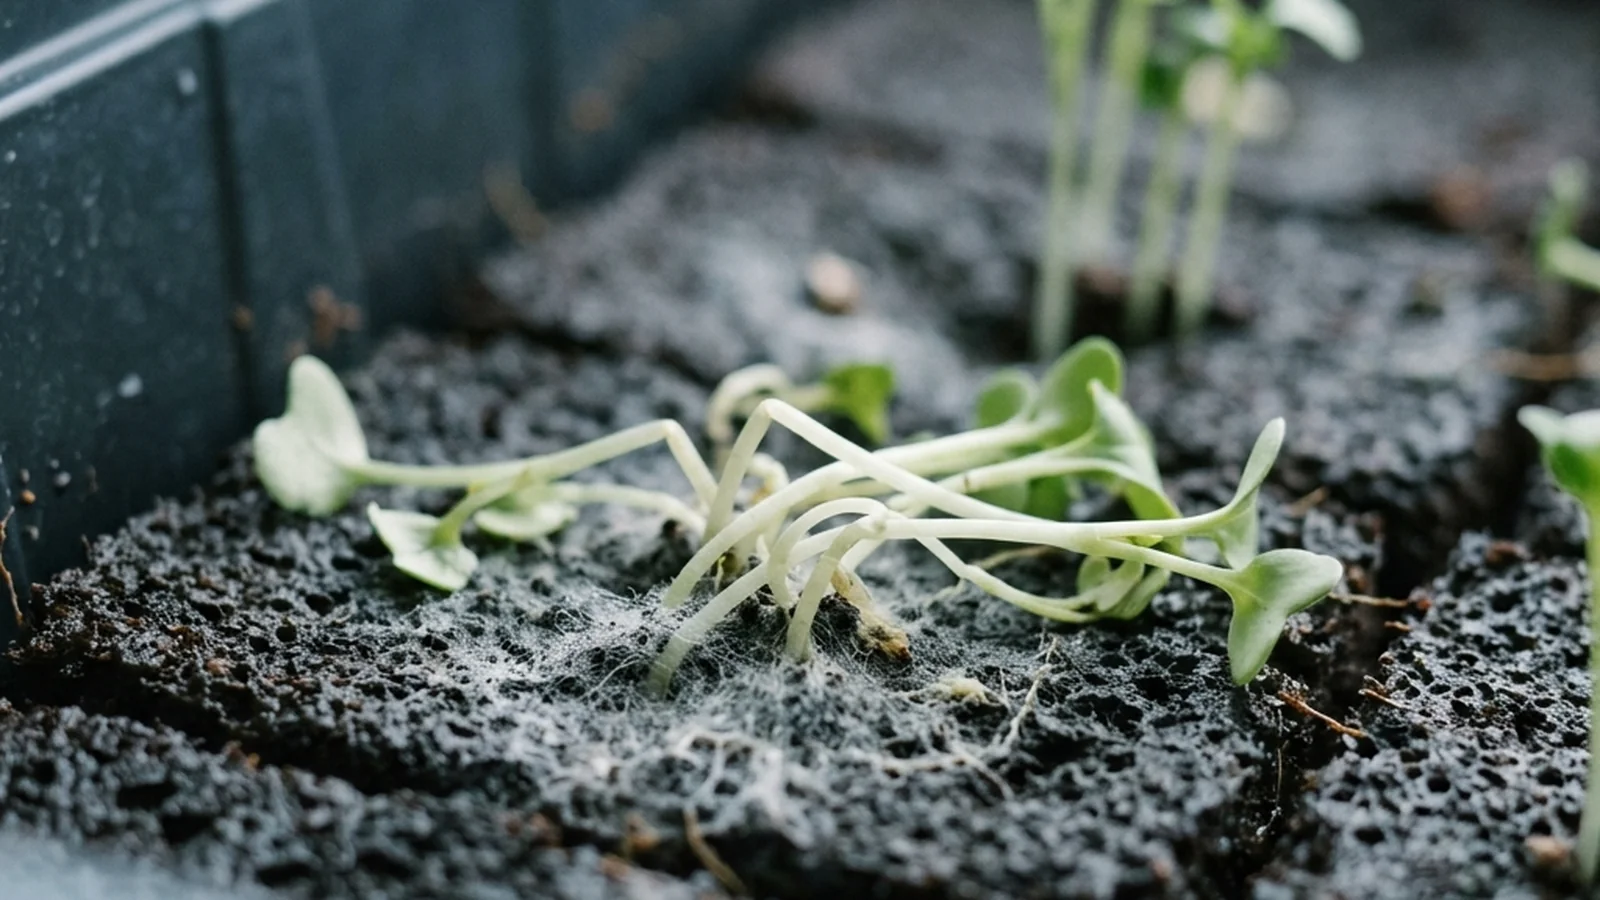
- Yellowing appears together with a pinched or water-soaked stem and collapsing seedlings.
Possible causes
- Normal etiolation from the dark blackout period - not a cause to correct, just a stage to wait out.
- Light that is too weak, too far away, or running too few hours once the tray is uncovered.
- A crowded, overwatered, poorly ventilated tray shading and suffocating its own lower leaves.
- Damping-off or another seedling disease acting on the stem and roots, not on light exposure at all.
Quick fixes
- Give a freshly uncovered tray a day or two under real light before judging it - look for green-up starting and stems no longer elongating.
- If pallor persists, move the light closer and check the hours it actually runs against the setup guide before assuming a different problem.
- If only lower leaves in a packed tray are yellowing, ease off water and improve airflow rather than adding more light.
- If yellowing comes with collapse and a pinched stem, stop treating it as a light issue and check for damping-off.
Pale, yellow, stretched microgreens straight out of blackout are normal etiolation, not a failed tray - give them a day or two under real light and watch for green-up. A tray in that state looks like a failure, and the instinct is to throw it out, but the dark growing phase produces exactly this appearance on purpose. The useful question is not “why is it yellow?” It is “does it stay yellow once it has light?”
If it greens up, the tray was fine. If it does not, or if yellowing shows up later in a different pattern, the cause has changed. How long to keep a tray covered in the first place is covered in microgreens blackout time by crop.
Stage 1: normal etiolation right after uncovering
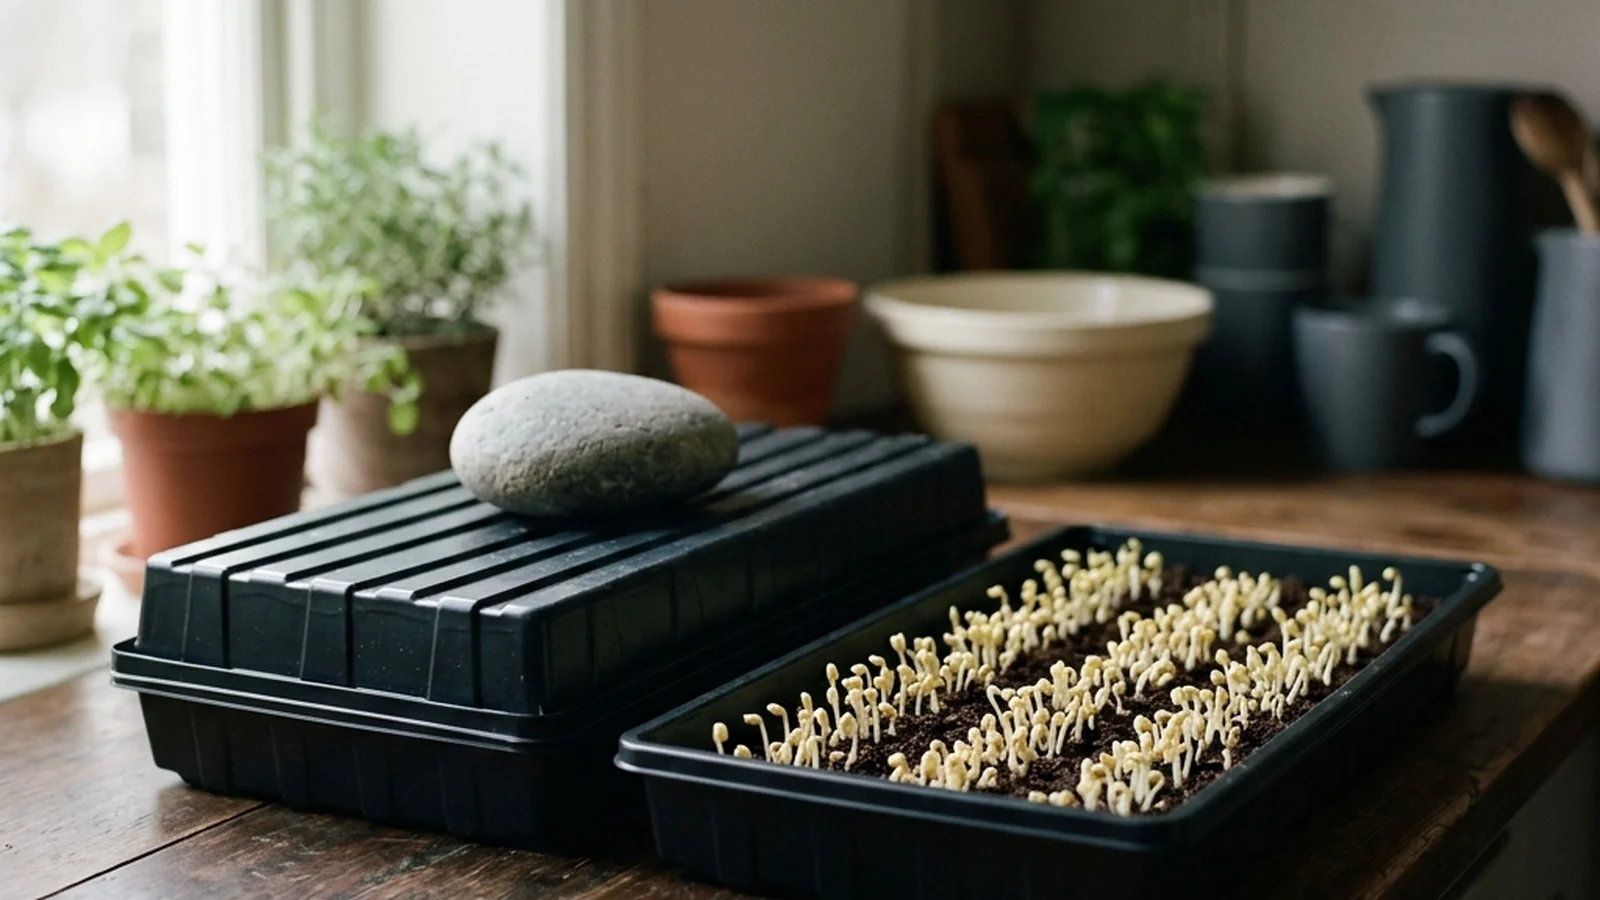
During blackout, a covered tray grows in the dark and the seedling responds the way any plant does when it cannot find light: it pushes energy into stem length instead of leaf pigment, reaching upward the way a buried seed reaches for the surface. The visible result is a pale, yellow-white, often floppy-looking seedling with a longer stem than it will eventually keep.
This is etiolation, a normal consequence of the blackout stage rather than a sign of mold, disease, or something gone wrong in the tray.
The correct response at this stage is not to intervene. Uncover the tray on schedule, move it into full light, and give it time. There is nothing to fix in the tray itself yet - the seedling has simply not had the chance to build chlorophyll.
Stage 2: give it light, then judge
Once the cover is off, get real light onto the tray. The UC Master Gardener Program of Sonoma County puts natural light at 6 to 8 hours a day once sprouts appear; under a fixture, microgreens light setup has the mounting height and the hours to run it. A bright windowsill can also work, and window versus grow light for microgreens covers that choice.
Then wait. A healthy tray coming out of blackout visibly greens up within a day or two of consistent light. Stems stop elongating, cotyledons open fully, and colour shifts from pale yellow-white toward the deep green you expect at harvest. That green-up is the actual test, and it is a direction rather than a deadline: a tray that is still yellow-white on day one under a freshly hung light has not failed yet, while a tray whose stems are still lengthening and whose colour has not started to move has left the “just uncovered” explanation behind.
Stage 3: persistent pallor under weak light
If a tray does not green up on schedule, the most common reason is that the light reaching it is not doing the job. This is a light-intensity and photoperiod problem, not a new mystery ailment, and it responds to the same fix regardless of which crop is in the tray.
Check three things against the setup in microgreens light setup:
- Distance. A fixture that is too far above the canopy delivers far less usable light than it looks like it should. Move it closer to the mounting height the setup guide gives, rather than assuming a bigger or more expensive light is needed.
- Duration. Confirm the tray is actually getting its 6 to 8 hours of natural light a day, or that the timer on a fixture is running the hours the setup guide gives. A light that only comes on for a couple of hours, or a windowsill tray that only gets a few hours of direct sun in a shaded room, will keep producing pale, leggy growth no matter how bright the fixture looks by eye.
- Obstruction. A tray tucked behind other plants, in a dim corner, or lit unevenly so one side stays shaded will show yellowing concentrated on the shaded side rather than evenly across the canopy.
Correct one variable at a time - move the light closer, or extend the hours - rather than changing several things and the crop at once. If a tray responds to a closer or longer light with visible green-up over the following day, the diagnosis was correct.
Stage 4: yellowing lower leaves in a crowded, wet tray
A different pattern shows up later in the cycle, closer to harvest, and it looks nothing like the pale, leggy stems from Stage 1. Here, the top of the canopy still looks reasonably green, but the lower, older leaves and the base of the stems start to yellow while the tray stays dense and often visibly wet.
This pattern points away from light and toward the growing conditions inside the tray itself: too much seed sown into too little tray area, too much water sitting in the tray or on the foliage, and not enough airflow moving through a canopy that has grown thick enough to trap humidity against itself. A dense mat also shades its own lower leaves regardless of how good the fixture overhead is, which is part of why more light rarely fixes this pattern the way it fixes Stage 3.
The fix here is not more light. Water from the bottom rather than from above, and only as much as the tray will use, to avoid a standing-wet medium. Encourage gentle airflow across the tray once seedlings are up, and treat crowding at the sowing stage on the next batch rather than trying to thin an already-dense tray. How to bottom-water microgreens and microgreens supplies and setup cover the density, watering, and airflow side of the system in more detail than a troubleshooting page can.
Stage 5: when yellow is not a light problem at all
Yellowing is only reassuring when the stem underneath it is upright and firm. If yellowing shows up alongside a pinched or water-soaked stem right at the growing-medium line and seedlings toppling over in a spreading patch, stop treating it as a light or watering question. That combination points to damping-off, a seedling disease rather than a light-exposure problem, and it needs sanitation and a clean growing medium on the next sowing rather than a repositioned lamp.
A sour or off odor is a separate signal, and a simpler one: it points to decay in the tray and is a reason to discard regardless of what the colour is doing. Microgreens mold or root hairs covers reading smell, slime and surface growth together.
Damping-off in microgreens covers the full symptom picture, causes and sanitation steps - go there whenever yellow colour comes with collapse and a failed stem rather than just pale leaves. Leggy, weak stems that fall over with the stem still firm are a related but distinct pattern covered in microgreens falling over.
Putting the stages together
| What you see | Likely stage | What to do |
|---|---|---|
| Pale yellow, stretched, right after uncovering | Normal etiolation | Nothing - give it light and time |
| Still pale after a day or two under light, stems still lengthening | Weak light or short photoperiod | Move the light closer, extend the hours |
| Green on top, yellow lower leaves, dense wet tray | Density, water, airflow | Bottom-water less, improve airflow, sow thinner next time |
| Yellowing plus collapse and a pinched stem | Damping-off | Stop, check for disease, sanitize before resowing |
Common mistakes
- Assuming yellow color means the same thing regardless of when in the cycle it appears or what the stem looks like underneath it.
- Judging a light fixture by how bright it looks to the eye instead of by its actual mounting height and daily hours.
Sources
- Penn State Extension: A Step-By-Step Guide for Growing Microgreens at Home describes the blackout stage and its dark-grown appearance.
- UC ANR Coastal Gardener: Your Indoor Winter Garden - Fresh Microgreens for Gloomy Days documents the two-stage blackout method.
- UC Master Gardener Program of Sonoma County: Growing Microgreens gives the 6-8 hours of natural light once sprouts appear.
- Penn State Extension: Growing Microgreens covers general growing conditions, including light exposure after germination.
Get the light and the blackout stage right first
Yellowing after blackout is usually a light or timing question. Start with these before assuming something is wrong.
Common questions
Why are my microgreens yellow right after I take the cover off?
That is etiolation - the normal look of a seedling that grew in the dark during blackout. It is not mold, disease, or a sign you did something wrong. Give the tray real light and expect the color to correct within a day or two.
How long should it take for microgreens to green up after blackout?
Within a day or two under adequate light, seedlings should visibly green up and stop stretching. If green-up has not started and the stems are still elongating, treat it as a light or setup problem rather than waiting longer.
My microgreens are green on top but yellow lower down - is that the same thing?
No, that is a different pattern with a different cause. Yellowing that starts on lower, older leaves late in the cycle, in a dense or often-wet tray, points to crowding, excess water, or poor airflow rather than to light or to blackout timing.
Could yellow microgreens actually be damping-off?
Yes, if the yellowing comes with a pinched or water-soaked stem at the medium line and collapsing seedlings. Plain yellow color with an upright, firm stem is not damping-off; yellowing plus stem collapse is a different problem and needs sanitation, not more light. A sour smell is a separate warning about decay in the tray rather than a damping-off sign, and it is a reason to discard whatever else the colour is doing.
Related guides
Damping-off in microgreens: symptoms and control
Damping-off attacks the seedling itself, not the tray surface. Here is how to recognize pre- and post-emergence stages and control outbreaks with sanitation, not fungicide.
Microgreens blackout time by crop: what varies and why
Blackout time varies by crop — Utah State's table runs from 1-2 days for arugula to 7-14 for cilantro. Here is how that compares to the documented blackout methods, and how to judge readiness by the tray instead of the calendar.

Microgreens falling over: leggy stretch, disease, or water damage
A collapsed tray is not always damping-off. The stem at the medium line tells you whether the fix is more light, gentler watering, or the compost bin.