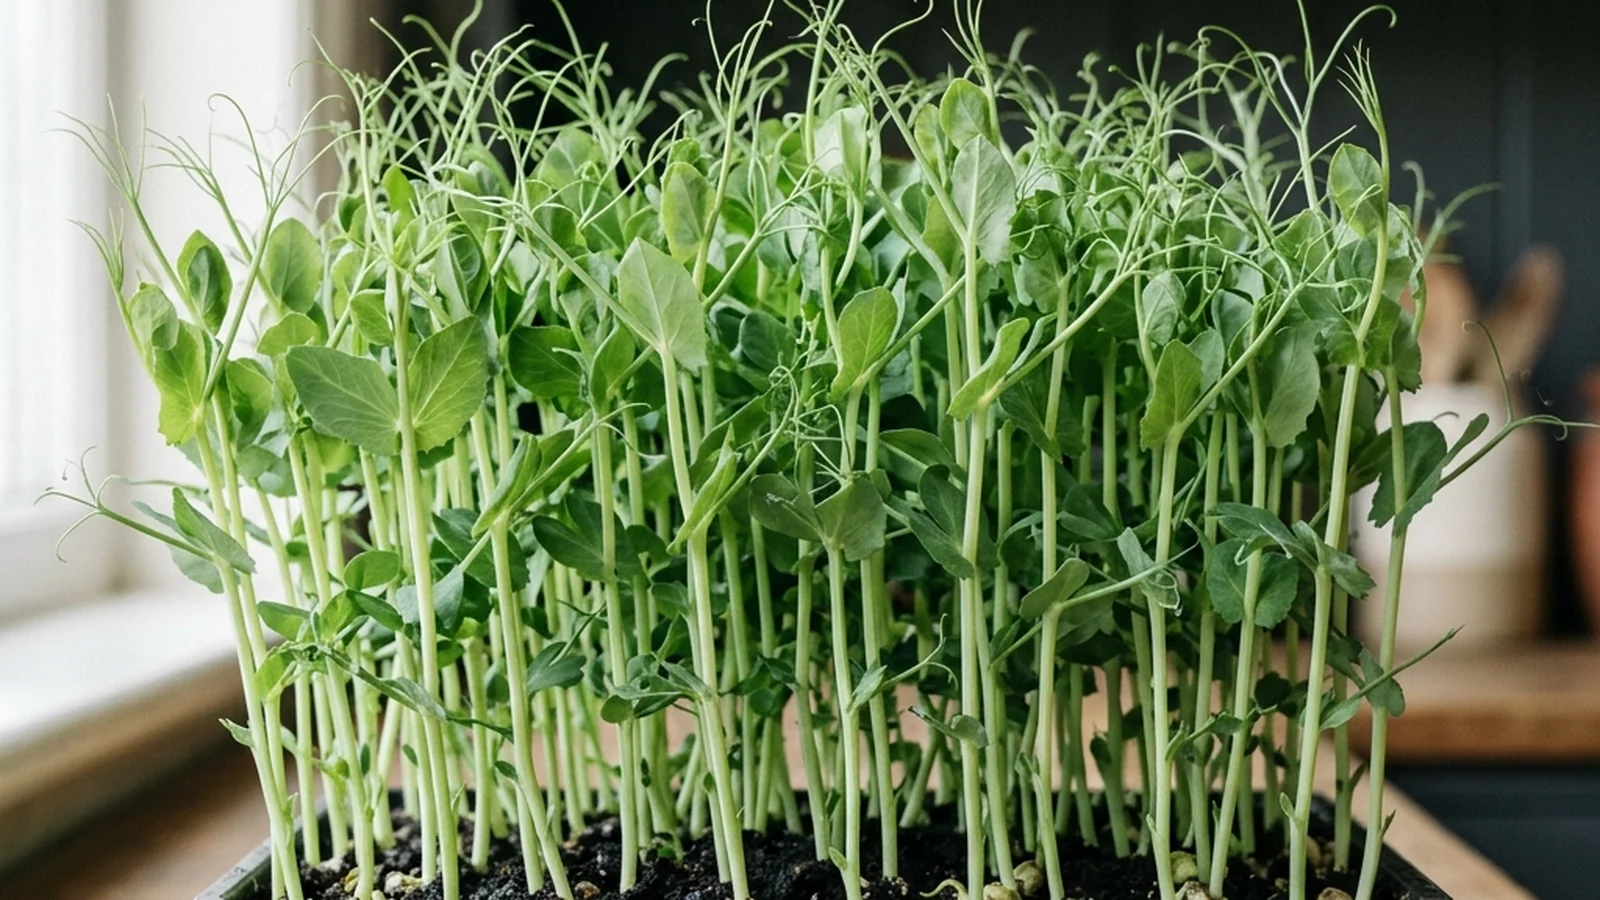
Pea shoots grow from one of the largest seeds used in microgreens, and that size changes almost everything about how you handle the tray: the soak, the pace of germination, and — uniquely among common microgreens — the harvest cut. Give pea seed UC Master Gardener Sonoma’s 6 to 12 hour presoak, grow the tray on to the RHS’s 10 to 15 cm cutting height rather than the usual 2 to 4 in., and cut above the lower leaf nodes rather than at the base if you want a second, smaller harvest from the same tray. That extra height is also why the timeline runs longer than most microgreens — closer to three weeks than one — and the cut is the one most quick guides skip, the difference between a tray you use once and a tray you cut twice.
If this is your first tray of any kind, start with the complete beginner microgreens method for the general four-step process — sow, cover, uncover, harvest — before layering in what makes peas different.
Why pea shoots are the exception to the harvest rule
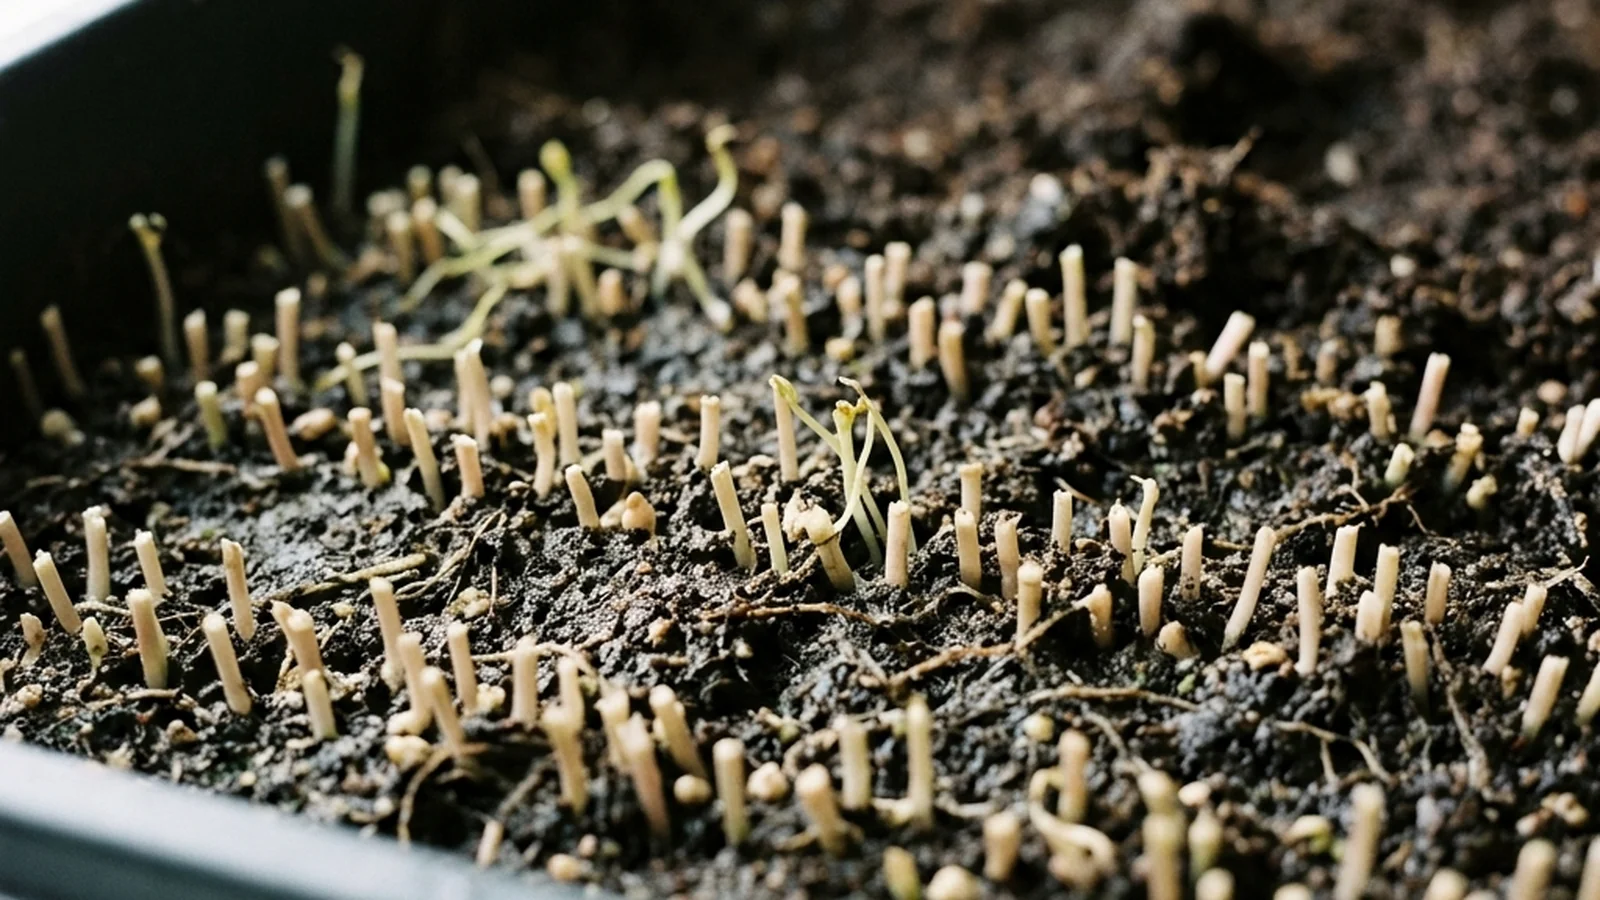
Purdue Extension states the general rule and its exception in one line: most crops are cut at 2 to 4 in. tall with true leaves just emerging, except pea shoots, which are cut much taller with two or more sets of true leaves. Most microgreens are cut at the base — which, per Penn State Extension, removes the growing point along with the leaves, so nothing is left to regrow from and the tray gets composted and resown. Pea shoots are different: the RHS’s cut sits well above the base — cutting off the top two “levels” of leaves once shoots reach roughly 10 to 15 cm — so the lower stem, its nodes, and the connected roots all stay in the tray, and those nodes are what send up a second flush. See which microgreens actually regrow after cutting for how that compares across other crops.
Before you sow: the long soak pea seeds need
Pea seed falls squarely into the “large seed” category that UC Master Gardener Sonoma says benefits from a presoak of 6 to 12 hours before sowing, a step most smaller microgreen seed skips entirely. Utah State University Extension’s protocol is more specific for this crop: 6 hours for pea, at the short end of that window. The presoak softens the seed coat and speeds germination, which matters more for peas than for fine seed because the dry pea seed is dense and slow to imbibe water on its own.
A few practical notes on the soak itself: use room-temperature water in a clean container, and soak for hours, not days — change the water if you have to delay sowing, and sow as soon as the soak is done. If you notice fuzzy growth on soaking or newly sown seed and are not sure whether it is a problem, the tray-level signs are covered in microgreens mold or root hairs: how to tell safely.
After the soak, sow into a shallow tray of moist mix at roughly 1/8 in. deep — the depth UC Master Gardener Sonoma gives for microgreen seed generally. Utah State University Extension sows pea at 150 g per 1020 tray — by far the heaviest rate in its table, against 28 g for broccoli or kale and 10 g for arugula, which is the seed-size difference in gram form. That figure is fixed to a 10 x 20 in. tray; on any other tray, scale by area — how to work out grams per tray. Penn State Extension gives 60 to 75°F for soil temperature and 60 to 70°F for air temperature during germination, the same range that applies across microgreen crops, not a pea-specific figure. For the tray, mix, and tools this takes, see what you need to grow microgreens.
Day by day: from soaked seed to first harvest
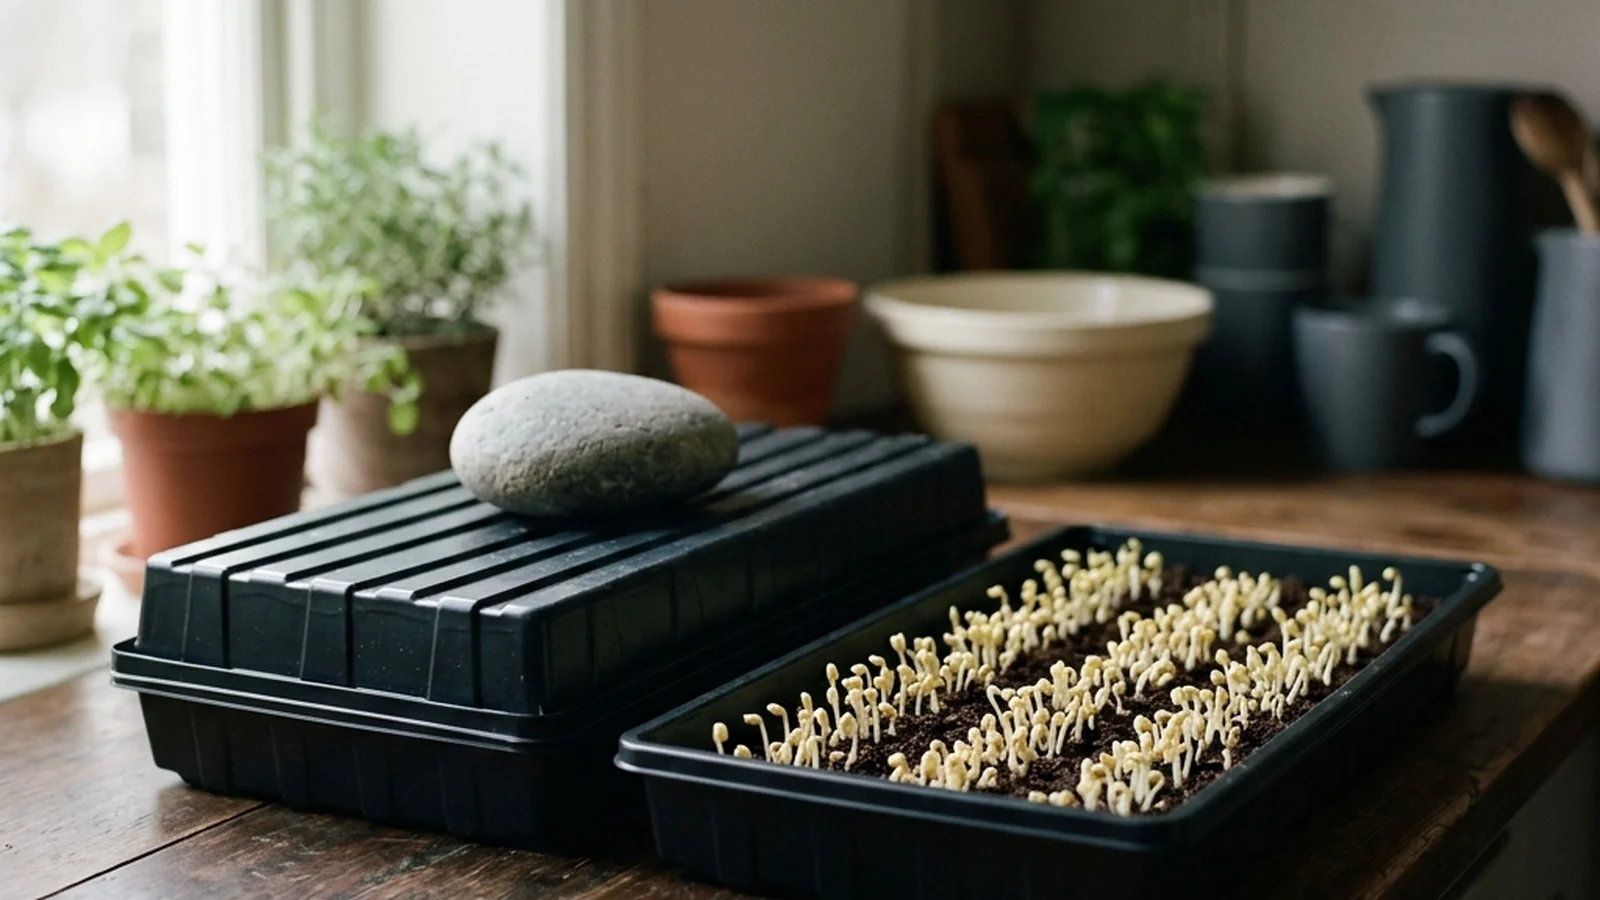
UC ANR’s two-stage blackout method — a covered stage one for 2 to 3 days, then an optional stage two with the cover flipped for 1 to 2 more days to encourage stretch — sets the covered days below. Temperature, light intensity, seed lot and tray depth all shift the rest of the timeline. Go by height and leaf stage, not the calendar.
| Day range | Stage | What’s happening | What to do |
|---|---|---|---|
| Day 0 | Soak and sow | Seed absorbs water and softens | Soak pea seed 6 hours (Utah State) up to 12 (UC Sonoma’s general range), then sow about 1/8 in. deep into moist mix, at 150 g per 1020 tray (Utah State) |
| Days 0-3 | Blackout, stage 1 | Seed germinates under a weighted, light-blocking cover | Keep covered 3 days (Utah State University Extension’s pea figure, inside UC ANR’s general 2-3 day stage one); Penn State Extension’s step-by-step guide shows the cover off pea trays by day 3 |
| Days 2-4 | Blackout, stage 2 (optional) | Sprouted shoots push against the cover | Flip the cover to keep the tray dark 1-2 more days to encourage stretch, if you want taller shoots before light |
| Days 3-5 | Uncover, first light | Shoots straighten and green up; the first leaves unfold along the stem | Move under bright natural light (6-8 hours) or a grow light (12-16 hours), and resume watering from the base |
| Day 10 onward (2-3 weeks is common) | First harvest window | Shoots reach roughly 10-15 cm with two or more leaf sets; the lower stem starts turning fibrous | Cut just below the top two leaf “levels,” leaving the lower nodes and fibrous stem in the tray |
| After the cut (variable) | Second flush, if left standing | Remaining stem regrows from the nodes below the cut | Continue the same light and watering routine; expect a smaller and more variable second cut |
A couple of things explain why this timeline runs longer than the fastest microgreens. Pea shoots are grown taller before the first cut — the RHS’s 10 to 15 cm cutting height reaches past the 2 to 4 in. most microgreens are cut at (roughly 4 to 6 in.), with true leaves just emerging. Growing that much extra stem and leaf simply takes more days. Utah State University Extension does give a pea figure — 8 to 10 days — but for a tray cut at ordinary microgreen size under its own protocol, not for shoots grown on to 10-15 cm. Read alongside Penn State Extension’s general 7 to 21 day range and University of Tennessee Extension’s 10 to 14 days under optimal conditions, it puts pea outside the 7-to-8-day lane radish and broccoli occupy. Growing taller for the regrow cut pushes a tray past all three, toward UC Master Gardener Sonoma’s 2 to 3 week home-windowsill estimate.
The cut that decides whether you get a second harvest
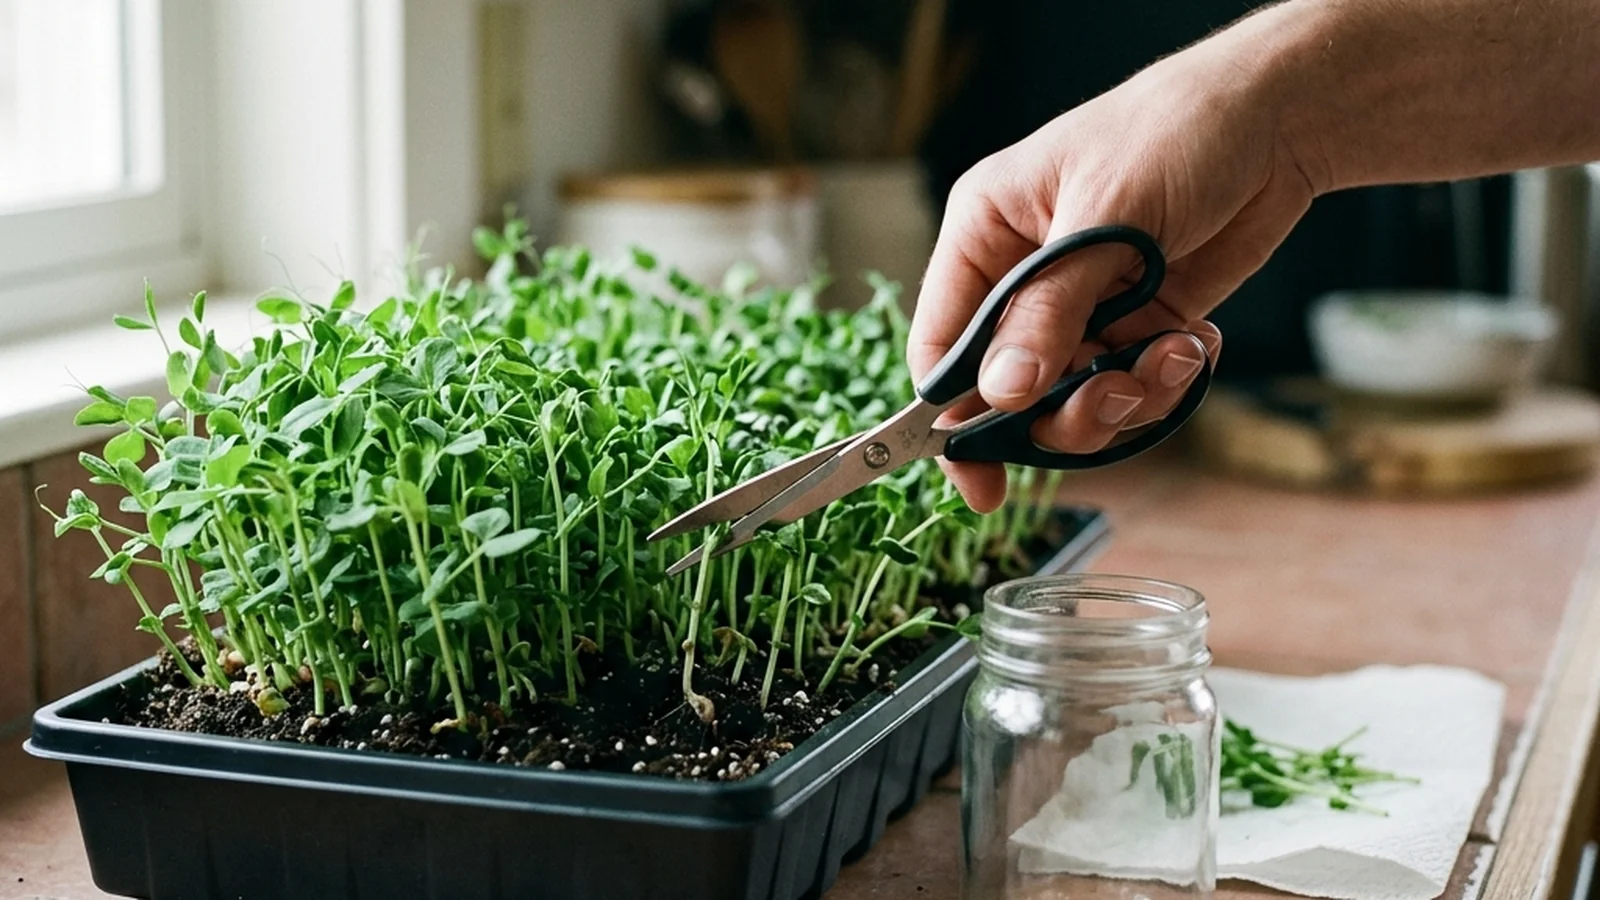
Concretely: when shoots reach about 10 to 15 cm tall, look for where the leaves stack into distinct “levels” along the stem — each level is a pair of leaves emerging from roughly the same point, with a visible node marking the spot, and a smoother stretch of stem (the internode) between one level and the next. Cut through the stem just below the top two of those levels, in that internode gap, taking that tender top growth and leaving the lower levels, their nodes, and the fibrous base of the stem standing in the tray. The tender top section is also the part worth eating — the stem lower down toughens as the plant grows, so the same cut that preserves regrowth potential also happens to be where the shoot stops being pleasant to eat raw. The RHS gives the cut as the top two levels and notes that the stem becomes fibrous lower down, so cutting deeper adds tough tissue rather than usable harvest — and, since the lower nodes are what the second flush comes from, it also removes the growth points you are trying to keep.
For the general mechanics of a clean cut — blade choice, cutting angle, and handling the greens afterward — see how to harvest and store microgreens. The node-placement rule above is the one adjustment pea shoots need on top of that general method.
What the second flush actually looks like
Once the top growth is cut away, the plant is working from a reduced leaf area and whatever the roots and remaining stem have stored. The documented result is a real second harvest, but a smaller and weaker one than the first cut — thinner, shorter, and less uniform — and that pattern holds regardless of how well the first cut was made. Neither Utah State’s crop table nor Penn State’s yield trial puts a number on the second flush, and peas are not among the seventeen varieties Penn State weighed, so if the second flush looks weak or uneven, that is consistent with what is documented, not a sign that something went wrong with the tray.
Keeping light and water on track through both cuts
After the cut, the plant is regrowing from reduced leaf area, so a light level that was only borderline for the first harvest shows up as slower, weaker regrowth the second time. UC Master Gardener Sonoma’s figures for bright natural light (6-8 hours once sprouts appear) or a grow light (12-16 hours on a timer) apply through both stages, not just the first cut. If you are deciding between a windowsill and a grow light for a tray you plan to cut twice, microgreens window light vs. a grow light walks through the trade-offs.
Watering from the base, rather than overhead, keeps the cut stems and remaining foliage drier and less prone to rot right at the point where you just removed tissue — see how to bottom water microgreens for the method. And if you are running the blackout stages for a fresh batch of pea seed while a previous tray works on its second flush, the crop-by-crop timing in the microgreens blackout period by crop is the reference for getting that first stage right across different seed types.
Common timing mistakes with pea shoots
- Cutting at the base out of habit. If you grow several microgreens at once, it is easy to default to the base cut you use on everything else. For peas, that single habit is what eliminates the second harvest.
- Skipping the presoak. Sowing pea seed dry still works, but germination is slower and less even, which throws off every day estimate in the timeline above.
- Judging readiness by the calendar instead of the plant. Because temperature and light shift the pace by several days in either direction, a tray at day 10 and a tray at day 14 can both be correctly timed. Height and leaf-level count are the signal; the day range is only a planning guide.
- Letting seed soak too long in a warm spot. A soak measured in hours, not days, is what UC Master Gardener Sonoma calls for — sow as soon as it is done rather than leaving seed sitting in water.
- Expecting the second cut to match the first. Planning a harvest schedule or a recipe around a second flush that turns out smaller and later than hoped is a scheduling problem, not a growing failure — build in slack rather than treating the regrow as a dependable repeat of the first cutting.
Sources
- RHS — Grow pea shoots with children
- UC Master Gardener Program of Sonoma County — Growing Microgreens
- Penn State Extension — Growing Microgreens
- Penn State Extension — A Step-By-Step Guide for Growing Microgreens at Home
- Utah State University Extension — Grow Your Own Microgreens
- Purdue Extension — Grow Microgreens at Home
- University of Tennessee Extension W1261 — Regulatory Considerations for Marketing Sprouts, Microgreens and Baby Greens
- UC ANR Coastal Gardener — Your Indoor Winter Garden: Fresh Microgreens for Gloomy Days
Grow pea shoots successfully
Compare regrowth across crops, get the blackout timing right, and handle the harvest and storage steps that follow the cut.
Common questions
Do pea shoots really regrow after cutting?
Yes, within limits. Cut above the lower leaf nodes once shoots reach about 10 to 15 cm and the plant can send up a second, smaller flush. Cut at the base the way you would a typical microgreen and the growing point is removed, so the tray will not send up more growth.
How long does it take to grow pea shoots indoors?
Utah State University Extension gives 8 to 10 days for pea in its own protocol, which sits inside Penn State Extension's general 7 to 21 day window; University of Tennessee Extension's 10 to 14 days describes optimal conditions for microgreens overall. Those figures assume a tray cut at normal microgreen size. Pea shoots for a regrow cut are grown taller than that, and a home windowsill runs slower than a fixture, so 2 to 3 weeks is realistic. Height and leaf stage are a more reliable readiness signal than the calendar alone.
Do pea seeds need to be soaked before sowing?
Yes. Utah State University Extension soaks pea for 6 hours; UC Master Gardener Sonoma gives 6 to 12 hours for large seed generally, so the two agree. Skipping the soak will not stop the tray from growing, but germination is typically slower and less even.
Is the second pea shoot harvest as good as the first?
Peas are not among the seventeen varieties Penn State Extension weighed, so there is no measured figure to plan either cut against, but the second flush is consistently described as smaller and weaker than the first. Treat it as a bonus cutting from an existing tray rather than a substitute for sowing fresh.
Related guides
Do microgreens regrow once you cut them?
The cut you make decides everything. For almost every crop it removes the one part of the plant that could grow back.
How to harvest and store microgreens safely
The cut and the fridge decide how long a tray lasts. Here is when to harvest, why you should not wash before storing, and what the shelf-life data actually shows.
Microgreens blackout time by crop: what varies and why
Blackout time varies by crop — Utah State's table runs from 1-2 days for arugula to 7-14 for cilantro. Here is how that compares to the documented blackout methods, and how to judge readiness by the tray instead of the calendar.