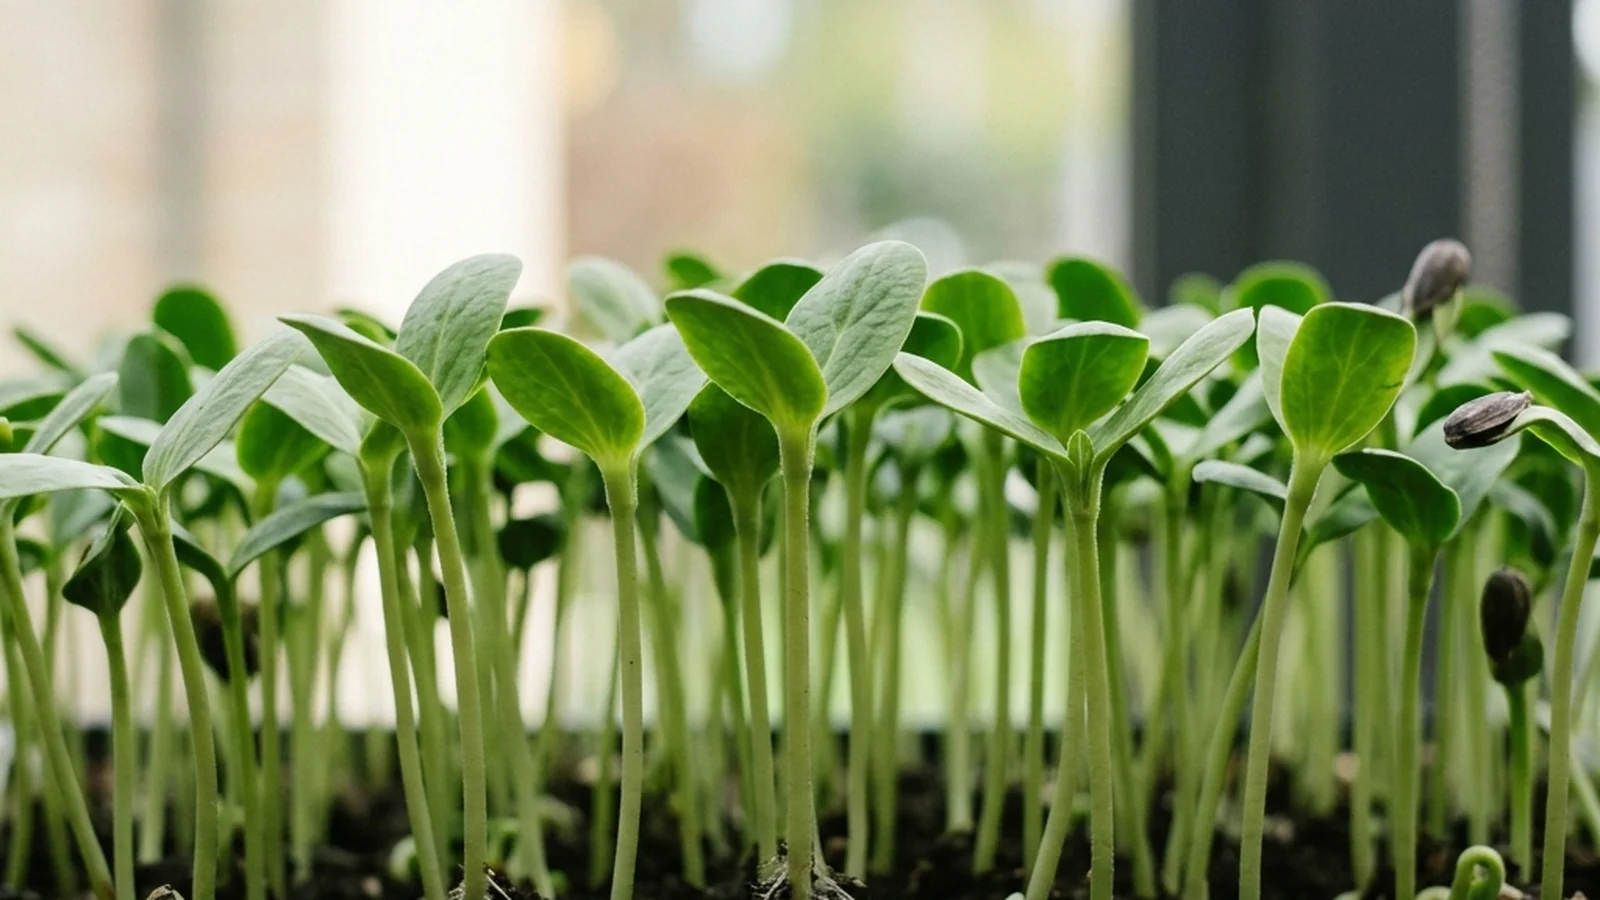
Sunflower microgreens are not a fast crop, and they are not a pour-and-wait crop either. The seed is large, wrapped in a stiff hull, and it pushes hard enough against a cover that a light one can lift off. The realistic process is: presoak the seed 12 hours, the figure Utah State Extension gives for sunflower, sow it densely, run a weighted blackout for several days, expect the hulls to need some help letting go of the leaves, then grow it on under light until the shoots are 2 to 4 inches tall with true leaves just showing. None of that is difficult, but skipping the soak or under-weighting the blackout is where most sunflower trays go wrong.
Temperature, light, seed lot, and tray setup shift the actual days in either direction, so treat every day number below as a range. If you have not grown microgreens before, start with the complete beginner method first — it covers the sowing, watering, and light steps that apply to every crop, including this one.
The at-a-glance timeline
The table below lays out a typical sunflower tray from soak to harvest.
| Day | Stage | What is happening | What can shift it |
|---|---|---|---|
| Day 0 | Presoak | Seed soaks 12 hours (Utah State’s figure) in room-temperature water before sowing | Seed age and how dry the seed was to start |
| Day 0 | Sow | Drained, soaked seed sown densely, pressed in about 1/8 in. deep | Tray size and how evenly the seed is spread |
| Day 0-3 | Blackout, stage one | Tray covered with a solid lid plus a weight to hold the seed in firm contact with the medium | Room temperature (60-75°F soil, 60-70°F air is the general target) |
| Day 3-5 | Blackout, stage two | Once sprouted, the cover is flipped upside down and kept dark 1-2 more days to encourage the stem to stretch upward | How evenly germination happened under the weight |
| Day 3-5 | Uncover to light | Cover comes off; this is also when hulls are most visibly stuck to the cotyledons | Seed lot and how much weight was used in stage one |
| Day 5-13 | Green-up | Shoots color up and extend under 6-8 hours of natural light, or 12-16 hours under a fixture set 6-12 in. above the canopy | Light intensity and watering consistency |
| Day 9-21 | Harvest window | Cut once shoots reach roughly 2-4 in. with true leaves just emerging | Utah State reaches harvest at 9-10 days under an 18-hour photoperiod; a windowsill runs toward the 2-3 weeks UC Sonoma describes |
Why sunflower needs a different process
Most of the beginner method for microgreens assumes a small, thin-coated seed: scatter it on moist mix, keep it dark and humid for a couple of days, then move it to light. Sunflower breaks that pattern in three ways, and all three come from the seed itself rather than from anything specific to how the crop is watered or lit.
First, the seed is large enough that the UC Master Gardener Program of Sonoma County’s soaking guidance actually applies to it. Small brassica seed is sown dry; sunflower is large enough to fall into the group that benefits from a presoak.
Second, the same size and hull structure that make presoaking useful also make the seed push harder against whatever is covering it during blackout. A cover that would comfortably hold down radish or broccoli seed can be lifted by a tray of swelling sunflower seed.
Third, the hull itself often fails to separate from the cotyledons on its own as the shoot straightens. That is the “helmet head” problem, and it is specific to large-hulled seed like sunflower rather than something you will run into with a fine brassica seed.
Day 0: presoak and sow
The UC Master Gardener Program of Sonoma County recommends presoaking large seeds for 6 to 12 hours before sowing, to speed germination, and sunflower is a large seed. Utah State University Extension is more specific for this crop and puts sunflower at 12 hours — the long end of that window, and twice the 6 hours the same protocol gives pea. Supplier soak times that fall outside both figures are practice rather than something either source documents.
Utah State University Extension seeds sunflower at 48 g per 1020 tray (10 x 20 in.) — roughly five times what it gives arugula, and a third of what it gives pea. Weigh large seed dry, before the soak; working out grams for a different tray is covered in the seed density guide. Soak in room-temperature water, then drain the seed well before sowing. Wet, undrained seed sitting in a tray adds excess moisture on top of what the growing medium already holds, which is a setup for the kind of standing water that invites mold. Press the sown seed in to about 1/8 in. deep, the same depth the UC Master Gardener Program of Sonoma County gives for microgreens generally. If you have not settled on a tray or medium yet, the supplies and setup guide covers the options.
Days 0-5: a two-stage, weighted blackout
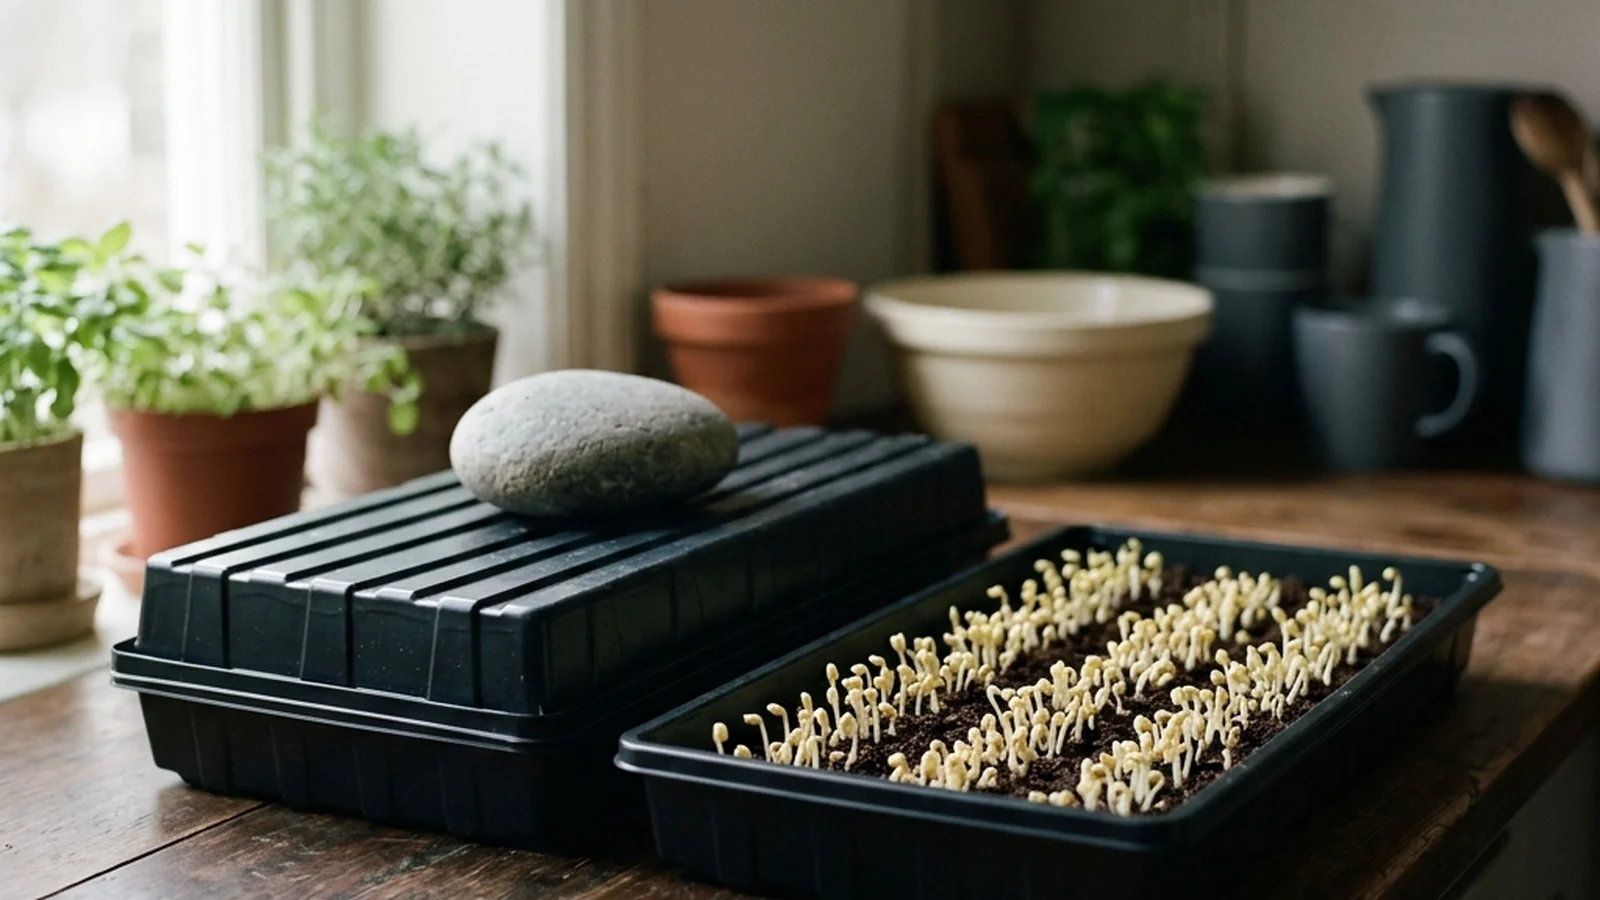
UC ANR’s Coastal Gardener documents blackout for microgreens as two stages: cover the seeded tray with a solid lid and a weight for 2 to 3 days, then — once the seed has sprouted — flip that cover upside down and keep the tray dark for 1 to 2 more days so the stem stretches upward before it meets light. Utah State University Extension covers sunflower for 3 days — the same as pea, and longer than the 1 to 2 days it gives the fast brassicas. UC ANR’s two-stage method runs a little longer overall, since its weighted stage of 2 to 3 days is followed by 1 to 2 days under a flipped cover. The per-crop blackout table covers how the timing varies by crop.
What does change with sunflower is how much weight the first stage needs. A swelling sunflower seed pushes on its cover with more force than a smaller, flatter seed does, and a cover meant only to exclude light can be lifted clear off the tray by a dense sowing of sunflower. Purdue Extension puts a weighted object over the lid for bigger seeds through days 1 to 3, and sunflower is the crop where that matters most — a second tray with something inert on top of it, rather than the cover alone. Bricks, filled jugs, or canned goods spread evenly across the cover all work; the goal is even, firm contact between seed and medium.
Room temperature during this stage matters more than it seems. The general targets Penn State Extension gives are 60-75°F for the growing medium and 60-70°F for air temperature. A room at the cool end of that range slows germination and pushes the whole blackout stage later; a warm spot speeds it up. Check under the cover around day 2 to 3 rather than waiting for a fixed date — you are looking for germination, not a calendar event.
The hull problem: what “helmet head” actually is
As sunflower shoots straighten during and after blackout, the papery hull that surrounded the seed often stays clamped onto the tips of the cotyledons instead of falling away cleanly. Growers commonly call this “helmet head,” and it is the single most distinctive troubleshooting issue of this crop — brassica and pea microgreens do not present this problem the same way, because their seed coats are smaller and thinner.
A heavier weight during the first blackout stage helps here too: firmer, more even contact between the seed and the medium as it germinates makes it more likely the hull slides off as the cotyledons expand, rather than staying pinched at the tip. A single light mist right after uncovering can loosen hulls that are already partway off. Keep it to that one pass — Penn State Extension’s guidance is to bottom water and avoid excess moisture, which is also what keeps hulls from staying wet.
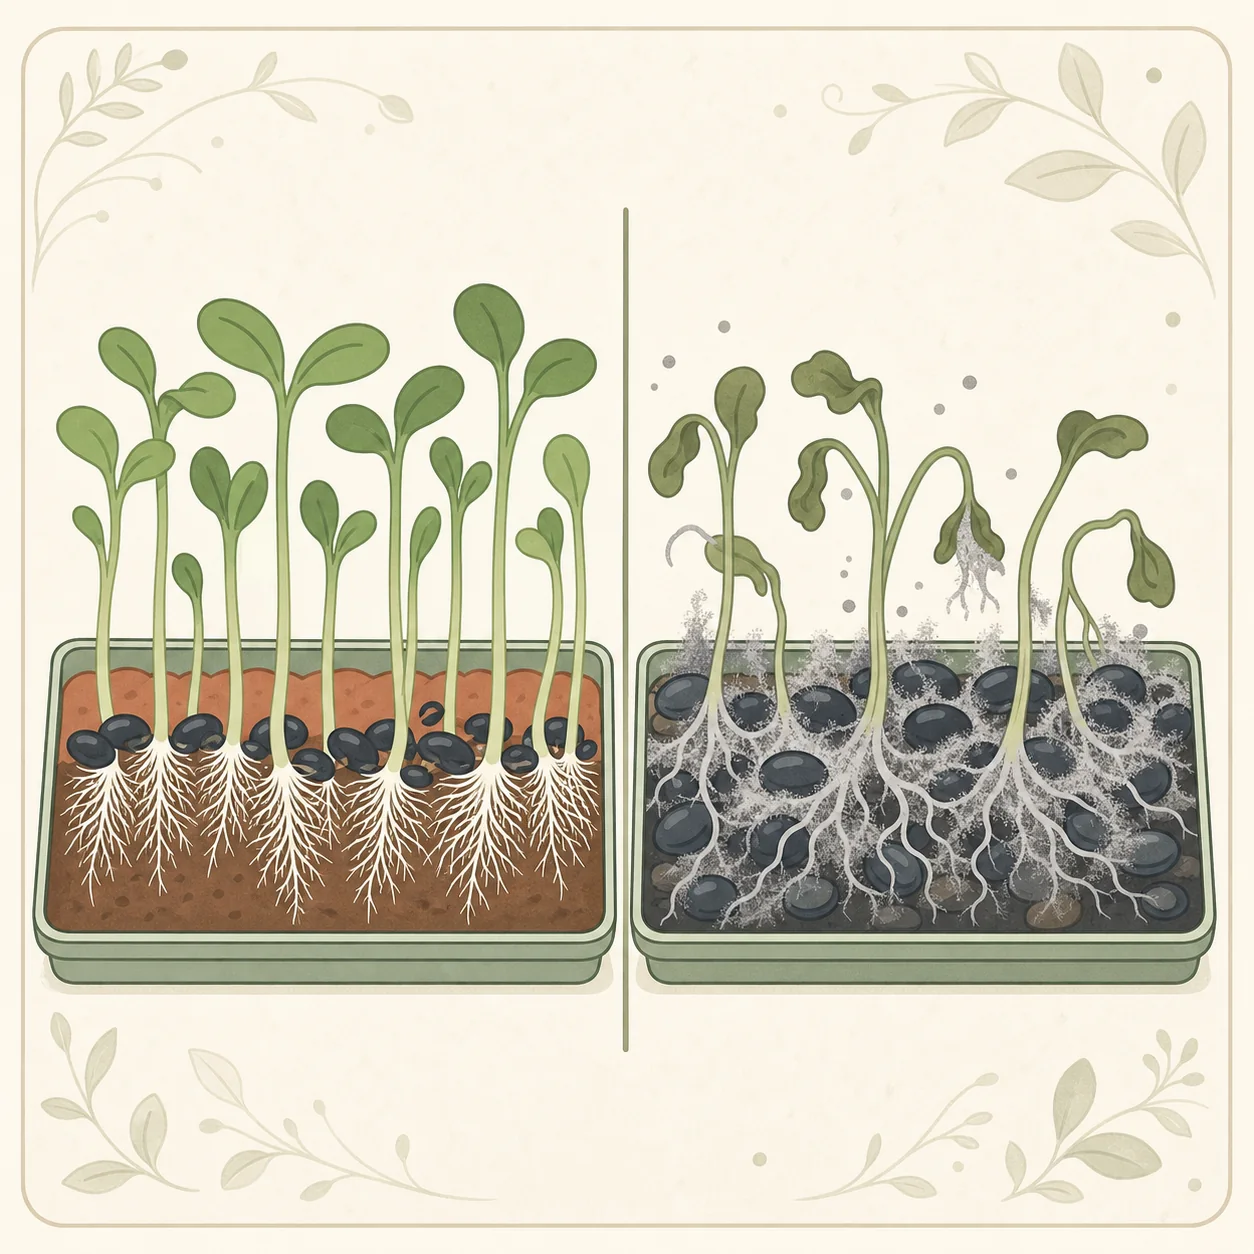
Neither step removes the problem entirely, and a scattering of shoots with a stuck hull at harvest is not a sign that anything went wrong with the tray. It is a normal outcome of growing a large-hulled seed, not a disease and not a food-safety issue. If you are also seeing collapsed, discolored, or slimy stems rather than just a stuck seed coat, that is a different problem — see the guide to distinguishing mold from normal root growth before assuming it is only hulls.
Days 4-13: uncovering and the green-up phase
Once the second blackout stage ends, remove the cover and move the tray into light. The UC Master Gardener Program of Sonoma County describes two workable options: natural light for 6 to 8 hours a day once sprouts appear, or a grow light set 6 to 12 in. above the canopy and run on a timer for 12 to 16 hours. Either works; a fixture is more consistent day to day, which matters more in a room with short winter daylight than in a bright summer window. For the setup itself, see the microgreens light guide.
From this point on, water from below rather than overhead where possible, and let the tray take up what it needs and drain the rest — overhead watering keeps hulls and foliage wet longer than necessary, and standing water is a documented contributor to disease pressure in young seedlings. If you are setting up bottom watering for the first time, the bottom-watering guide walks through it.
Watch the tray rather than the clock during this stage. A tray held near the warm end of the target range under strong, consistent light will color up and extend faster than one in a cool room lit only by a dim window. This is also the stage where damping-off shows up if it is going to — a humid blackout period followed by a slow-drying canopy is exactly the condition that favors it, so if you see stems pinching or collapsing rather than just slow growth, the damping-off guide covers what to check and how it differs from ordinary slow growth.
Harvest window: go by the shoot, not the day count
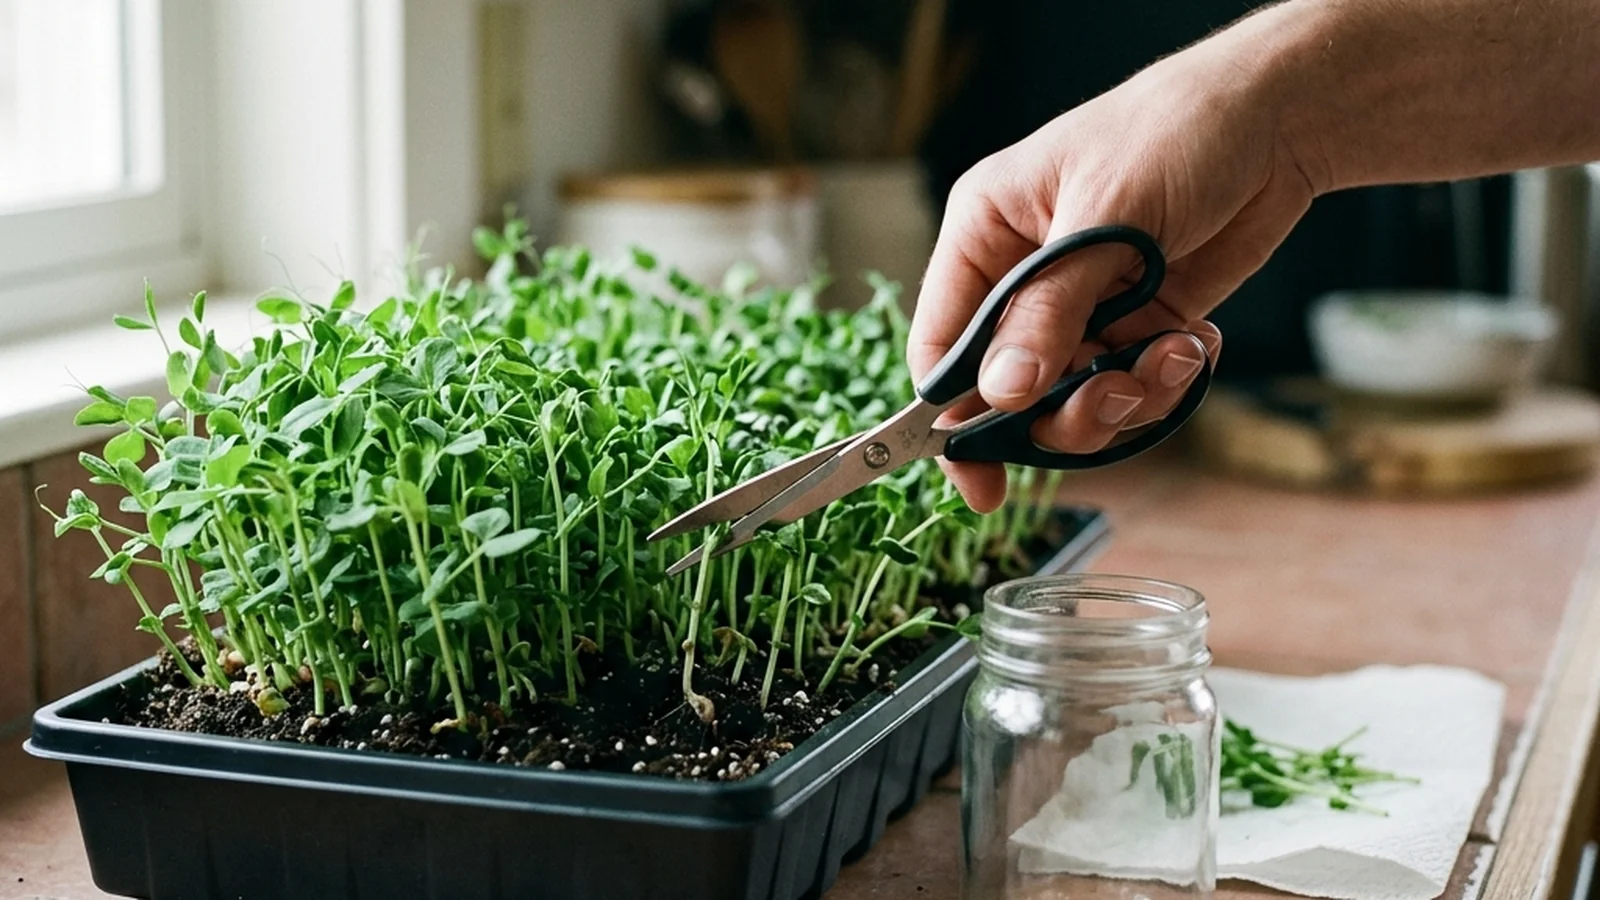
Penn State Extension and the UC Master Gardener Program of Sonoma County converge on a size-based harvest rule rather than a fixed day count: cut once shoots are roughly 2 to 4 inches tall, with the first true leaves just emerging above the cotyledons. University of Tennessee Extension phrases the same idea slightly differently — harvest at 1 to 4 in. with one or two true leaves formed. Pea shoots are the documented exception to this general rule; sunflower is not, so use the same true-leaf checkpoint here that you would for most other crops.
Sunflower is not in the fast brassica group Penn State Extension puts at 7 to 8 days, so a radish timeline is the wrong yardstick. What it is depends almost entirely on light. Utah State University Extension reaches harvest at 9 to 10 days, but its protocol runs an 18-hour photoperiod and held temperatures - a longer day than the 12 to 16 hours UC Master Gardener Sonoma gives for a home fixture, which is the schedule in the microgreens light guide, so read it as a well-lit ceiling rather than a target. Penn State Extension’s general window is 7 to 21 days, University of Tennessee Extension gives 10 to 14 days under optimal conditions, and the UC Master Gardener Program of Sonoma County frames a home windowsill at 2 to 3 weeks to reach 2 to 3 inches. A bright, consistent setup lands near the short end of that spread and a dim one near the long end. Cut when the shoot is ready rather than on a set day.
There is a flavour reason not to let the tray run long. Purdue Extension notes that microgreens turn more bitter the longer they grow, and names sunflower as the crop where that shows up worst — so a tray held past the true-leaf checkpoint costs taste, not just texture.
Yield per tray gets quoted a lot online. Penn State Extension weighed seventeen varieties and sunflower is not among them, so plan by tray size and shoot count rather than by grams. For what to do once shoots are cut, including storage temperature and shelf life, see how to harvest and store microgreens.
Common problems along this timeline
- Tray still short after two weeks. Compare your room’s actual temperature and light hours to the targets above before extending the blackout further; blackout does not need to be lengthened to fix slow green-up.
- Stems pinching or collapsing rather than just growing slowly. Treat this as a possible disease issue, not a light or timing issue — see the damping-off guide.
Sources
- University of California ANR, Master Gardener Program of Sonoma County — Growing Microgreens
- Utah State University Extension — Grow Your Own Microgreens
- University of California ANR Coastal Gardener — Your Indoor Winter Garden: Fresh Microgreens for Gloomy Days
- Penn State Extension — Growing Microgreens
- Penn State Extension — A Step-By-Step Guide for Growing Microgreens at Home
- Penn State Extension — The ABCs of Microgreens
- University of Tennessee Extension W1261 — Regulatory Considerations for Marketing Sprouts, Microgreens and Baby Greens (PDF)
- Purdue Extension — Grow Microgreens at Home
Build the rest of the sunflower tray process
See how blackout timing, harvesting, and food safety work across microgreens crops.
Common questions
How long do sunflower microgreens actually take to grow?
It depends heavily on light. Utah State University Extension gives 9 to 10 days for sunflower under its own protocol, which runs an 18-hour photoperiod and controlled temperatures. Penn State Extension's general microgreens window is 7 to 21 days, University of Tennessee Extension describes 10 to 14 days under optimal conditions, and UC Master Gardener Sonoma frames a home windowsill as 2 to 3 weeks. Sunflower is not one of the fast 7-to-8-day brassicas, but it is not inherently slow either - a bright, consistent setup lands near Utah State's figure and a dim one does not.
Do I need to soak sunflower seed before sowing?
Yes. Utah State University Extension soaks sunflower for 12 hours, and UC Master Gardener Sonoma gives 6 to 12 hours for large seed generally, so Utah State's figure sits at the long end of that window.
Why do my sunflower microgreens still have hulls stuck to the leaves?
This is often called "helmet head." The papery hull clings to the cotyledons as the shoot straightens after blackout. Growers reduce it with a heavier weight during blackout and a light mist once the cover comes off, some shoots keep their hulls regardless, and that alone is not a sign anything went wrong.
What size should sunflower microgreens be at harvest?
Penn State Extension and the UC Master Gardener Program of Sonoma County describe harvest at roughly 2 to 4 inches tall, once true leaves are just emerging, as the general rule for most microgreens. Pea shoots are the documented exception to that rule; sunflower is not, so the same 2 to 4 inch guideline applies here.
Related guides
Microgreens blackout time by crop: what varies and why
Blackout time varies by crop — Utah State's table runs from 1-2 days for arugula to 7-14 for cilantro. Here is how that compares to the documented blackout methods, and how to judge readiness by the tray instead of the calendar.
How to harvest and store microgreens safely
The cut and the fridge decide how long a tray lasts. Here is when to harvest, why you should not wash before storing, and what the shelf-life data actually shows.
Microgreens mold or root hairs? How to tell safely
White fuzz around newly emerged roots is often normal root hair growth. Irregular spread, bad odor, slime, or collapsing stems changes the decision.