Bottom watering or top watering, by situation
| Your pot | Better method | What the extension sources say |
|---|---|---|
| Mix has dried out completely and water runs straight through | Bottom water, repeat if needed | Virginia Cooperative Extension: bottom watering can rehydrate hydrophobic soil, which may take longer to hydrate and may need repeating until the soil feels moist |
| African violet, begonia or cyclamen | Bottom water | Virginia Cooperative Extension lists them as plants that cannot tolerate wet leaves at all |
| Dense foliage hides the soil | Bottom water | Virginia Cooperative Extension: dense foliage can make it difficult to water overhead |
| Ordinary herb or vegetable pot with open foliage | Top water until it drains | Kansas State Extension: water that drains from the bottom carries away dissolved fertiliser salts |
| Pot has been bottom-watered for weeks | Top water once to flush | University of Georgia Extension: bottom watering does not leach salts that can accumulate |
| No drainage hole | Neither; fix the pot first | Virginia Cooperative Extension: bottom watering is only possible with drainage holes |
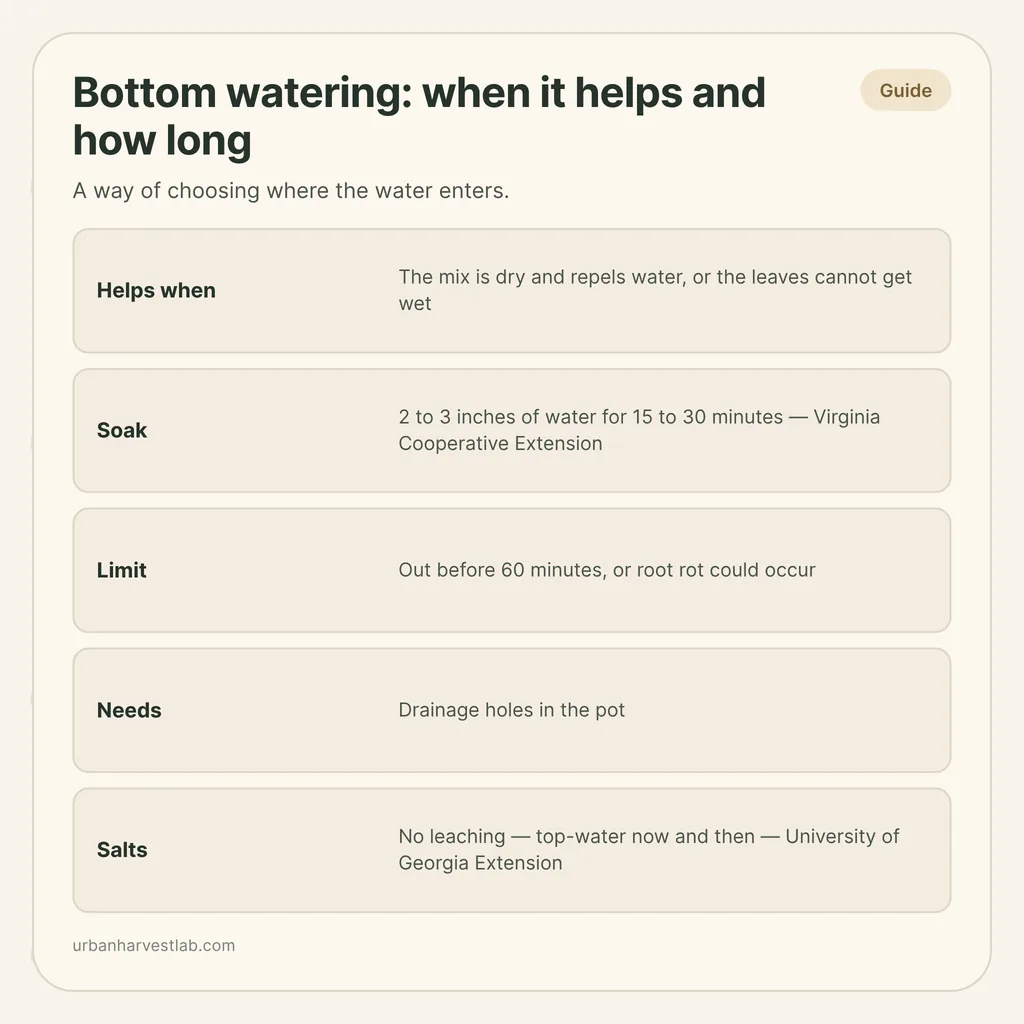
Bottom watering helps when the mix is too dry to take water from above, or when the plant hates wet leaves. Virginia Cooperative Extension has you set the pot in 2 to 3 inches of water for 15 to 30 minutes and take it out before 60; top-water now and then so salts do not collect. For an ordinary herb or vegetable pot that is not bone dry, watering from the top until water runs out of the bottom does the same job and clears salts as it goes.
What bottom watering actually is
University of Maryland Extension describes it as putting water into the saucer, or setting the container in a pot of water, so the water is absorbed and drawn up into the potting mix. Virginia Cooperative Extension compares the mix to a sponge or paper towel in contact with moisture: it adsorbs water upward, so nothing needs pouring on the surface.
That is all it is. There is no gadget and no special pot. It is a way of choosing where the water enters, and the choice matters in a few specific situations.
When it helps
The mix has dried out and repels water. Virginia Cooperative Extension notes that dry potting soil, especially peat or bark-based mix, can become hydrophobic, and that water poured on top then drains quickly without wetting the mix. Bottom watering is its suggested way to rehydrate such soil, with the warning that hydrophobic soils may take longer to hydrate. If your pot feels light, shows wet and dry patches, or lets water race out of the hole, this is the case. The full rescue routine is in what to do when potting mix repels water. Iowa State Extension gives the same remedy for a container that has dried out completely: place it in a tub of water for 20 to 30 minutes to remoisten the mix.
The plant cannot take wet leaves. Virginia Cooperative Extension names African violets, begonias and cyclamens as plants that cannot tolerate wet leaves at all, and some cacti and succulents that are susceptible to leaf diseases. For these, keeping the water off the foliage is the point.
The foliage hides the soil. The same publication lists houseplants with dense foliage, which can make overhead watering difficult. A bushy pot where you cannot reach the soil without wetting the plant is an easy candidate.
You want the surface to stay dry. UC IPM’s fungus gnat advice is to allow the surface of container soil to dry between waterings. Water that enters from below does not have to wet the top layer, so the surface can dry sooner. If gnats are the trouble, fungus gnats in herb pots covers the whole fix.
When it does not
The pot needs drainage holes. Virginia Cooperative Extension says plainly that the method is only possible if the container has drainage holes in the bottom, and a guide to drainage holes explains what to do about a pot without them. A jar or cachepot that holds water inside cannot be bottom-watered safely, because there is no way for excess to leave.
For most herbs and vegetables in open-foliage pots, top watering is simpler. Kansas State Extension recommends watering to total saturation with some excess draining through the pot, so the whole soil mass is wet and dissolved fertiliser salts are carried away, a process it calls leaching. Bottom watering gives you the first of those and not the second.
Pots that feed themselves from a reservoir are a related idea but a different system, since the water level is permanent rather than a timed soak. Self-watering pots for herbs compares them. Trays of microgreens are a different shape of problem again, and bottom-watering microgreens handles them.
How to do it and how long to leave it
- Fill a basin, sink or tray with 2 to 3 inches of water. Virginia Cooperative Extension describes a shallow basin of that depth under the potted plants.
- Stand the pot in it. Leave it for 15 to 30 minutes, depending on the dryness of the soil. The publication later puts it as waiting approximately 30 minutes or until all the water has been absorbed upward.
- Check the surface. If it is moist, enough water has been drawn up. A wilted plant that has perked up is the second sign.
- If the mix was water-repellent, go again. Virginia Cooperative Extension says repeating the process may be necessary until the soil feels moist.
- Lift the pot out and let it drain. University of Maryland Extension says to empty out any excess water, and its watering advice is not to let the pot sit in the water that runs out.
The ceiling is 60 minutes. Virginia Cooperative Extension says container houseplants should not be left in basins of water for an extended period of time, more than 60 minutes, or root rot could occur. A sensible habit is to set a timer when you stand the pot in the water rather than trusting yourself to come back. For the longer view of why wet roots go wrong, see overwatered versus underwatered plants.
To confirm the root zone is wet all the way through, Virginia Cooperative Extension suggests sliding the plant out of its container to look, or pushing a finger 1 to 3 inches into the mix, depending on pot size, to check for dry spots. A dry core after the soak means the pot needs longer, or another round.
If a pot is too heavy to lift in and out, a plain saucer works as a short soak and how long a saucer can stay full sets out the limits. Kansas State Extension allows at least 30 minutes for soil to soak up free water from the bottom, then says to dump the excess.
The salt problem
Bottom watering moves water up through the mix. It does not push anything down and out. University of Georgia Extension says it works well but does not leach salts that can accumulate in the soil, and that all plants should be watered occasionally from the top to wash out salts.
University of Maryland Extension supplies the mechanism: soluble salts stay behind and become concentrated when water evaporates from the potting mix. They show up as a crust at the soil line, around the drainage hole or on the outside of clay pots. The extension lists reduced growth, brown leaf tips, dropping lower leaves, dead root tips and wilting as symptoms. If you use fertiliser, the effect is stronger, and Virginia Cooperative Extension adds that fertiliser solutions applied by bottom watering should not be applied too frequently and should be rotated with plain water.
So pair the method with a rhythm:
- Top-water every so often, until water runs out of the bottom. That is the leaching step. University of Maryland Extension suggests clear water to leach houseplants every four to six months as a baseline, and a pot that is bottom-watered all the time is a good reason to do it as often as that or more.
- Remove a visible crust first. The same publication says to manually remove the salt crust if a layer has formed on top of the mix before you begin leaching.
- Watch the water you use. University of Maryland Extension says softened water contains more dissolved minerals than other water and should be avoided for houseplants. Tap water for plants goes into that choice.
The full flushing routine, and when a pot is too far gone and needs fresh mix, is in salt buildup in herb pots.
Bottom watering and the schedule
Bottom watering does not change how often a pot needs water, only how it gets it. Keep checking the mix by finger, as you would for any pot, and let the soak replace your watering can on those days. How often to water potted herbs has the by-herb intervals.
Sources
- Virginia Cooperative Extension, SPES-804, Properly Watering Container Houseplants
- University of Maryland Extension, Watering Indoor Plants
- University of Georgia Extension, C660, Growing African Violets
- Iowa State University Extension, How to Care for Plants Growing in Containers
- Kansas State University Research and Extension, MF-2805, Watering Raised Beds, Berms, Containers, and Houseplants
- UC IPM Pest Notes 7448, Fungus Gnats
Water the whole pot, not just the top
Drainage, salts and dry-mix rescue sit right next to the choice of watering method.
Common questions
How long should you bottom water a plant?
Virginia Cooperative Extension says plants should stay in the water for 15 to 30 minutes, depending on how dry the soil is, and later says to wait approximately 30 minutes or until the water has been drawn up. It says container houseplants should not stay in a basin for more than 60 minutes, or root rot could occur. Check the soil surface: once it is moist, take the pot out.
Is bottom watering better than top watering?
Not as a rule. It suits dry mix that repels water, plants that cannot tolerate wet leaves, such as African violets, begonias and cyclamens, and dense foliage that makes overhead watering awkward. It does not wash salts out of the soil, so University of Georgia Extension says all plants should be watered occasionally from the top to wash out salts.
Does bottom watering cause salt buildup?
It does not add salt, but it does not remove it either. University of Georgia Extension says bottom watering works well but does not leach salts that can accumulate in the soil. University of Maryland Extension explains that soluble salts stay behind and become concentrated when water evaporates from the potting mix, so a top flush has to do the clearing.
Can you bottom water a pot with no drainage hole?
No. Virginia Cooperative Extension says the method is only possible if the container has drainage holes in the bottom. Water has to move up through the mix and any excess has to be able to leave again.
Related guides
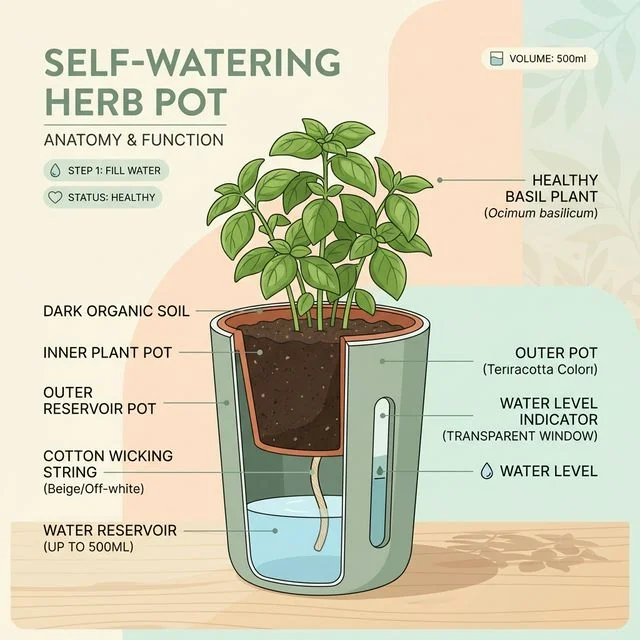
Self-watering pots for herbs: worth it or more trouble?
Self-watering pots sound like the holy grail for busy gardeners. While they are fantastic for moisture-loving herbs like mint, they can quickly turn into a swamp of rotting roots for drought-tolerant plants like rosemary.
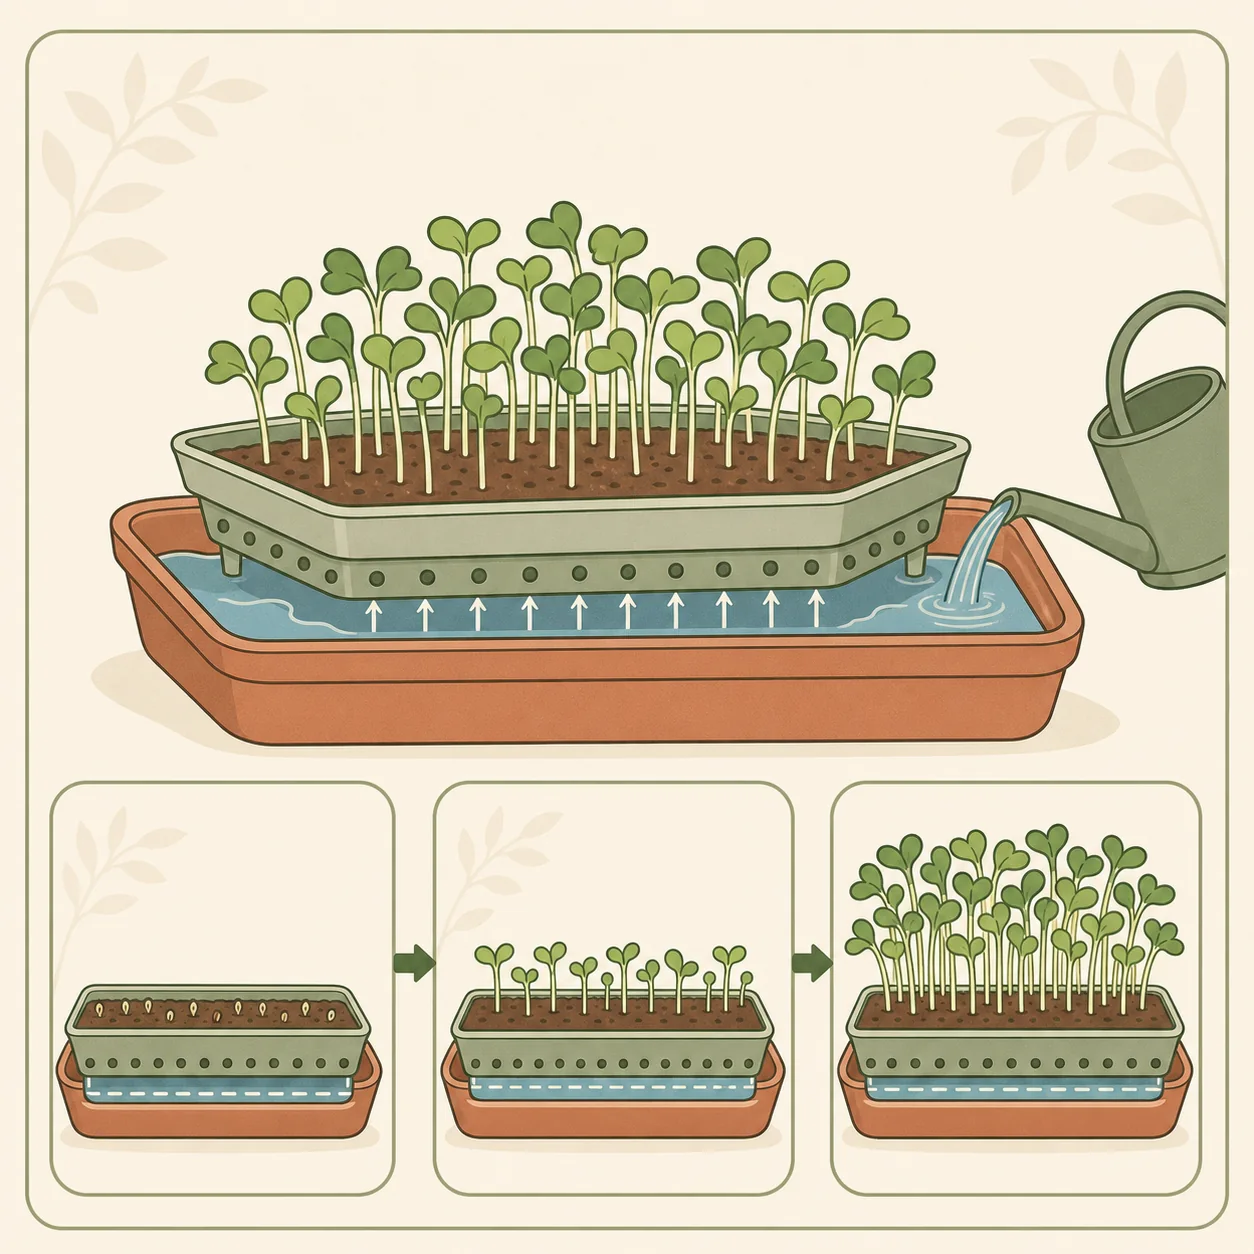
How to bottom-water microgreens without soaking the tray
Bottom watering is a controlled transfer, not permanent standing water. Add a measured amount, let the medium absorb it, and drain what remains.
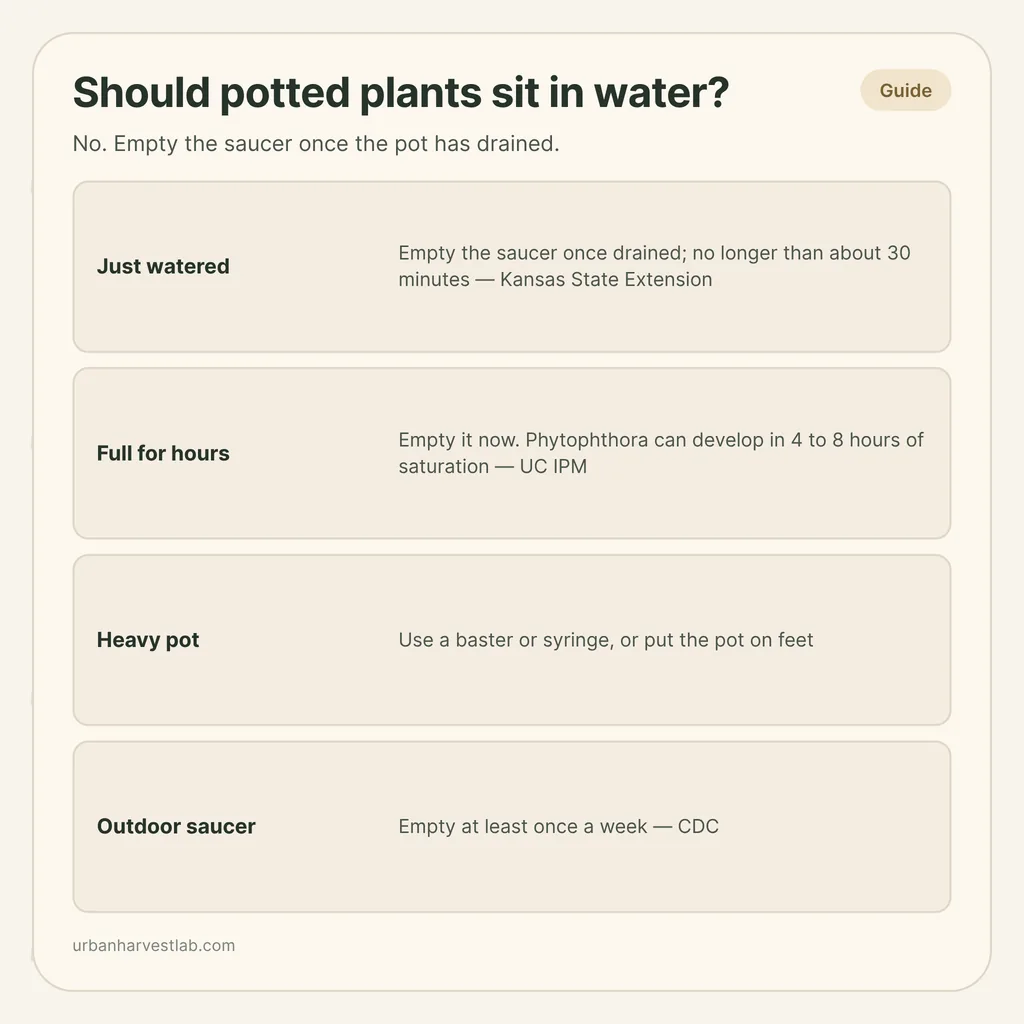
Should potted plants sit in water? How long to leave a saucer full
A full saucer feels like a safety net and works like a trap. Here is when to empty it, when a pot feet or riser is better, and what to do on a balcony.