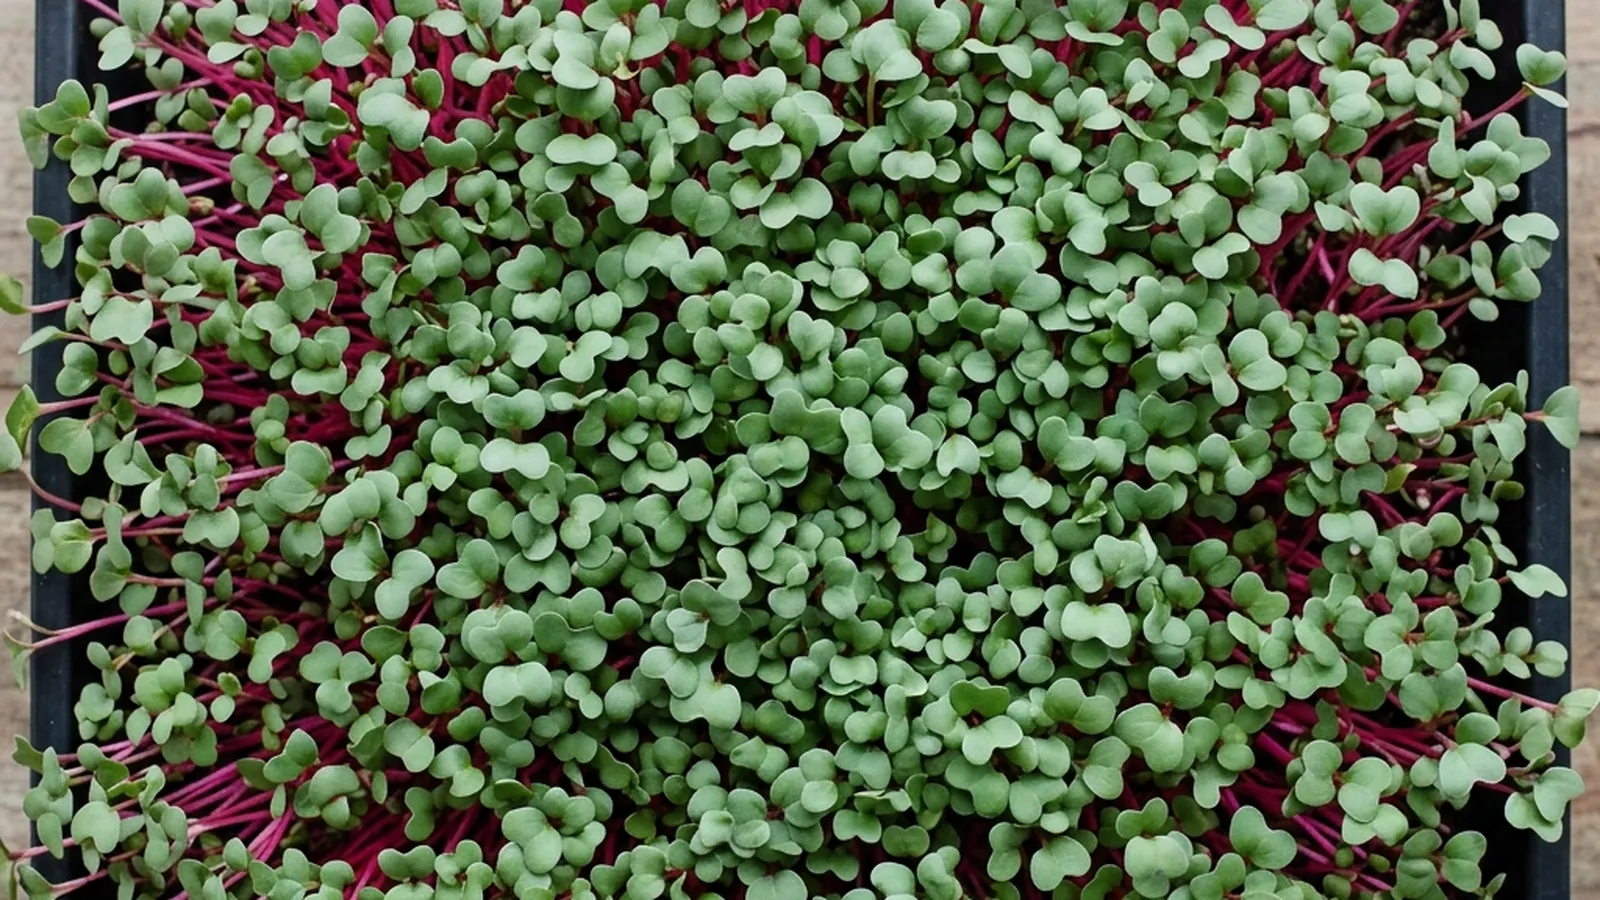
Radish microgreens are typically ready to cut in about a week — Penn State Extension’s fast brassica group puts it at 7 to 8 days, among the fastest of the common microgreen crops. That speed is also why radish is the crop most beginner guides put first: fewer days means fewer chances for something to go wrong before you get feedback, and a tray that looks slightly off on day 4 doesn’t leave you waiting two more weeks to find out if it recovers.
Real trays vary with room temperature, light strength, seed lot, and how densely you sowed, so the ranges below matter more than the midpoints.
If you haven’t grown anything yet, start with the complete beginner microgreens method, which covers the four-step process end to end.
Why radish is the benchmark crop
Radish, broccoli, arugula, kale, and mustard all fall into the fast brassica group, reaching harvest in roughly 7 to 8 days. Within that group, radish earns its reputation as the beginner’s crop for a few practical reasons beyond raw speed.
The seed is widely available, and Penn State Extension’s 60 to 75 F soil range means an ordinary room is warm enough without a heat mat. It doesn’t need a presoak, so there’s one less step to get wrong on your first attempt. And because the whole cycle runs about a week, a mistake costs you seven days rather than three weeks — which is what makes it a good crop to learn the process on.
The roundup of easy beginner microgreens ranks radish first; this is what to expect once you have sown it.
What you need before day 0
The setup is the same as any other microgreens tray: a shallow container, a fine growing medium or soil-free pad, radish seed sold for sprouting or microgreens, a spray bottle, and either a bright window or a small grow light. If you haven’t assembled that yet, the full supplies list covers cheaper substitutes and what you can skip.
One radish-specific note: skip the soak. Utah State University Extension’s protocol soaks only pea and sunflower and sows every other crop in its table, radish among them, dry — so sow it directly onto the moist medium at roughly 1/8 inch deep.
For how much seed to use, Utah State University Extension’s same per-crop table gives radish 42 grams per standard 1020 tray. The seed density chart has the full crop-by-crop table and a calculator for scaling that figure to other tray sizes.
The radish timeline, day by day
The table below lays out a typical run under the environment Penn State Extension describes for microgreens generally: soil temperature 60 to 75 F, air temperature 60 to 70 F. The light figures in it — 6 to 8 hours of natural light, or 12 to 16 hours under a fixture — are the UC Master Gardener Program of Sonoma County’s. Treat the day numbers as a midpoint, not a guarantee: temperature, light and seed lot all move the day numbers.
| Day | Stage | What’s happening | What to do |
|---|---|---|---|
| 0 | Sow | Dry seed spread densely on moist medium, pressed in lightly at about 1/8 in. deep | Mist the surface to keep seed moist; cover the tray |
| 1-2 | Germination, covered | Seed coats split, roots begin anchoring into the medium | Keep the cover on; check moisture, don’t let the surface dry out |
| 2-3 | Cover comes off | Hypocotyls have pushed the cover up; pale, folded cotyledons are visible | Remove the cover and move the tray to light |
| 3-5 | Greening and stretching | Cotyledons unfold and turn green; on the pink-stemmed varieties the stems start colouring up | Start bottom watering; give 6-8 hours of light if on a windowsill, or 12-16 hours under a fixture |
| 5-7 | True leaf emergence | The first true leaves appear between the cotyledons; stem colour, if the variety has it, is fully in | Keep watering and light consistent; begin checking height daily |
| 7-8 | Harvest window | Tray reaches roughly 2 to 4 in., true leaves just emerging | Cut at the base, just above the medium |
Penn State Extension’s own step-by-step photos show the blackout cover coming off by around day 3 for mustard and peas — a pace that lines up reasonably with radish, since both mustard and radish are in the same fast brassica group. UC ANR’s Coastal Gardener puts the covered stage at 2 to 3 days for microgreens generally, which is consistent with that day-3 photo. Utah State University Extension’s own per-crop table gives radish specifically a shorter 1 to 2 days covered, which is why the day-by-day table above shows the cover coming off as early as day 2. If you’re growing several crops side by side and want the blackout timing for each one rather than a single generic answer, the blackout period by crop guide breaks that down.
What a healthy radish tray looks like
Because radish moves fast, it’s worth knowing what normal looks like at each stage so you’re not second-guessing a tray that’s actually fine.
In the first day or two under cover, you’re looking for split seed coats and short white roots reaching down into the medium — nothing green yet. Once the cover comes off, the cotyledons are folded and pale for a short period before they green up under light; this is normal and not a sign of poor light.
Extension sources do not describe stem colour, but growers consistently report that many radish varieties sold for microgreens tint pink to magenta while some, Daikon among them, stay pale. Treat stem colour as a variety trait rather than a health signal — and do not use it to work out which tray is which if you are growing several brassicas side by side.
By the harvest window, you’re looking for the first true leaves — a smaller, more textured pair sitting between the two cotyledons — at the total height of 2 to 4 inches Penn State Extension and the UC Master Gardener Program of Sonoma County both give for this stage. Cutting a little before or after that point doesn’t ruin the crop, but flavor and texture shift as the plant matures past this stage.
Environment and variables that shift the schedule
The 7-to-8-day figure assumes reasonably warm conditions and consistent light. Utah State University Extension’s own protocol gives radish 8 to 12 days, a slower figure than Penn State’s brassica grouping because it is measured under Utah State’s controlled conditions rather than as a category. Three variables move the timeline in either direction.
Temperature. The 60-75 F soil range and 60-70 F air range are what Penn State Extension gives for microgreens generally. A cooler room slows germination and every stage after it; a warmer one speeds things up, within reason.
Light. Penn State Extension’s fast-brassica figure assumes grow lights and consistent conditions. The UC Master Gardener Program of Sonoma County describes a slower, windowsill-specific expectation of 2 to 3 weeks to reach 2 to 3 inches. Both can be true at once: they’re describing different light environments. If your radish tray is coming from natural window light rather than a fixture, expect the slower end of that range, not a failure. If you’re deciding between the two setups, the comparison of window light and grow lights walks through what changes.
Seed lot and density. Older seed or a lot with lower viability germinates less evenly and can stretch the early days of the timeline. Sowing too thickly doesn’t speed anything up — it mainly raises the risk of the tray staying too wet, which is a mold and damping-off risk rather than a speed advantage.
Watering across the week
Radish follows the same watering logic as other microgreens: keep the seed and medium moist through germination with a spray bottle, then switch to bottom watering once the cover comes off, so the leaves and stems stay dry while the roots get what they need. The bottom watering guide covers the technique in detail — how much water, how often, and how to tell when the tray has taken up enough.
Radish’s dense sowing and fast growth make consistent watering more important than it might seem for a crop that’s only in the tray a week. A missed day during the germination window is more noticeable on a fast crop than a slow one, because there’s less total time to recover.
Common issues during the week
Radish’s speed means most problems announce themselves early. A patchy, uneven germination on day 2 or 3 is usually a seed density or seed age issue rather than something that develops later. White, fuzzy growth around the roots in the first few days is often normal root hair development, not contamination — the mold versus root hairs guide walks through how to tell the difference by location, uniformity, and smell.
If stems look water-soaked or pinched right at the medium line, and patches of seedlings are collapsing rather than just growing slowly, that’s a different problem: damping-off, caused by soilborne pathogens rather than normal development. It spreads through a tray rather than staying isolated, and it’s not something misting fixes. The damping-off guide covers prevention — clean trays, appropriate seed density, a fast-draining sterile medium — and what to do once it’s already present in a tray.
Harvest and what happens after
Cut radish microgreens at the base, just above the growing medium, once the tray reaches the 2 to 4 inches Penn State Extension and UC Sonoma both describe and the true leaves are just emerging. Cutting at the base removes the plant’s growing point, which is why radish — like most microgreens other than pea shoots — does not produce a useful second harvest from the same tray. If you’re curious why pea shoots are the exception, that distinction is covered separately.
For how much a tray actually produces, Penn State Extension’s measured yield trial — averaged over 14 to 28 cycles under greenhouse conditions, no supplemental light, a 10-15 g seeding rate and a two-week crop cycle — put Daikon radish at 122 grams per Penn State’s 12 x 20 in. ten-row tray, below the trial’s overall average of 136 grams and well under mustard’s 201 grams at the top of the range. That is a larger tray than the 1020 Utah State’s 42 g seeding figure above is written for, so the two seeding rates are not directly comparable.
For storage, the short version is: bag it, refrigerate it, and wash right before use rather than before storage. One detail is worth mentioning here because radish is the crop the study was actually run on: a published postharvest study on radish microgreens found that PET clamshell containers outperformed LDPE self-seal bags on weight loss, respiration rate, electrolyte leakage, and microbial counts during storage. If a clamshell is a realistic option for how you’re storing your harvest, it appears to hold quality better than a soft bag. For the full storage and shelf-life picture across crops, see how to harvest and store microgreens.
How radish compares to a similar-speed brassica
Broccoli sits in the same fast brassica group and follows a broadly similar week-long timeline, which raises an obvious question: why grow radish first instead of broccoli? The timing difference between them is not the main reason to pick one over the other — appearance and forgiveness are. Radish needs no presoak and tolerates an ordinary room temperature, so there are fewer setup steps to get wrong on a first tray. If you want to compare the two side by side once you’ve grown a radish tray, the broccoli microgreens grow log uses the same day-by-day format.
Common mistakes with radish microgreens
- Presoaking radish seed out of habit from larger seed like sunflower or pea — it isn’t needed and doesn’t speed anything up.
- Sowing too thickly to try to compensate for a slow germination rate, which raises mold risk without actually shortening the timeline.
- Leaving the tray covered past the point where cotyledons have already pushed the cover up, which stretches the stems more than intended.
- Harvesting purely by day count instead of checking the tray — a cool room can put a tray a few days behind the 7-to-8-day figure without anything being wrong.
- Judging the whole crop against a single sunny-windowsill photo online instead of the range of normal appearance across different light setups.
Sources
- Penn State Extension: The ABCs of Microgreens — fast brassica group timing (7-8 days) and crops unsuitable for microgreen production.
- Penn State Extension: Growing Microgreens — soil and air temperature ranges, harvest height and true-leaf timing.
- Penn State Extension: A Step-By-Step Guide for Growing Microgreens at Home — blackout cover timing and bottom-watering practice.
- UC Master Gardener Program of Sonoma County: Growing Microgreens — sowing depth, light duration, and the slower windowsill-based timeline.
- Utah State University Extension: Grow Your Own Microgreens — per-crop soak time and days-to-harvest figure for radish.
- Effect of Packaging and Coating Technique on Postharvest Quality and Shelf Life of Raphanus sativus L. Microgreens — radish-specific packaging comparison (PET clamshell vs. LDPE bag).
Build on this radish timeline
Set up the tray correctly, water without triggering mold, and know what to do if the schedule slips.
Common questions
How long do radish microgreens actually take to grow?
Radish is part of Penn State Extension's fast brassica group, which reaches harvest in about 7 to 8 days. That figure assumes soil temperatures of 60 to 75 F and air temperatures of 60 to 70 F. A cooler room or a dim windowsill instead of steady light can stretch the same tray toward the 2 to 3 weeks the UC Master Gardener Program of Sonoma County describes for a home windowsill, without anything being wrong with the seed.
Do radish microgreens need a presoak before sowing?
No. The 6 to 12 hour presoak the UC Master Gardener Program of Sonoma County documents applies to larger seed, and Utah State University Extension's per-crop table soaks only pea and sunflower. Radish seed is small enough that growers sow it dry, directly onto the moist growing medium, and skip that step entirely.
Why do my radish microgreens have pink or magenta stems?
The colour depends on the variety. Some varieties colour up, some stay pale. Either is normal, so stem colour tells you nothing about whether the tray is healthy — and because some radish varieties stay pale, it is not a reliable way to tell one tray from another either.
Can I get a second harvest from the same radish tray?
Not usefully. Radish is cut at the base, just above the growing medium, which removes the growing point the same way it does for most microgreens. Pea shoots are the documented exception that can be cut higher and produce a second flush; radish is not.
Related guides
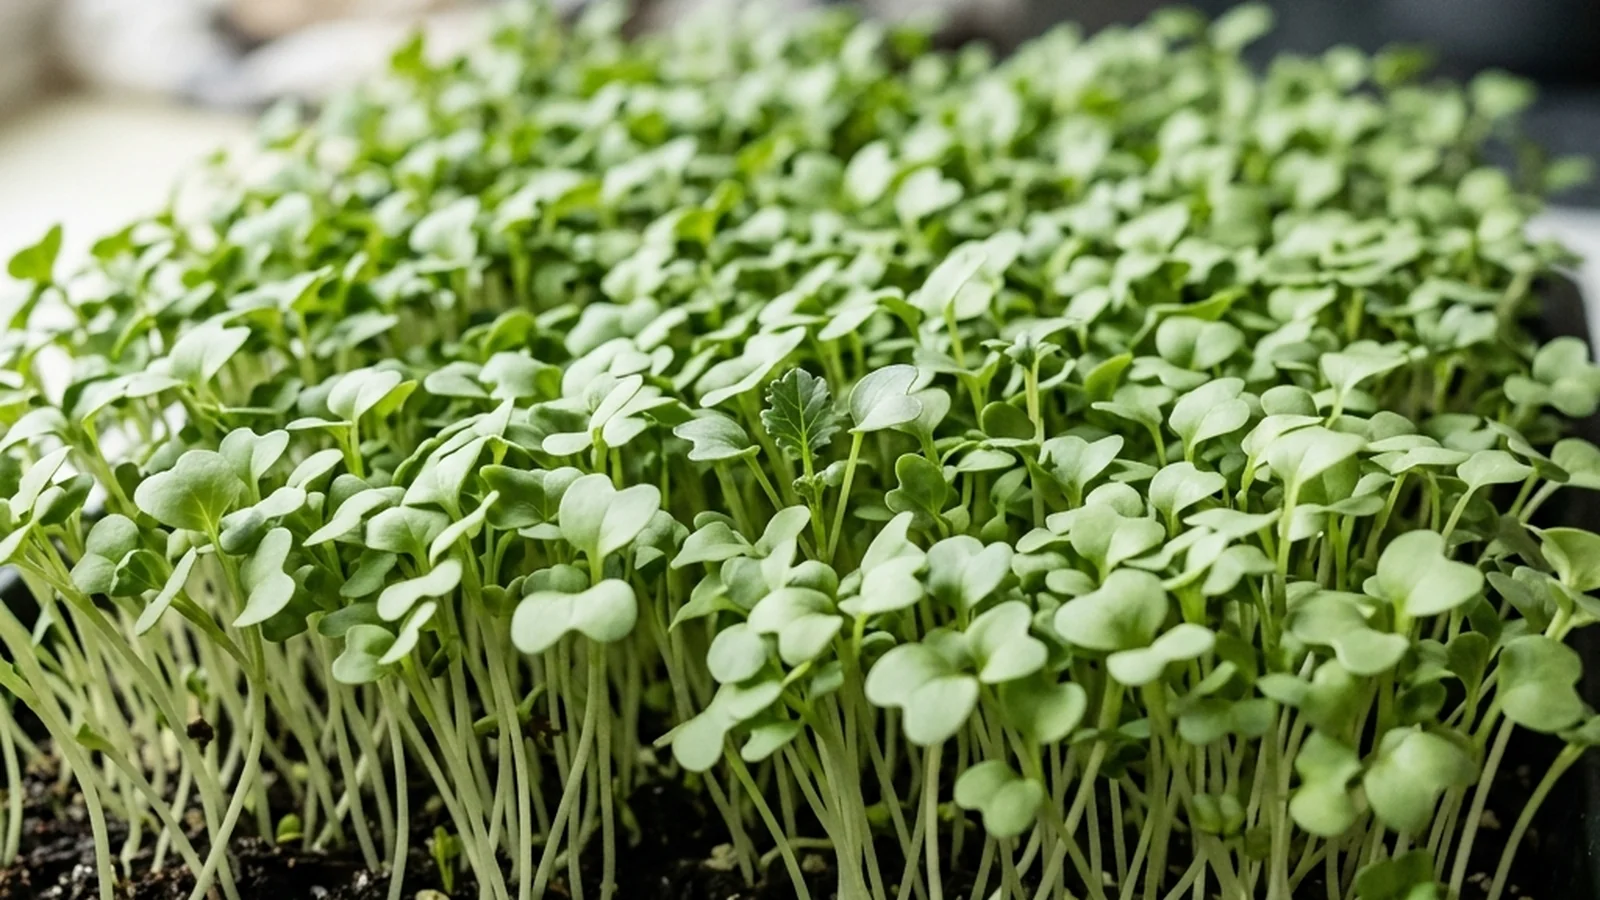
Broccoli microgreens grow log: a day-by-day timeline
Broccoli microgreens follow the same fast brassica schedule as radish, but the reason people search for them is different. Here is the typical timeline, and what the nutrition claims actually support.
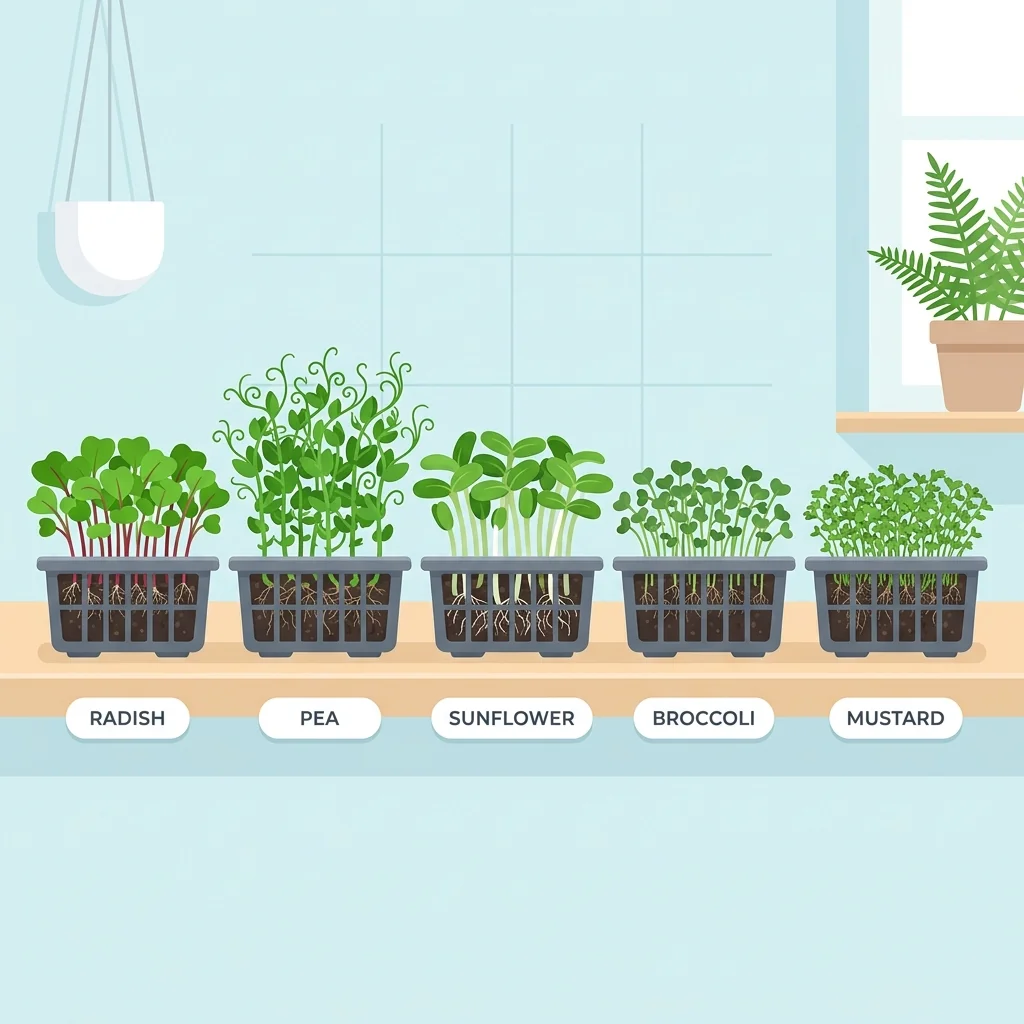
Best microgreens for beginners (fast and forgiving)
Start with microgreens that germinate fast and forgive mistakes. Radish, peas, sunflower, broccoli, and mustard are the easiest first trays, ready in about a week.
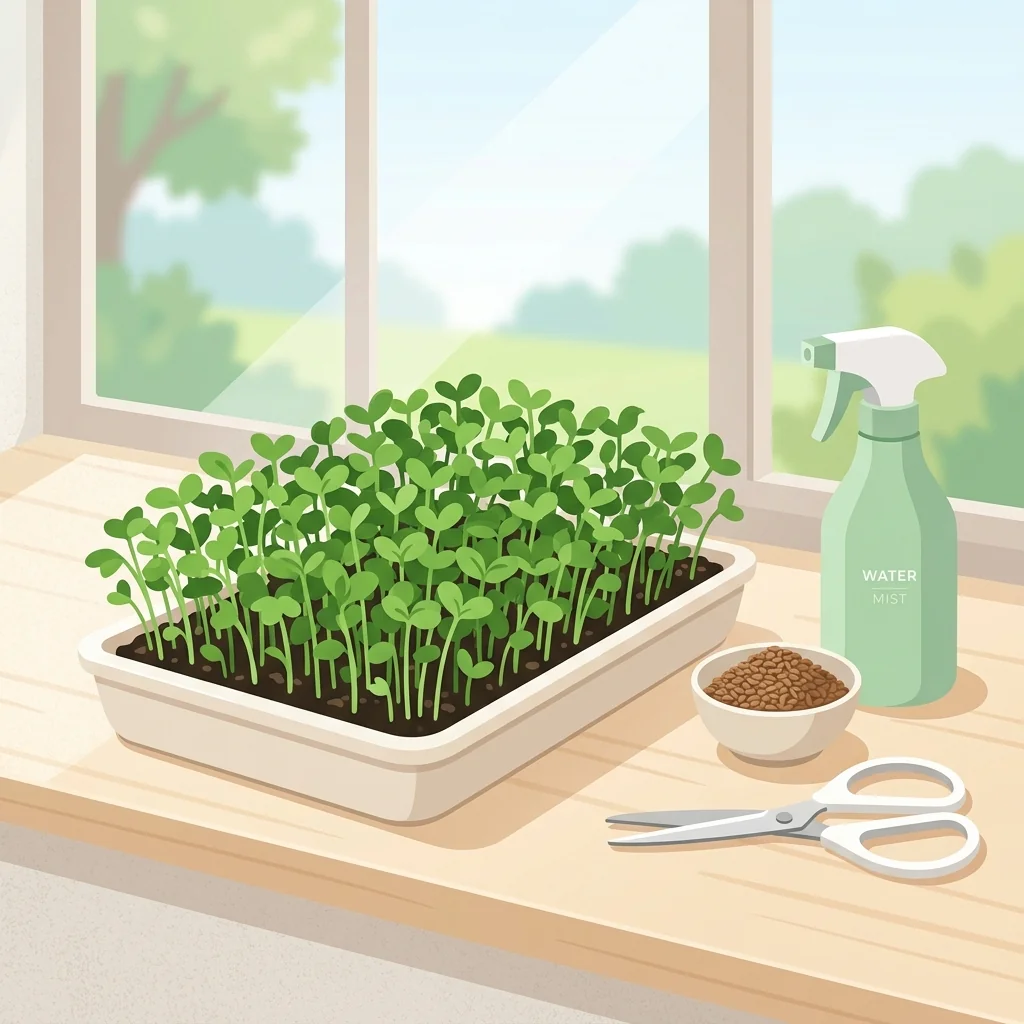
How to grow microgreens at home: a beginner's guide
Microgreens are the fastest crop you can grow indoors. This beginner guide walks through sowing, watering, light, and harvesting your first tray in about ten days.